Back in February I posted the beginning of a video series about the making of a cape-coat from a 1970s pattern. I didn’t post the rest of the videos here, but they are all on YouTube, which you can watch in this playlist. This blog post is all about the finished cape coat.
For years, pretty much since I started sewing, I have been obsessed with cape coats thanks to Burda and the amazing cape coats they have in the magazine every so often.
For years, I’ve been saying THIS is the year of the cape, and for years I have failed to make it happen.
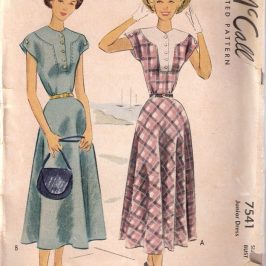
Then, last year, I finally began to make good on my word and started making the cape coat you see here today, from a 1978 mail order pattern, Anne Adams 4741.
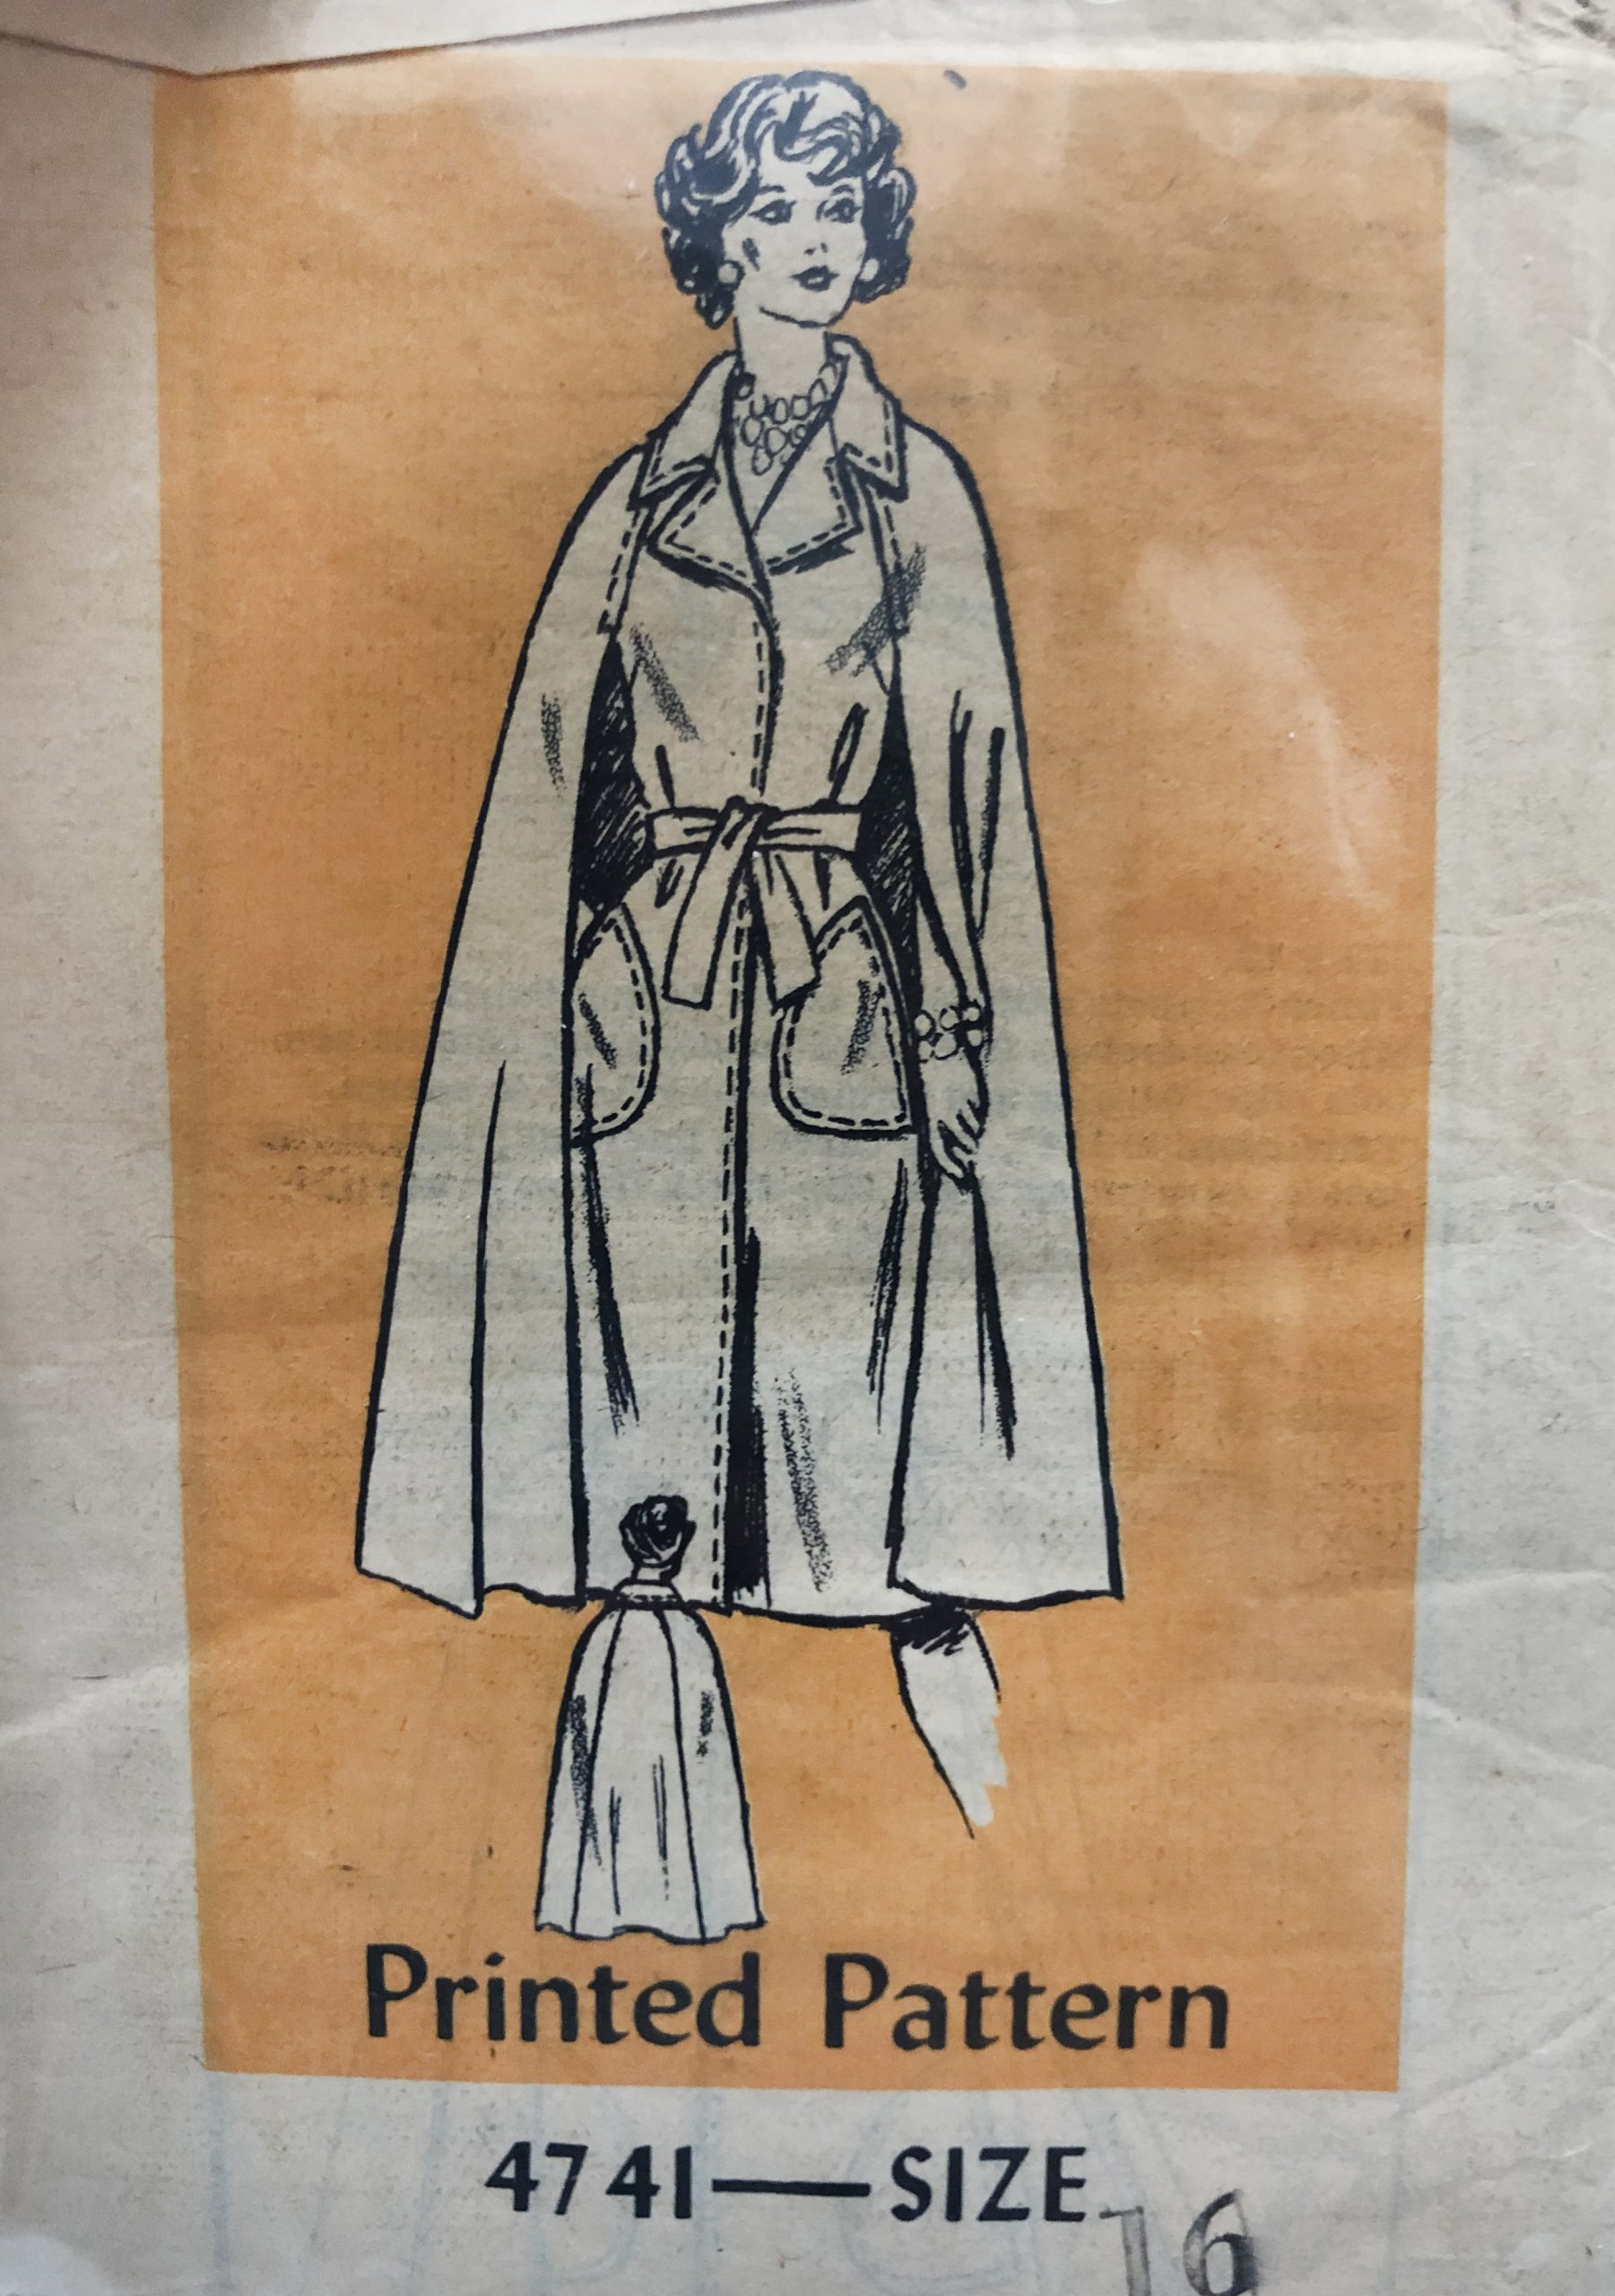
I came cross this pattern on eBay and I knew right away that it was absolutely perfect for me. It was THE cape. What sealed the deal was the placement of of the cape part with respect to the coat.
Pretty much all the patterns I’ve seen for this sort of cape coat, and all the garments that are similar to this one, have the cape attached to the coat at the armholes. I have stayed away from that because I imagine it would pull on the body of the coat horribly, and it might hinder range of motion a bit.
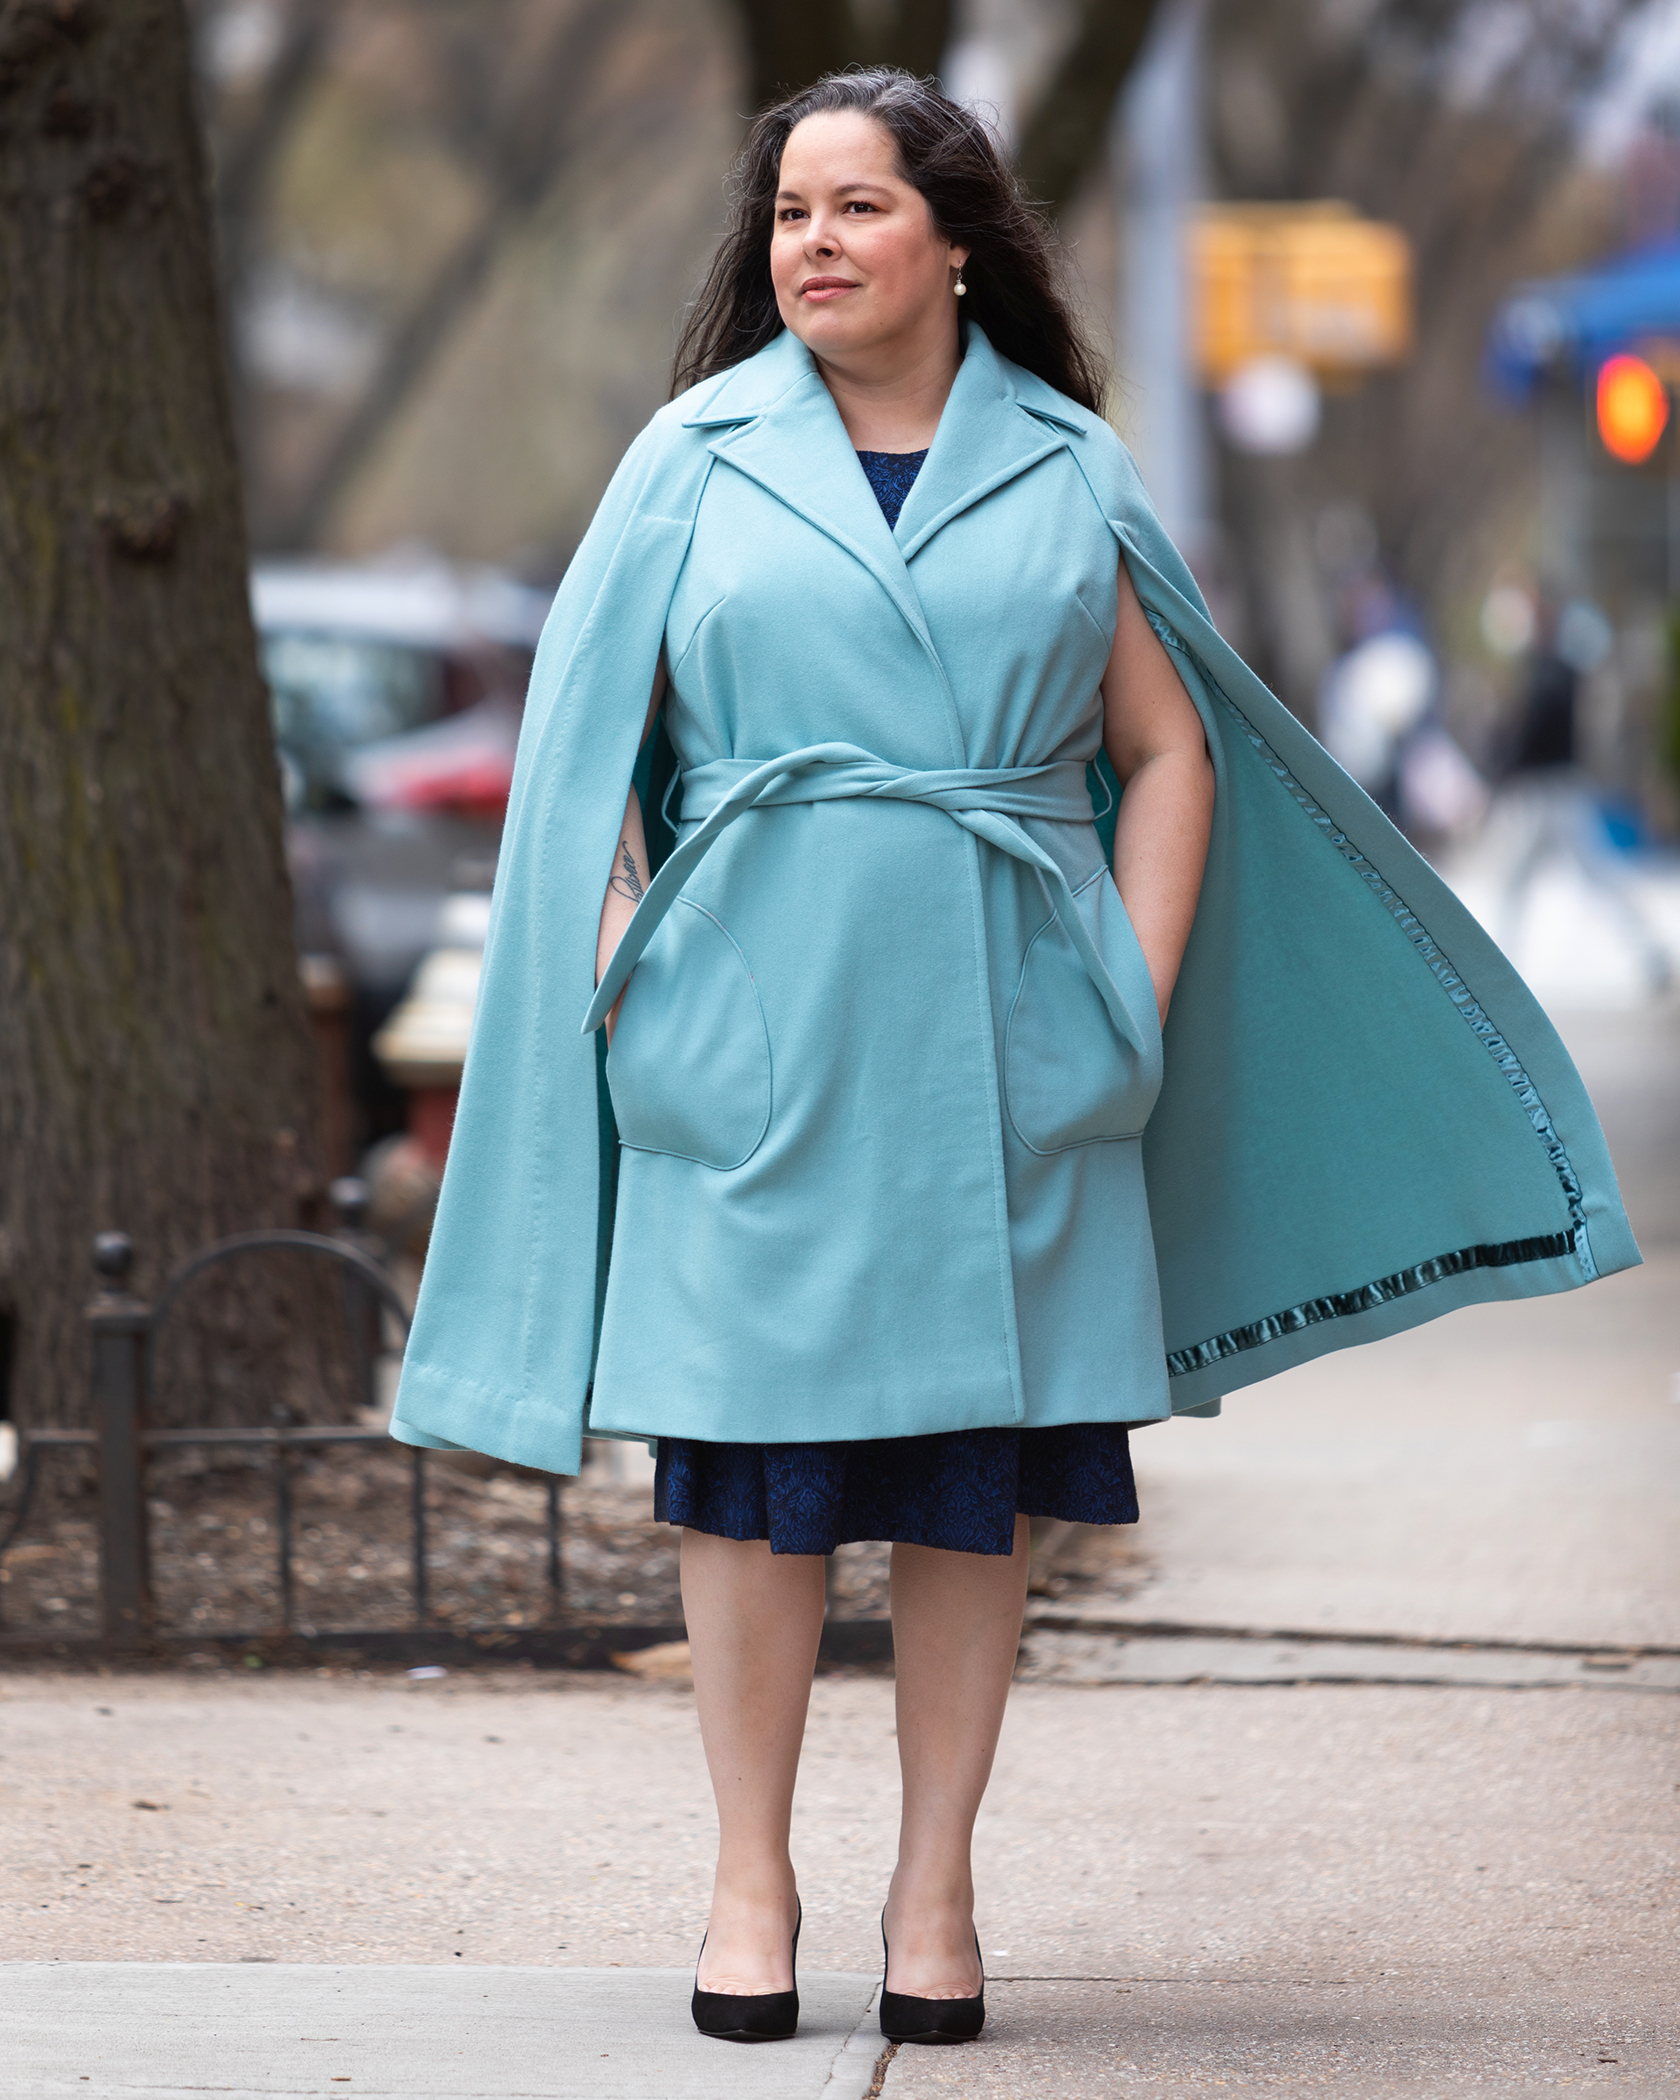
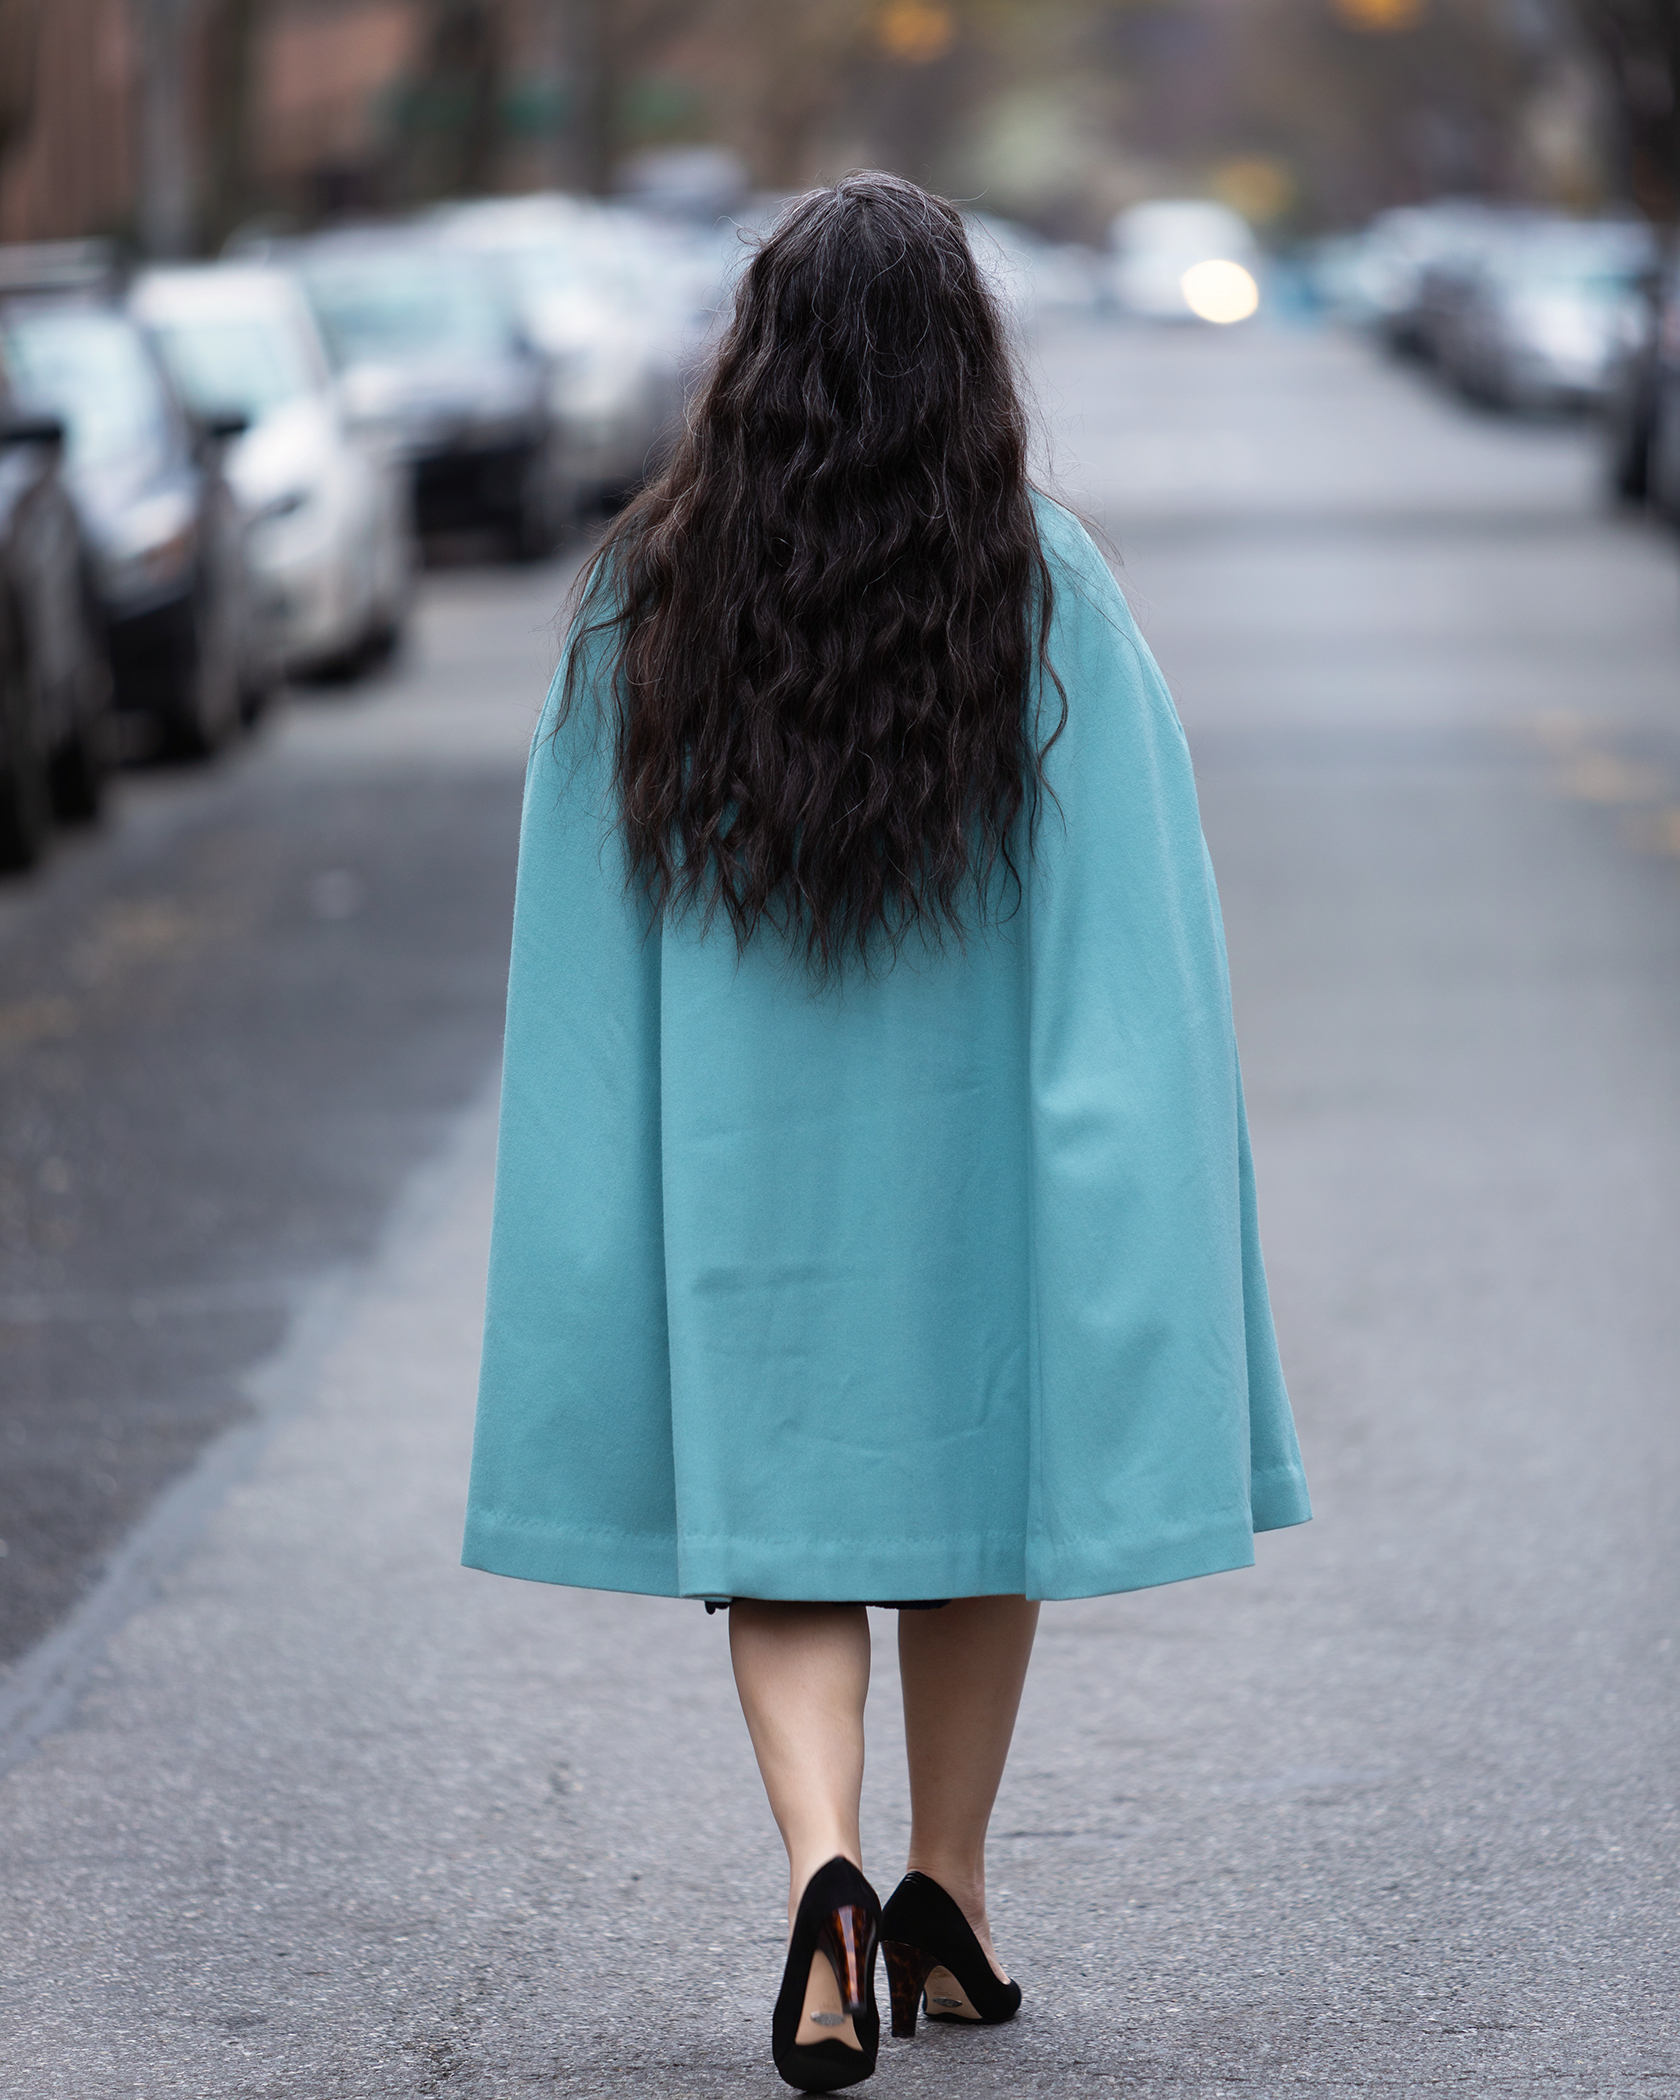
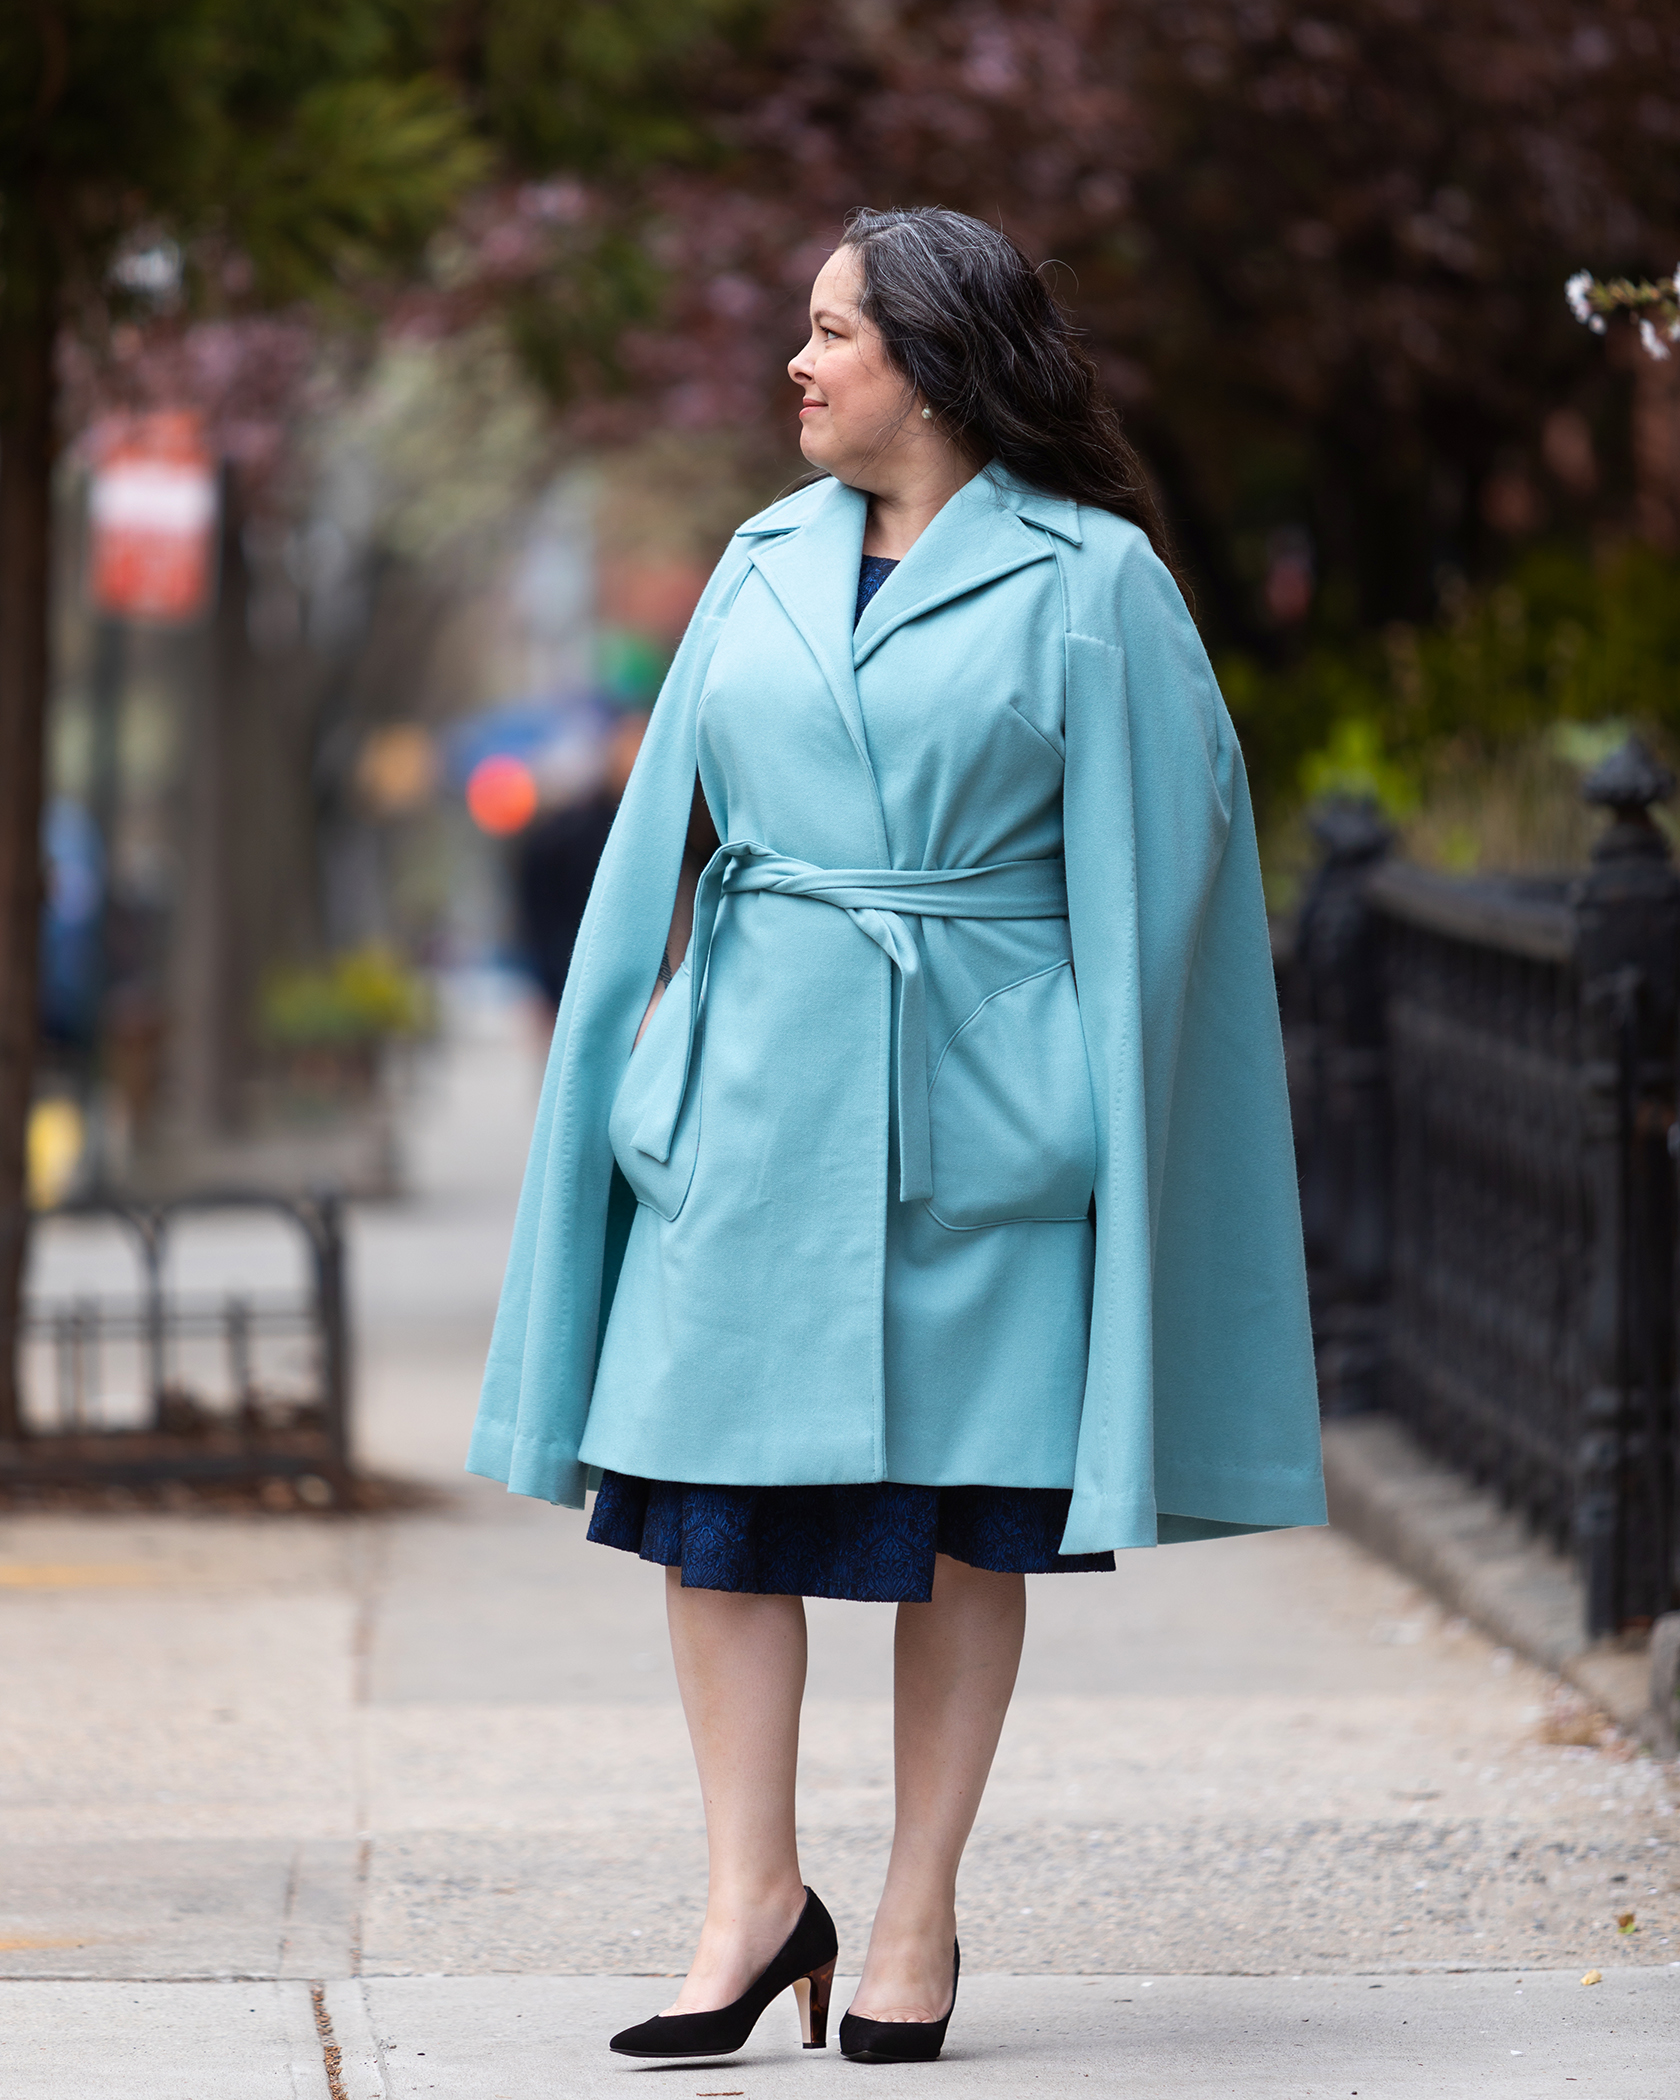
This one has the cape draped over the shoulders and attached to the the coat at the top of the chest, in a diagonal from the collar to almost the armhole, but not quite. I think it looks better and will wear better with time.
So, I bought it but it wasn’t until a couple of months later that I started the process of making it. I was sure then that 2019 would finally be the year of the cape, but, as life would have it, I didn’t actually finish it until March of this year.
But, better late than never.
You can watch the process of making the cape coat in the videos I linked above, my decision-making, woes, and successes.
For fit, I shortened the whole thing a considerable amount, something like 6 inches off the bottom. I wanted it to end just at my knees, as it does on the model in the drawing.
I also lowered the darts and made the shoulder/raglan darts on the cape a bit deeper to take care of some excess fabric.
Since this is a wrap coat, fitting was pretty easy and straight forward.
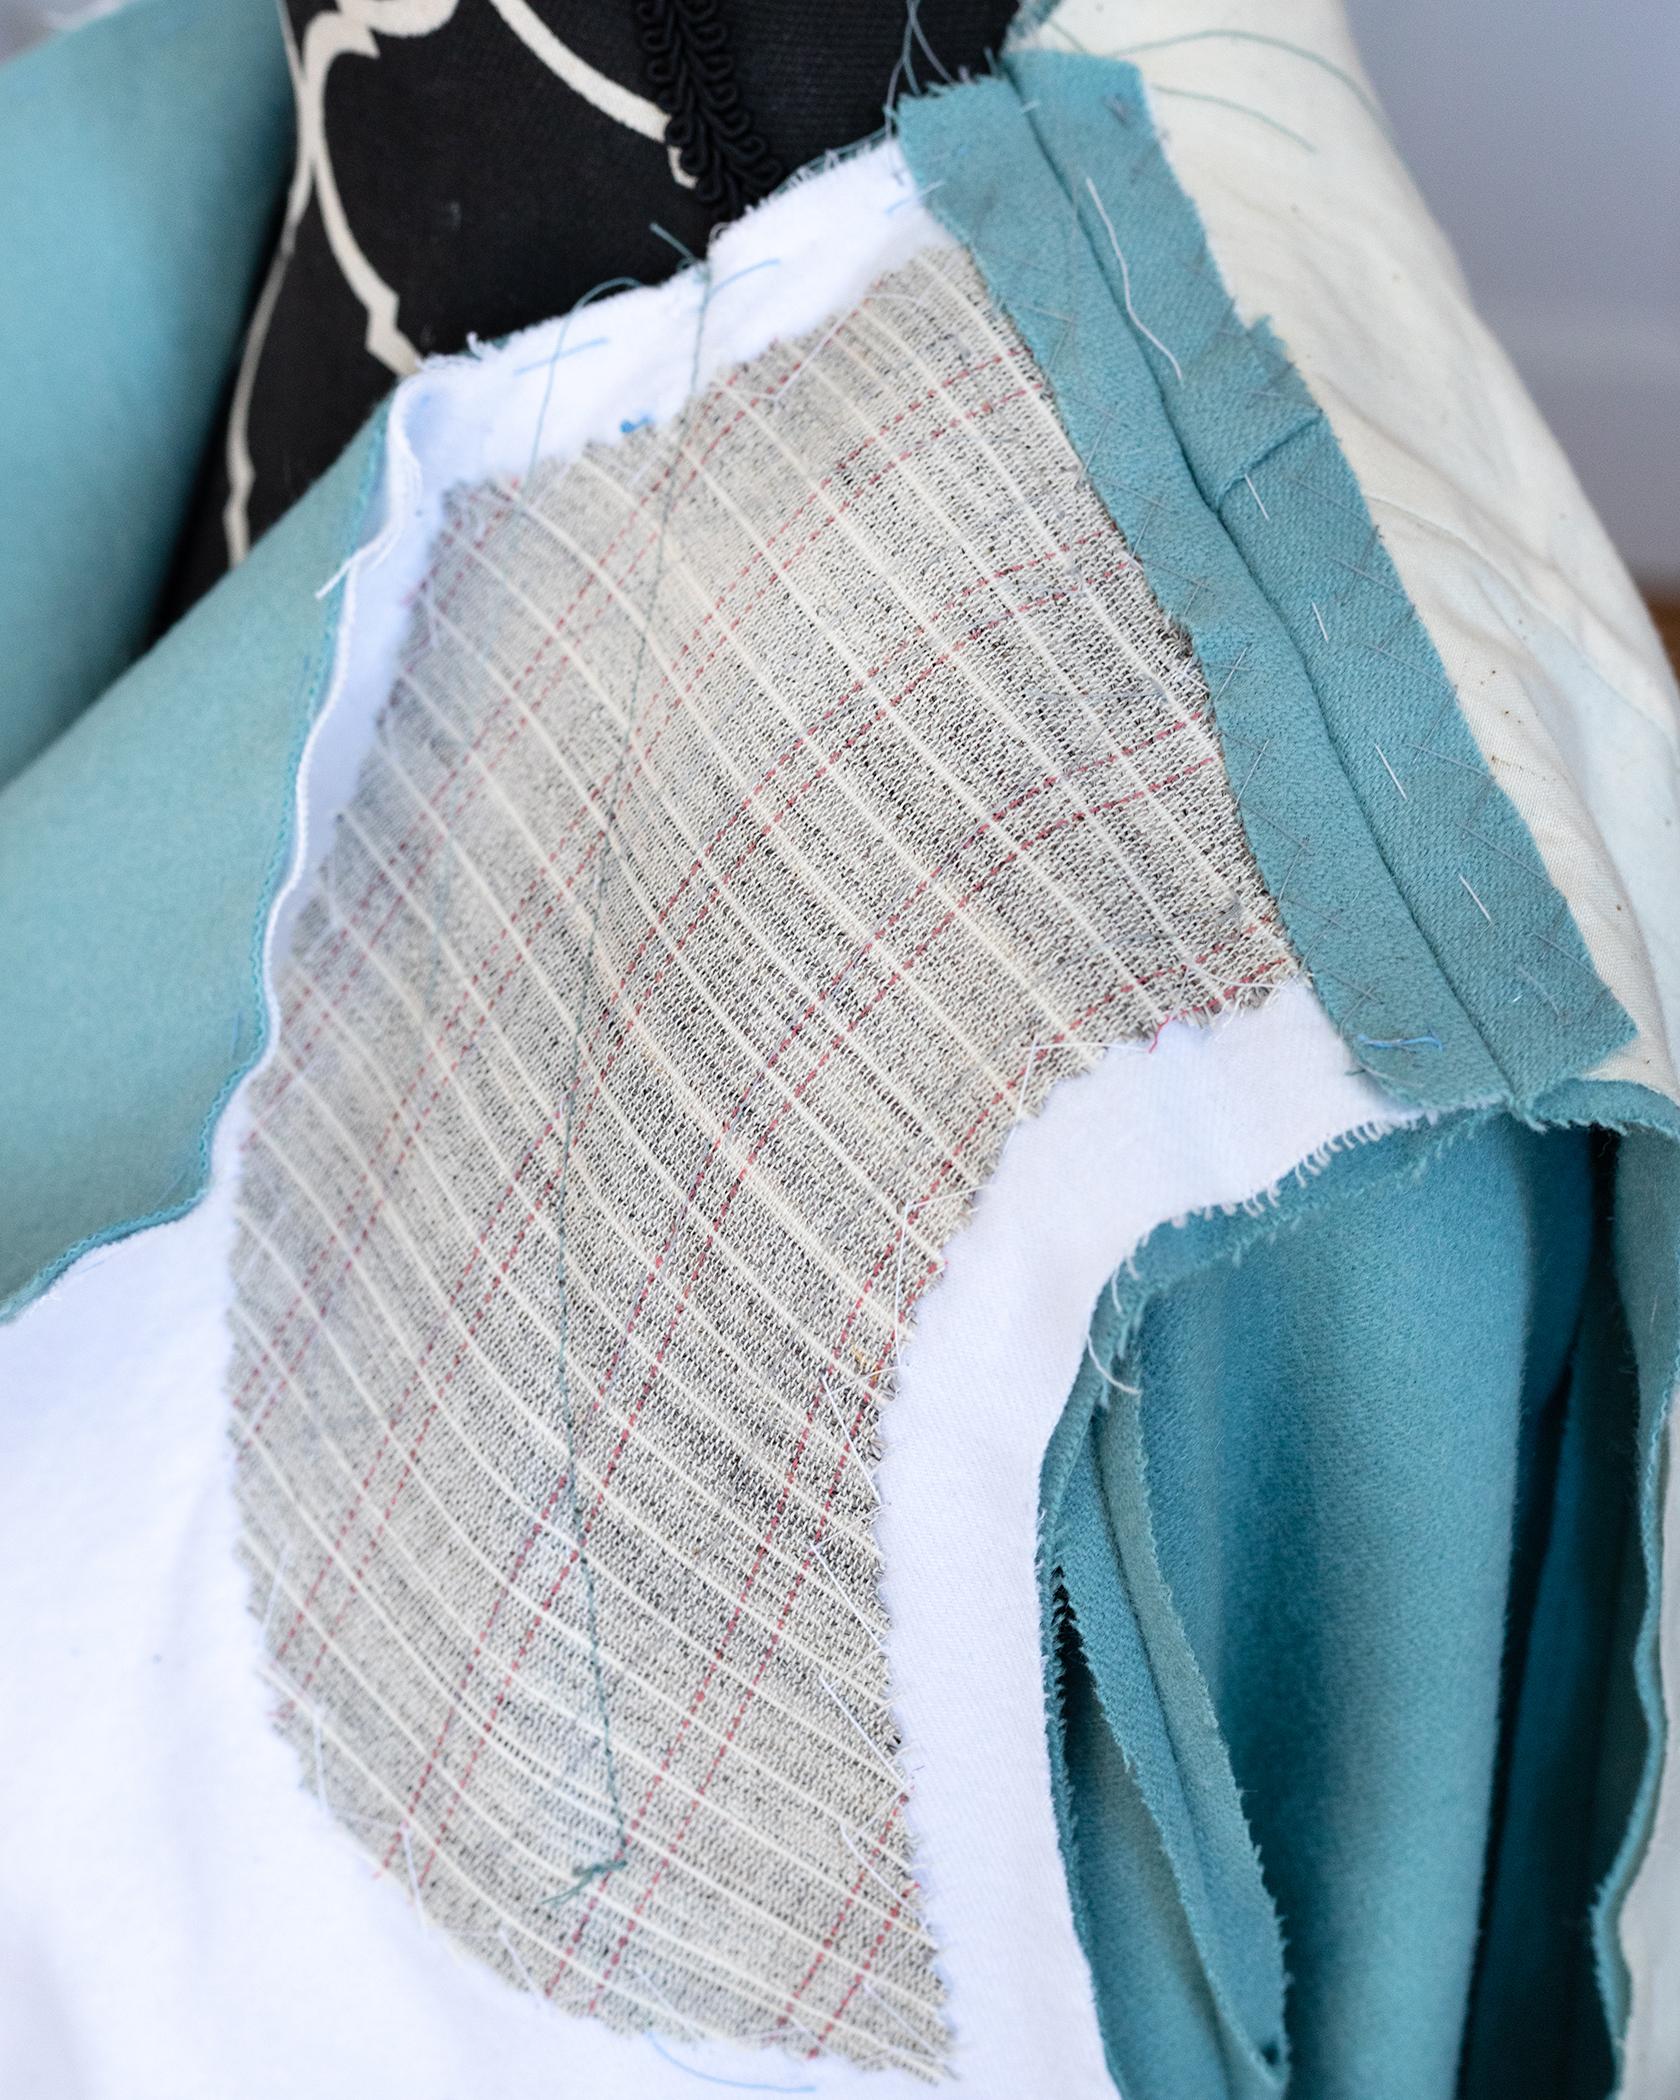
I made some construction changes for durability ( I added hair canvas to the top of the chest to better support the cape, and a muslin back stay) and warmth/drape (interlined the fronts of the coat with flannel). And, for the most part, I followed the instructions on the pattern, which were OK.
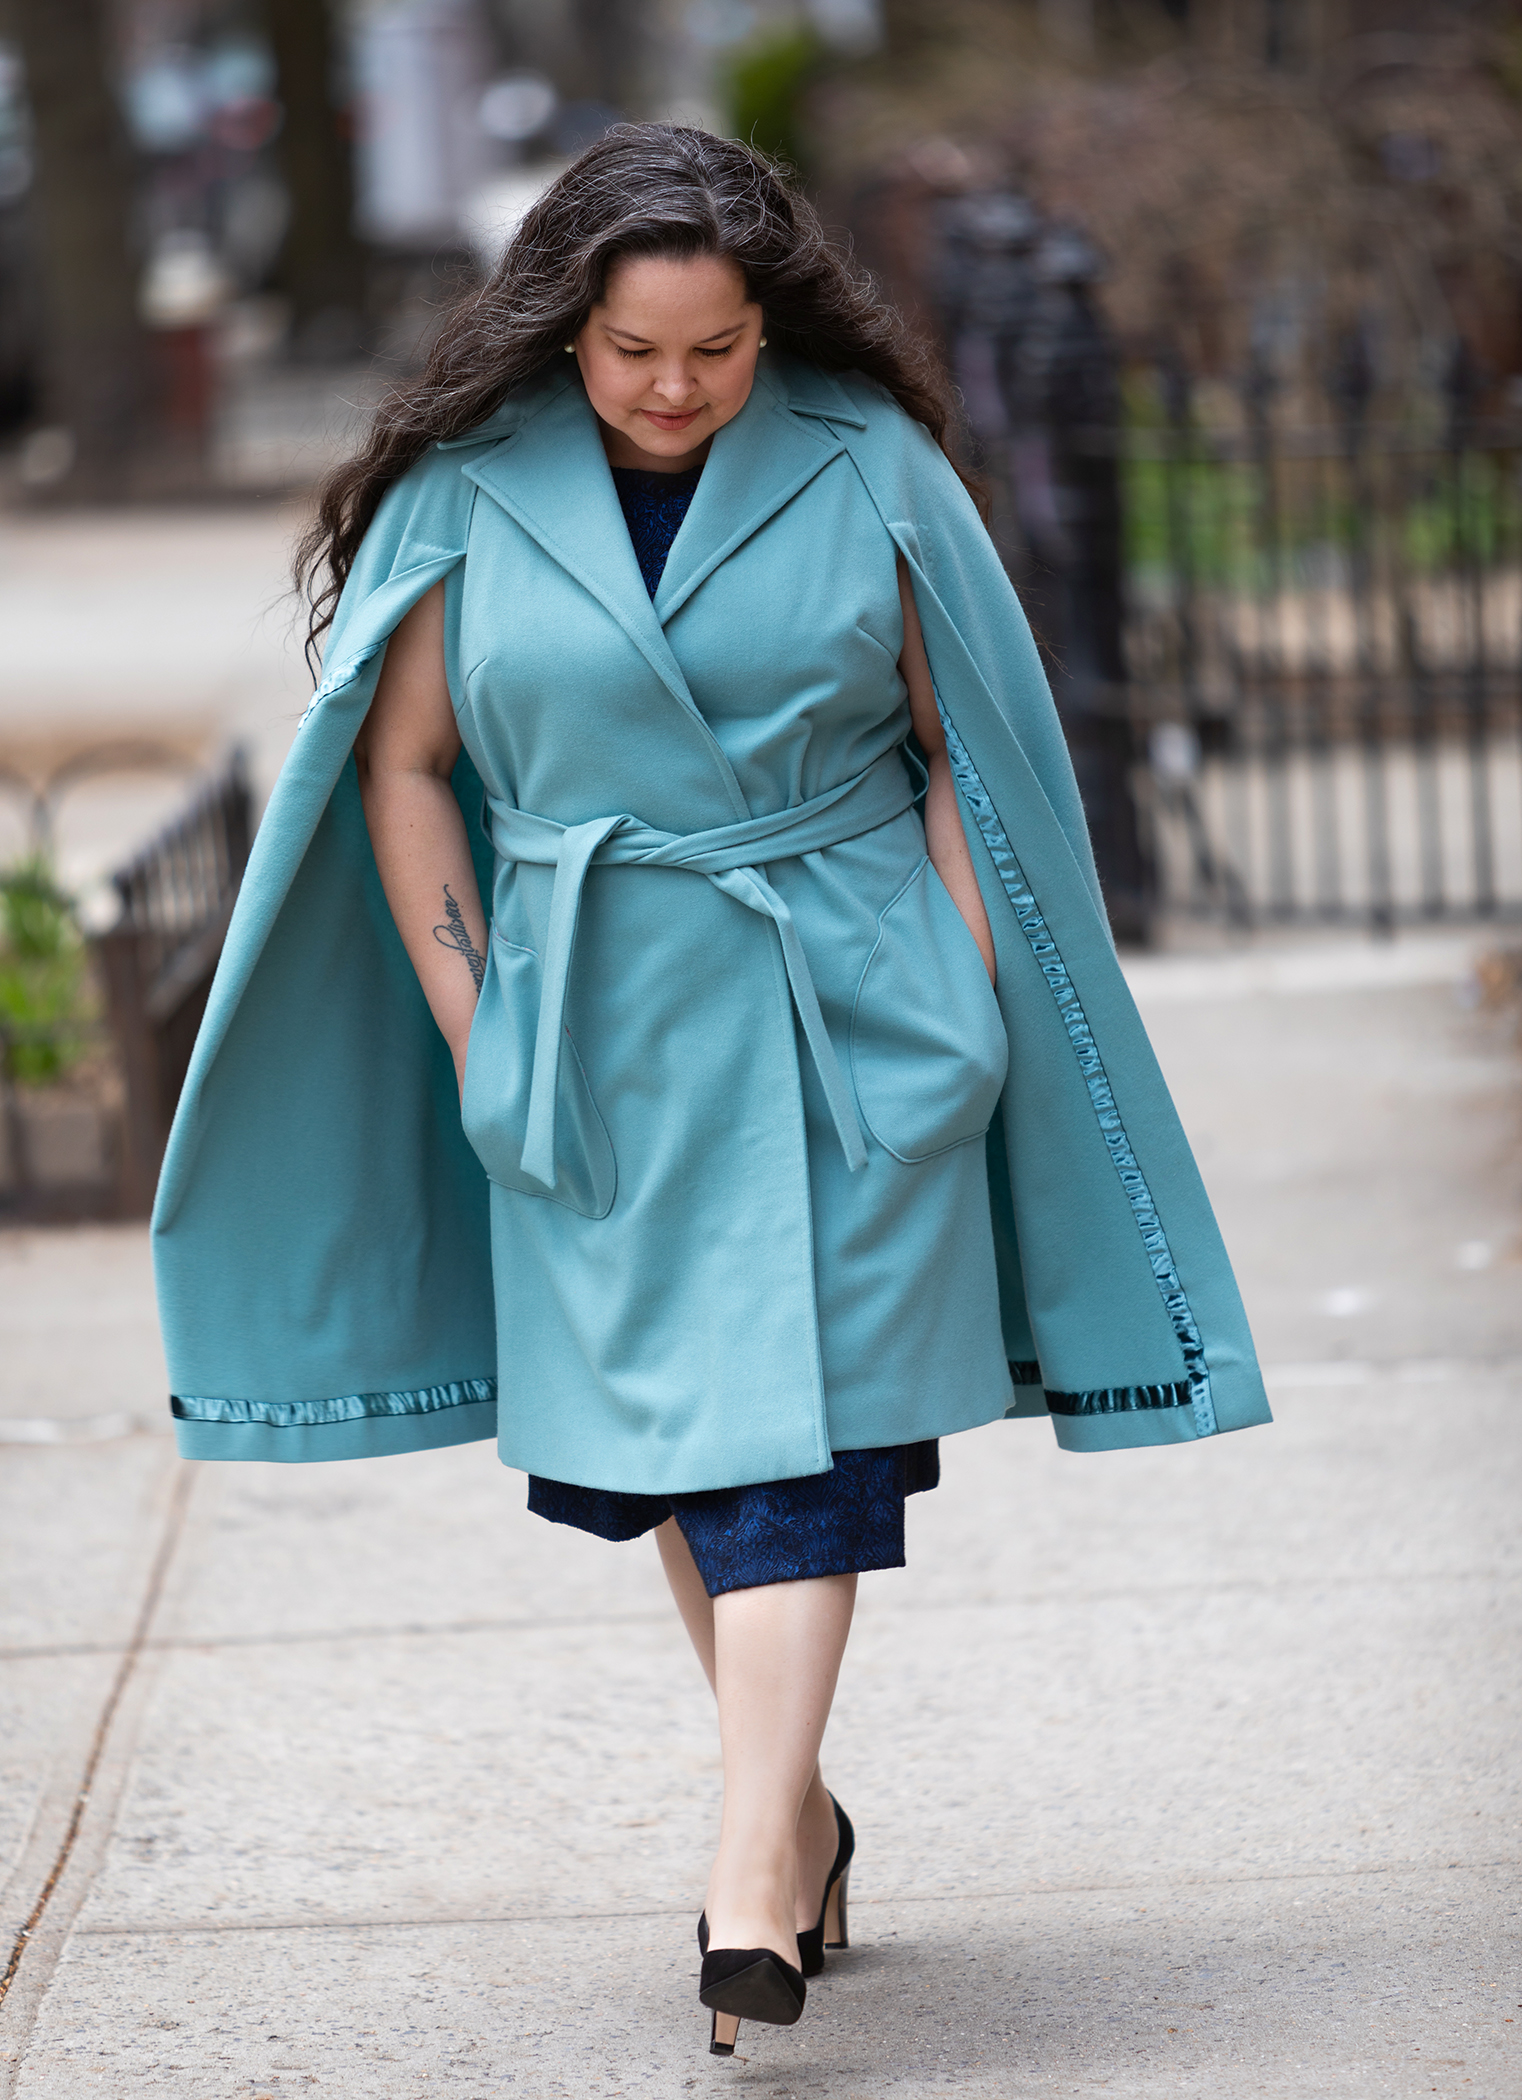
The fabric is a gorgeous medium weight wool, although this was my second attempt fabric-wise. The first fabric I started with turned out to be much too thick for it to work. The lining (which I forgot to photograph) is silk charmeuse.
I wanted this garment to be great, durable, pretty, etc. so I used some tailoring and some couture techniques. The most important one, I think, was inserting the lining entirely by hand. This was in the pattern instructions, but I would have done it anyway. I also added a center back pleat to the lining, which was not part of the pattern, to make it roomier and so that it wouldn’t pull on the sides of the coat part.

All in all, this was a considerable amount of work, but so worth it.
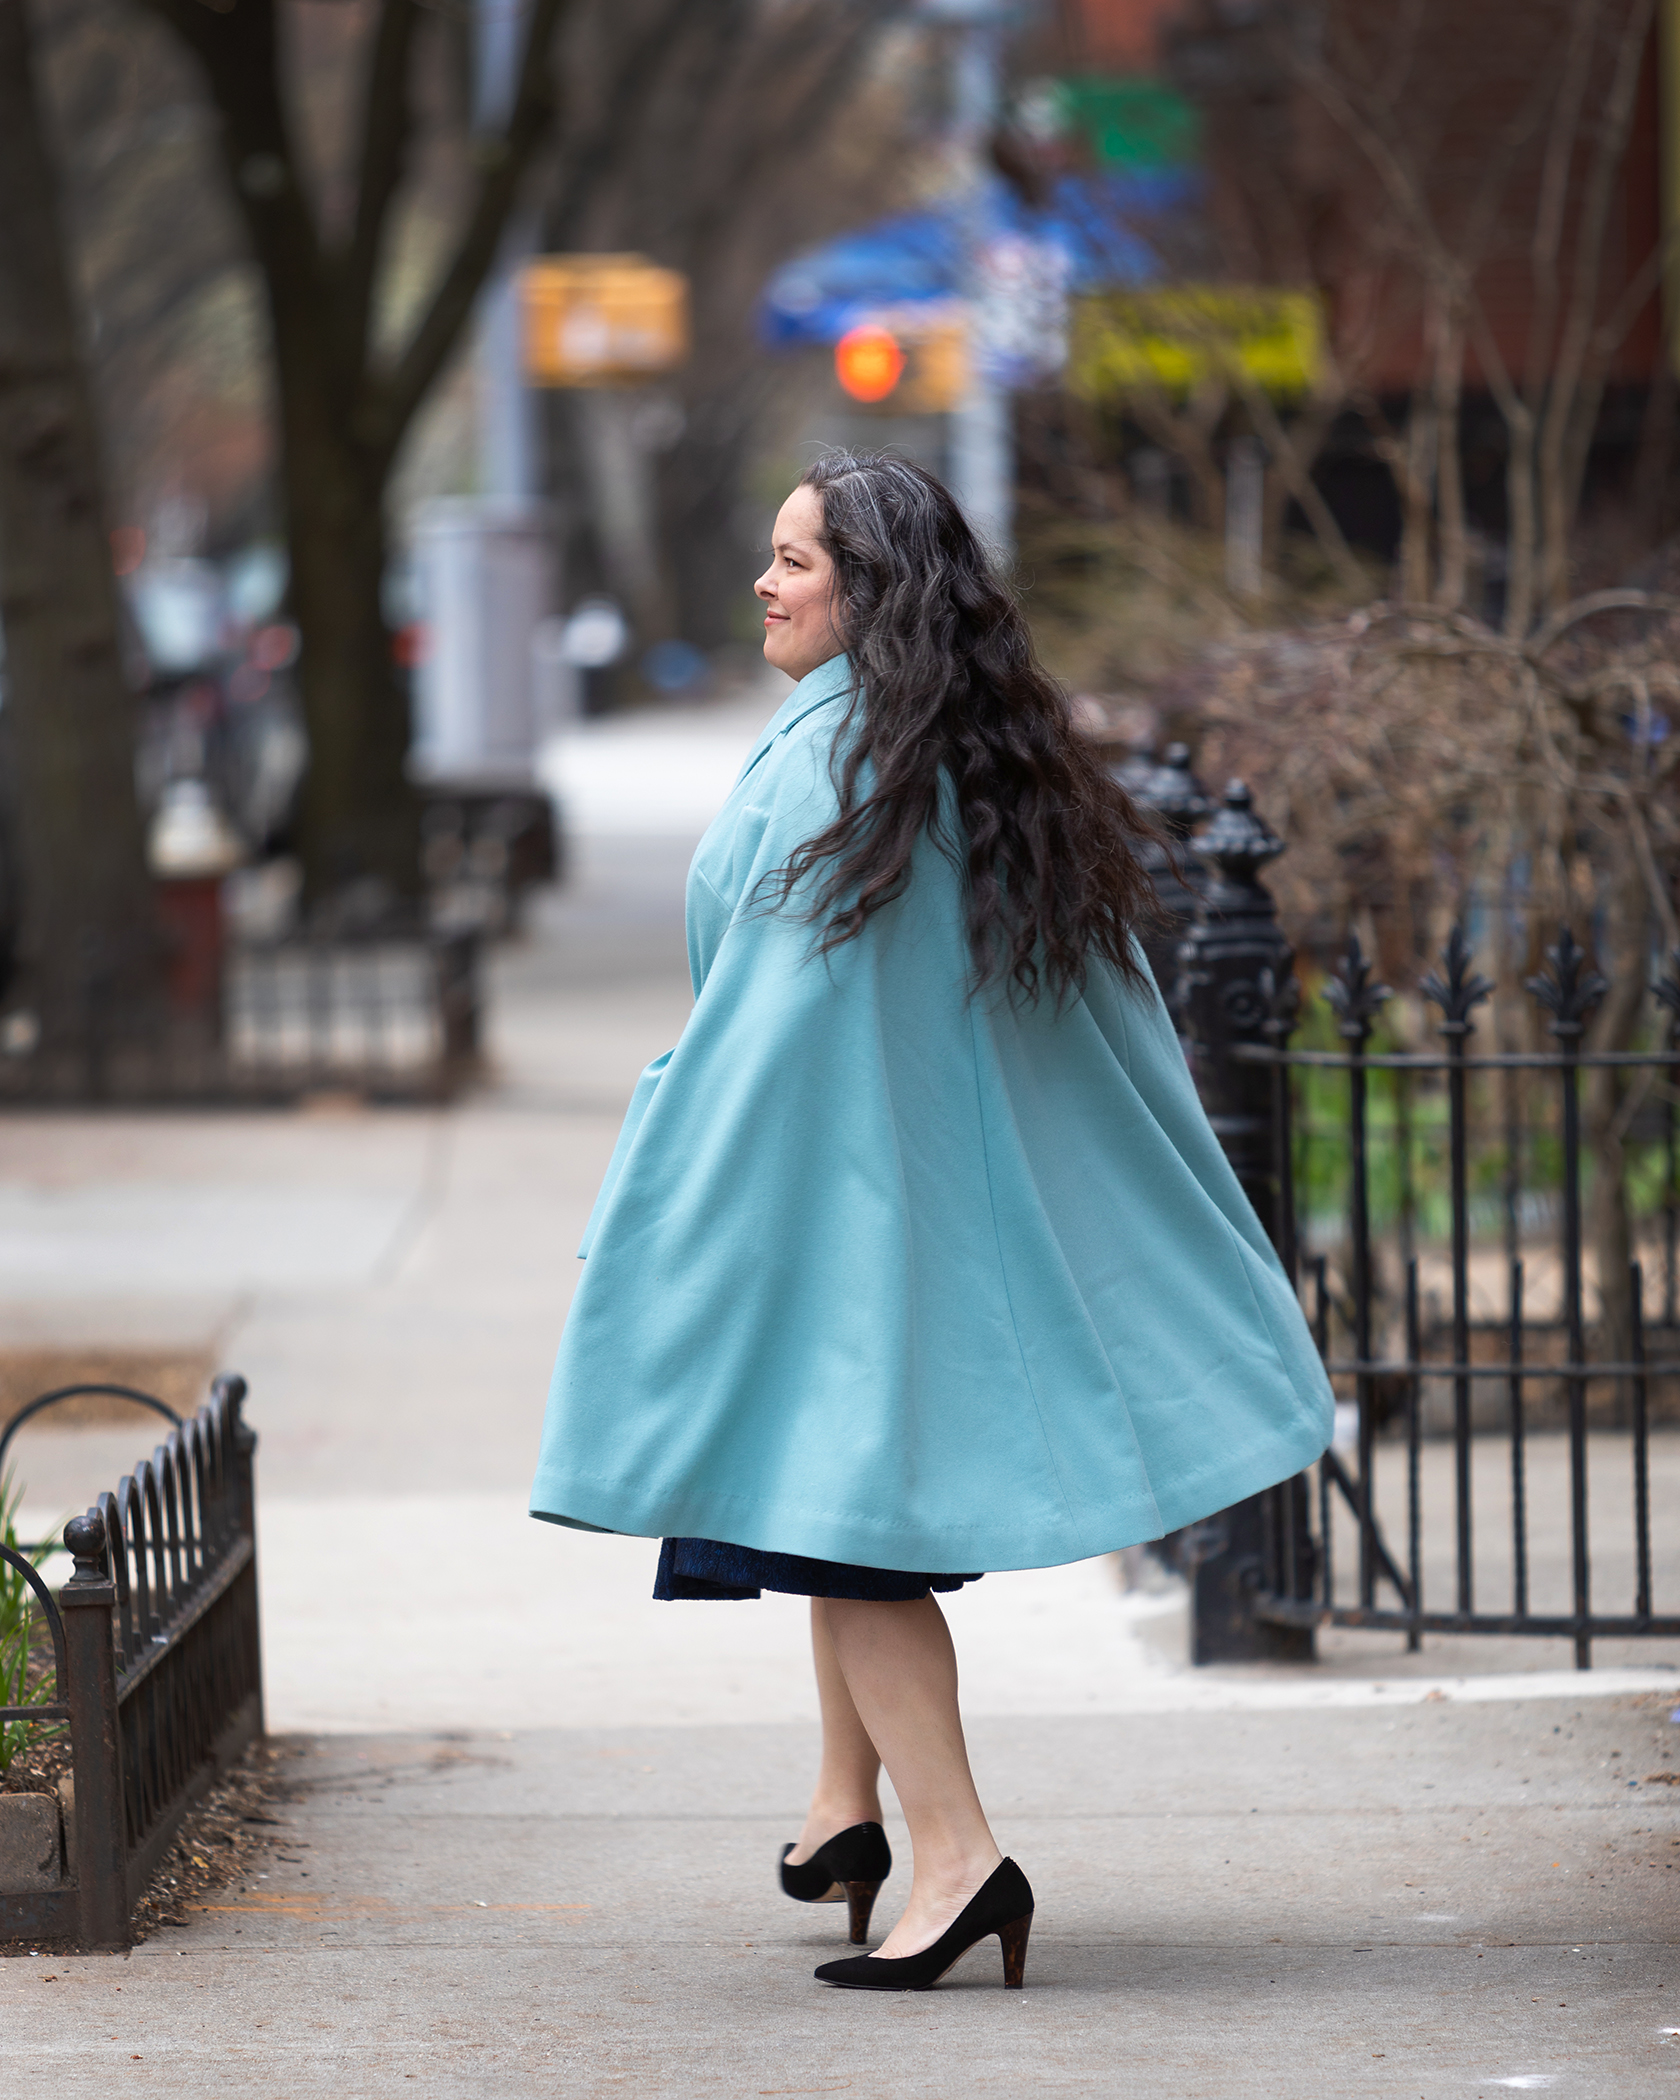
I love how it turned out, I love how the cape moves, and I love that finally, it REALLY was the year of the cape!


Elisa
It’s beautiful! Love the color, fit, and how carefully you finish your sewing. Thanks for sharing.
acraftyscrivener
SO pretty and elegant!
Burda Style Cape 10-2012-140 - The Serial Hobbyist Girl
[…] two and half years after finishing my gorgeous 1970s cape coat, last fall I had the sudden urge to make a beautiful and thoroughly impractical cape. Of course I […]