The Challenge: #9 Black and White.
Fabric: Handkerchief weight linen.
Pattern: No pattern but based on the instructions in The Medieval Tailor’s Assistant.
Year: Circa 13th century.
Notions: Thread.
How historically accurate is it? I machine-sewed everything except the neckline binding and the sleeve hems, which I hand sewed because they show. Based on that, I’m going to say 90% accurate.
Hours to complete: About 4 hours including the drafting.
First worn: Not worn yet but will be worn on Memorial Day weekend.
Total cost: I used about 3 yards of fabric, so $30, give or take.
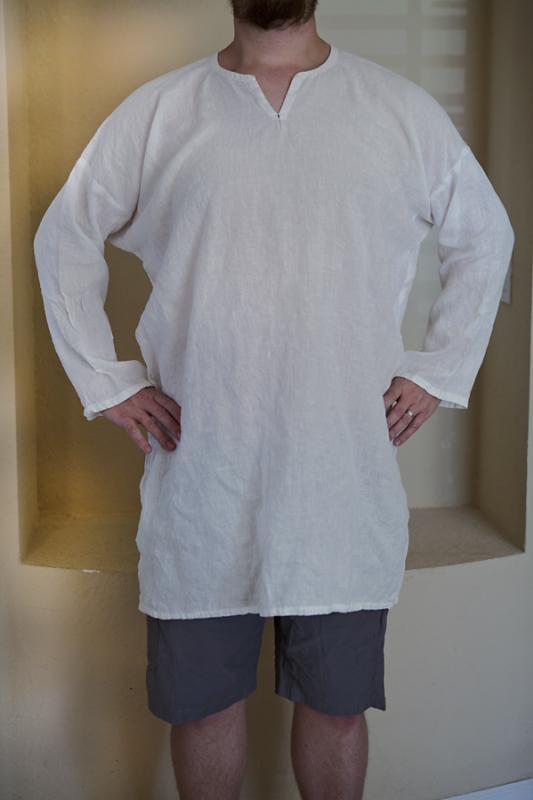
I thought about submitting this man’s shirt to the Underneath It All challenge retroactively but it was white so I decided to go ahead and submit it to this challenge instead. The challenge description says “Draw on the opposite ends of the shade spectrum to create something in black and white, or black or white” so this fits.
The shirt is part of an ensemble that somehow I agreed to make for my husband after the last large tunic I made him fell apart in the washing machine because I foolishly thought that pinking the raw edges would be enough. How a torn tunic translates into a whole outfit, undershirt, hosen, and all, I’ll never know. The truth is, I enjoy sewing, obviously, but on my terms, so while I am perfectly OK with making this for him, I wish I hadn’t set a deadline. But I digress.
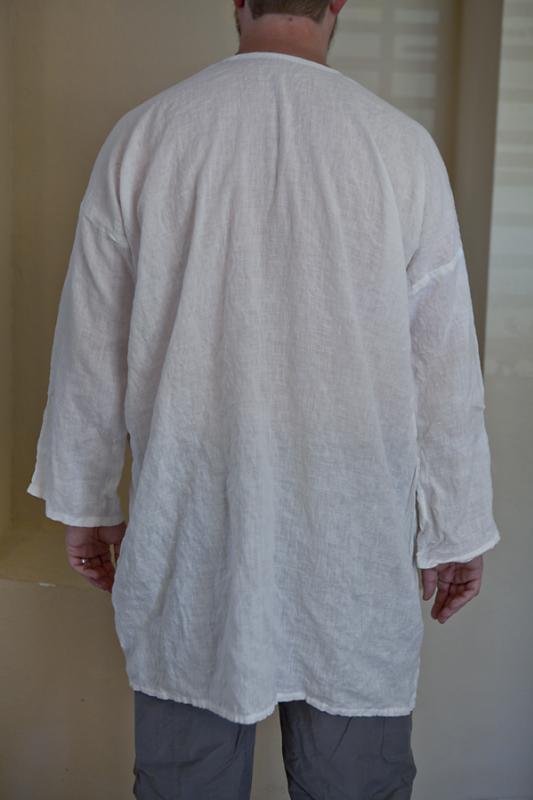
The shirt itself is very simple in design and construction, it’s basically rectangles and squares. I followed the instructions on The Medieval Tailor’s Assistant, and decided to cut the fabric based on the measurements and not actually made a pattern, at least for the body. It turned out alright in the end but having a piece of paper to put to the fabric would have made it much easier. I did draft a pattern for the sleeves, if you can call it that, to make it easier to cut. In the end, the only change I made from my original measurements was to shorten the sleeve. I drafted the sleeve pattern based on the measurements for his arm length, which is what the book has you do, but you must take into consideration how far down the arm the actual body of the shirt comes because that’s where the sleeve starts, not at the shoulder. Without cutting off that fabric, the sleeves on him came about 6 inches past the tip of his fingers. I was almost certain I could have made a pair of shorts for our son with the extra fabric. Come think it, because I cut the fabric for the sleeves we also decided to not made the sleeves as wide as we had initially planned. Initially we had planned for a 60cm wide sleeve and cut it down to 40cm. This not only conserved fabric but also made the sleeves fit better, especially since they have a gusset.
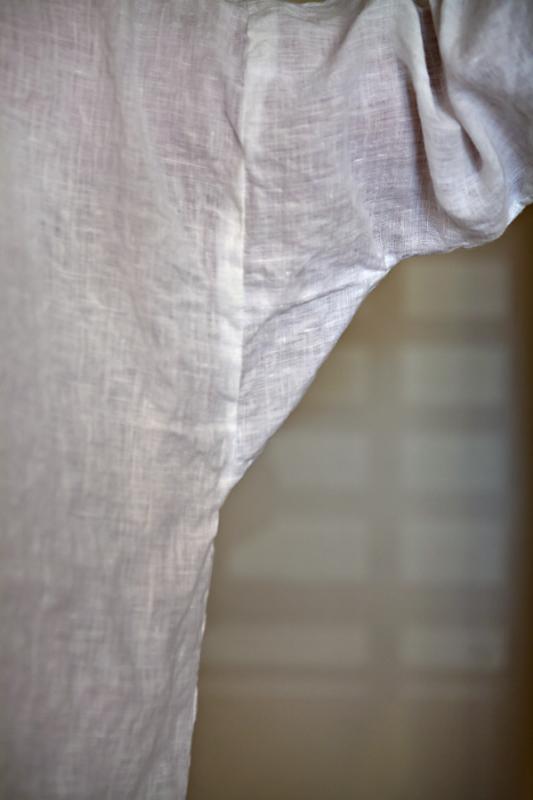
The Medieval Tailor’s Assistant gives two options on how to attach the gussets and sew the sleeves in. One is for set in sleeves, and the other for sleeves and gussets sewn flat. I had always done them set in so I thought I’d try sewing them flat and see if that was easier. No, it isn’t. It isn’t any more difficult either but it doesn’t produce a nice, neat, finish, so I’ll keep setting them in the round.
This isn’t a terribly exciting garment, but it is a necessary one and one that will get a lot of use, so I’m glad it’s done. Now I can move on to the other pieces of the outfit and keep cursing myself for setting deadline (which I won’t meet!) in the first place.
Leave a Reply