I really don’t know what my obsession with capes is, but I know that I simply cannot resist earmarking every Burda Style cape when they come up in the magazine. Or buying every damned cape pattern released by pattern companies. It all started when I first began subscribing to Burda (Burda World of Fashion at the time) and has only gotten worse since. Burda Style and I may be breaking up, but we had some good times.
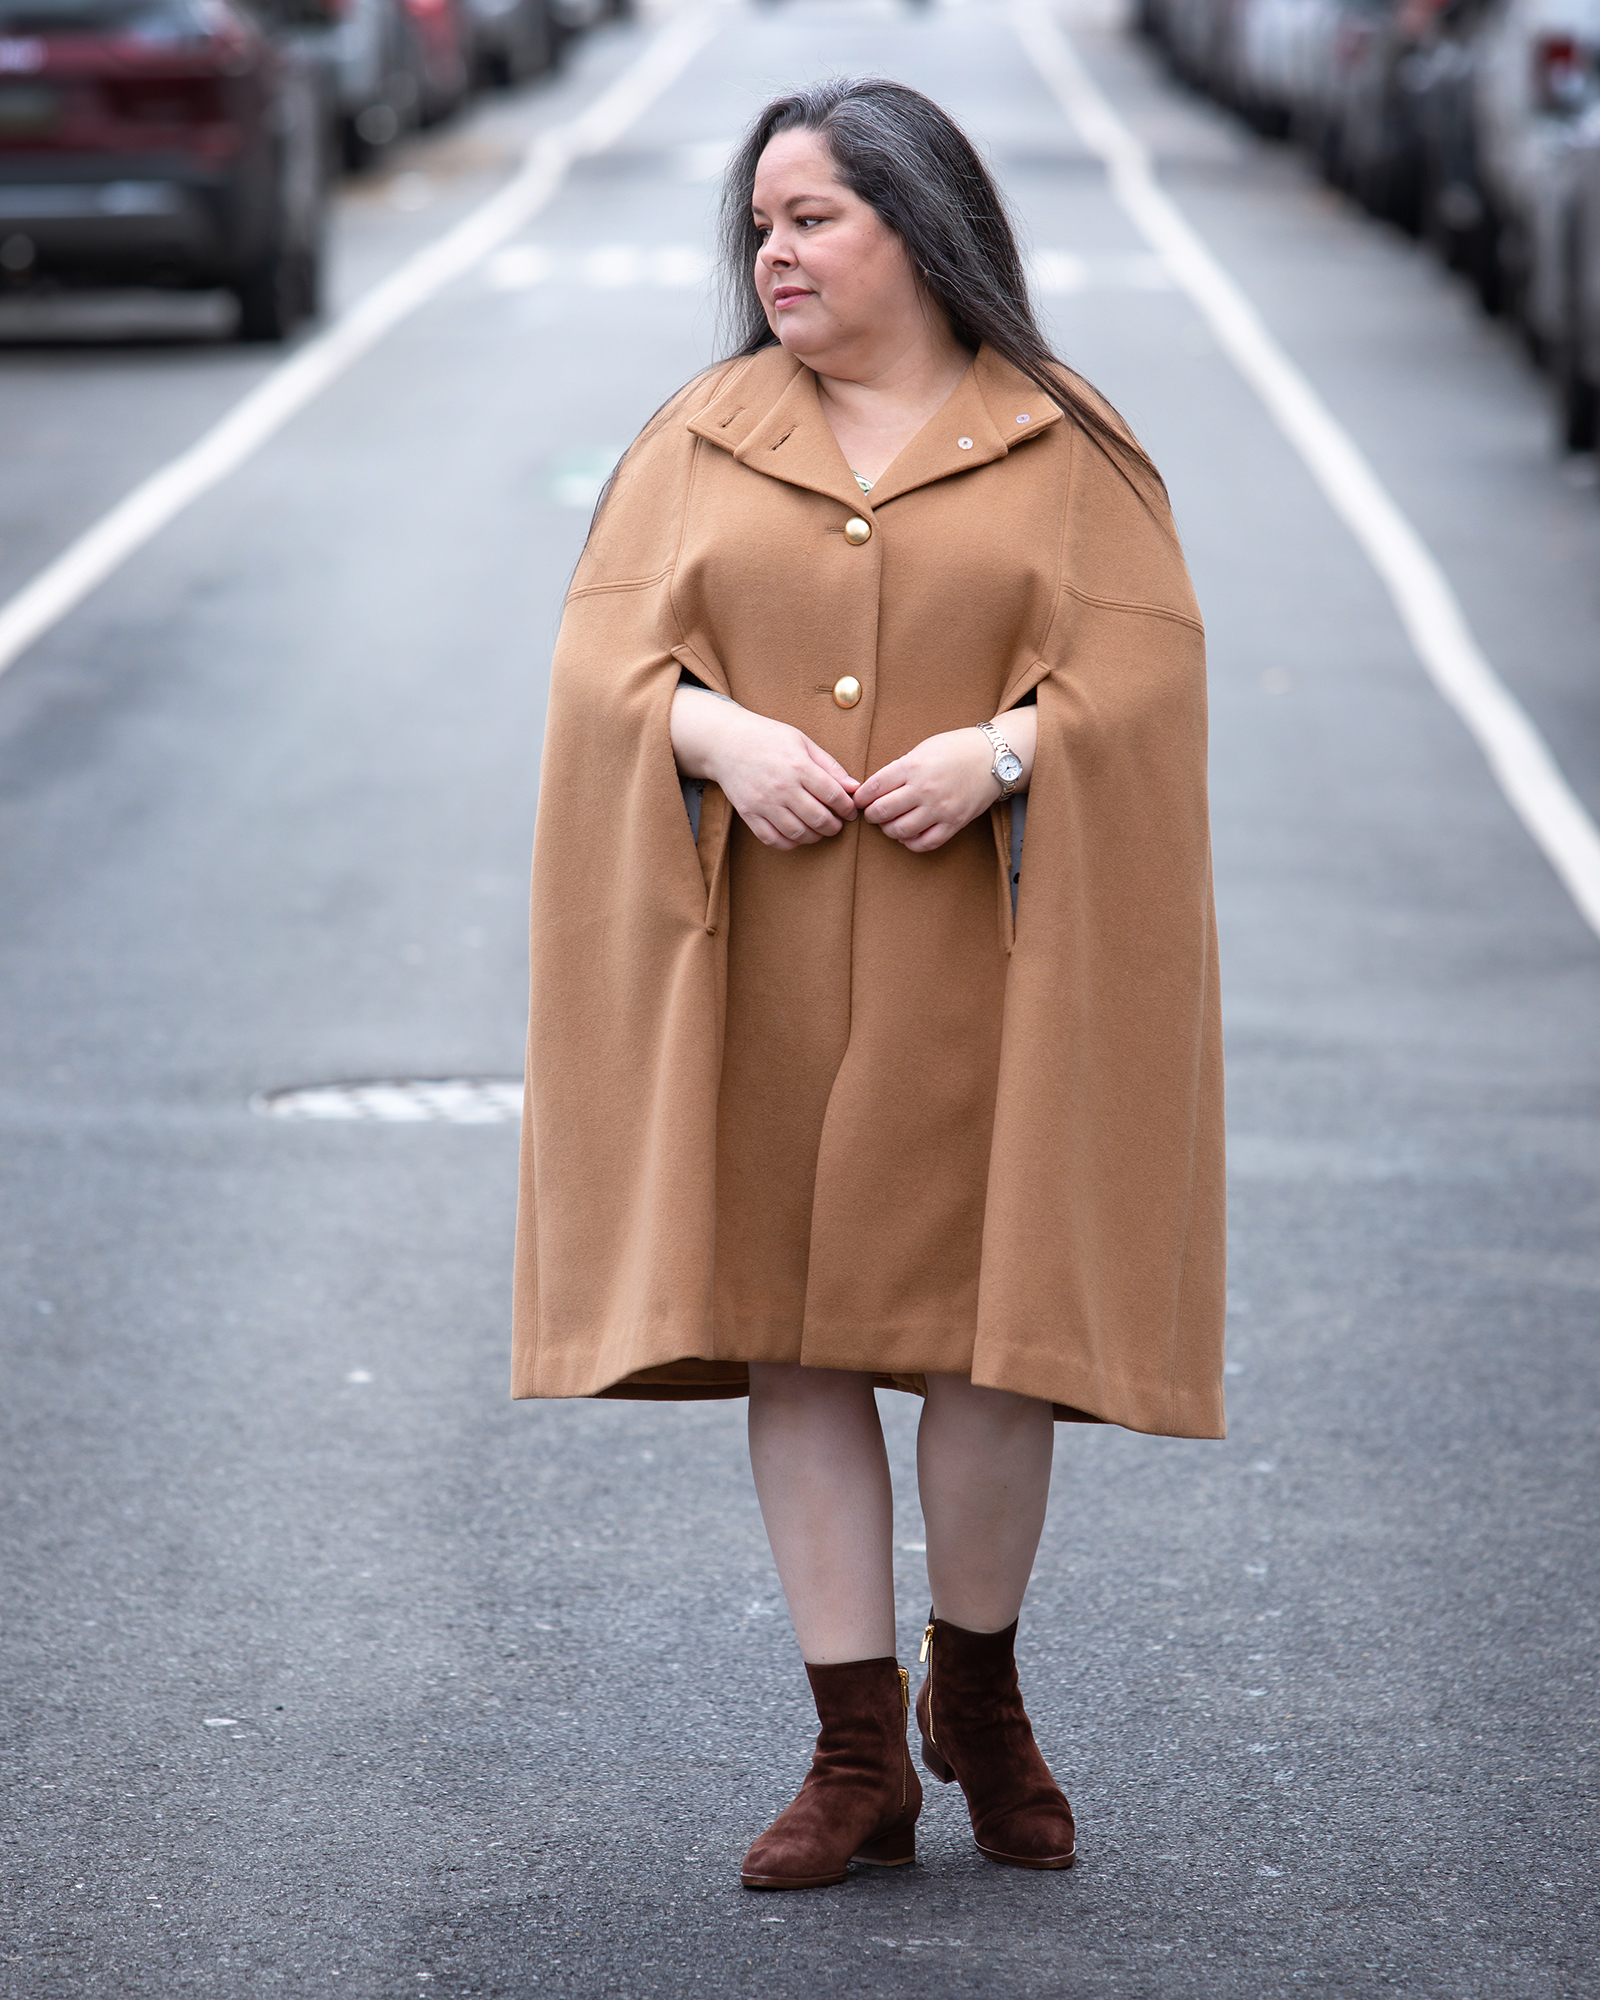
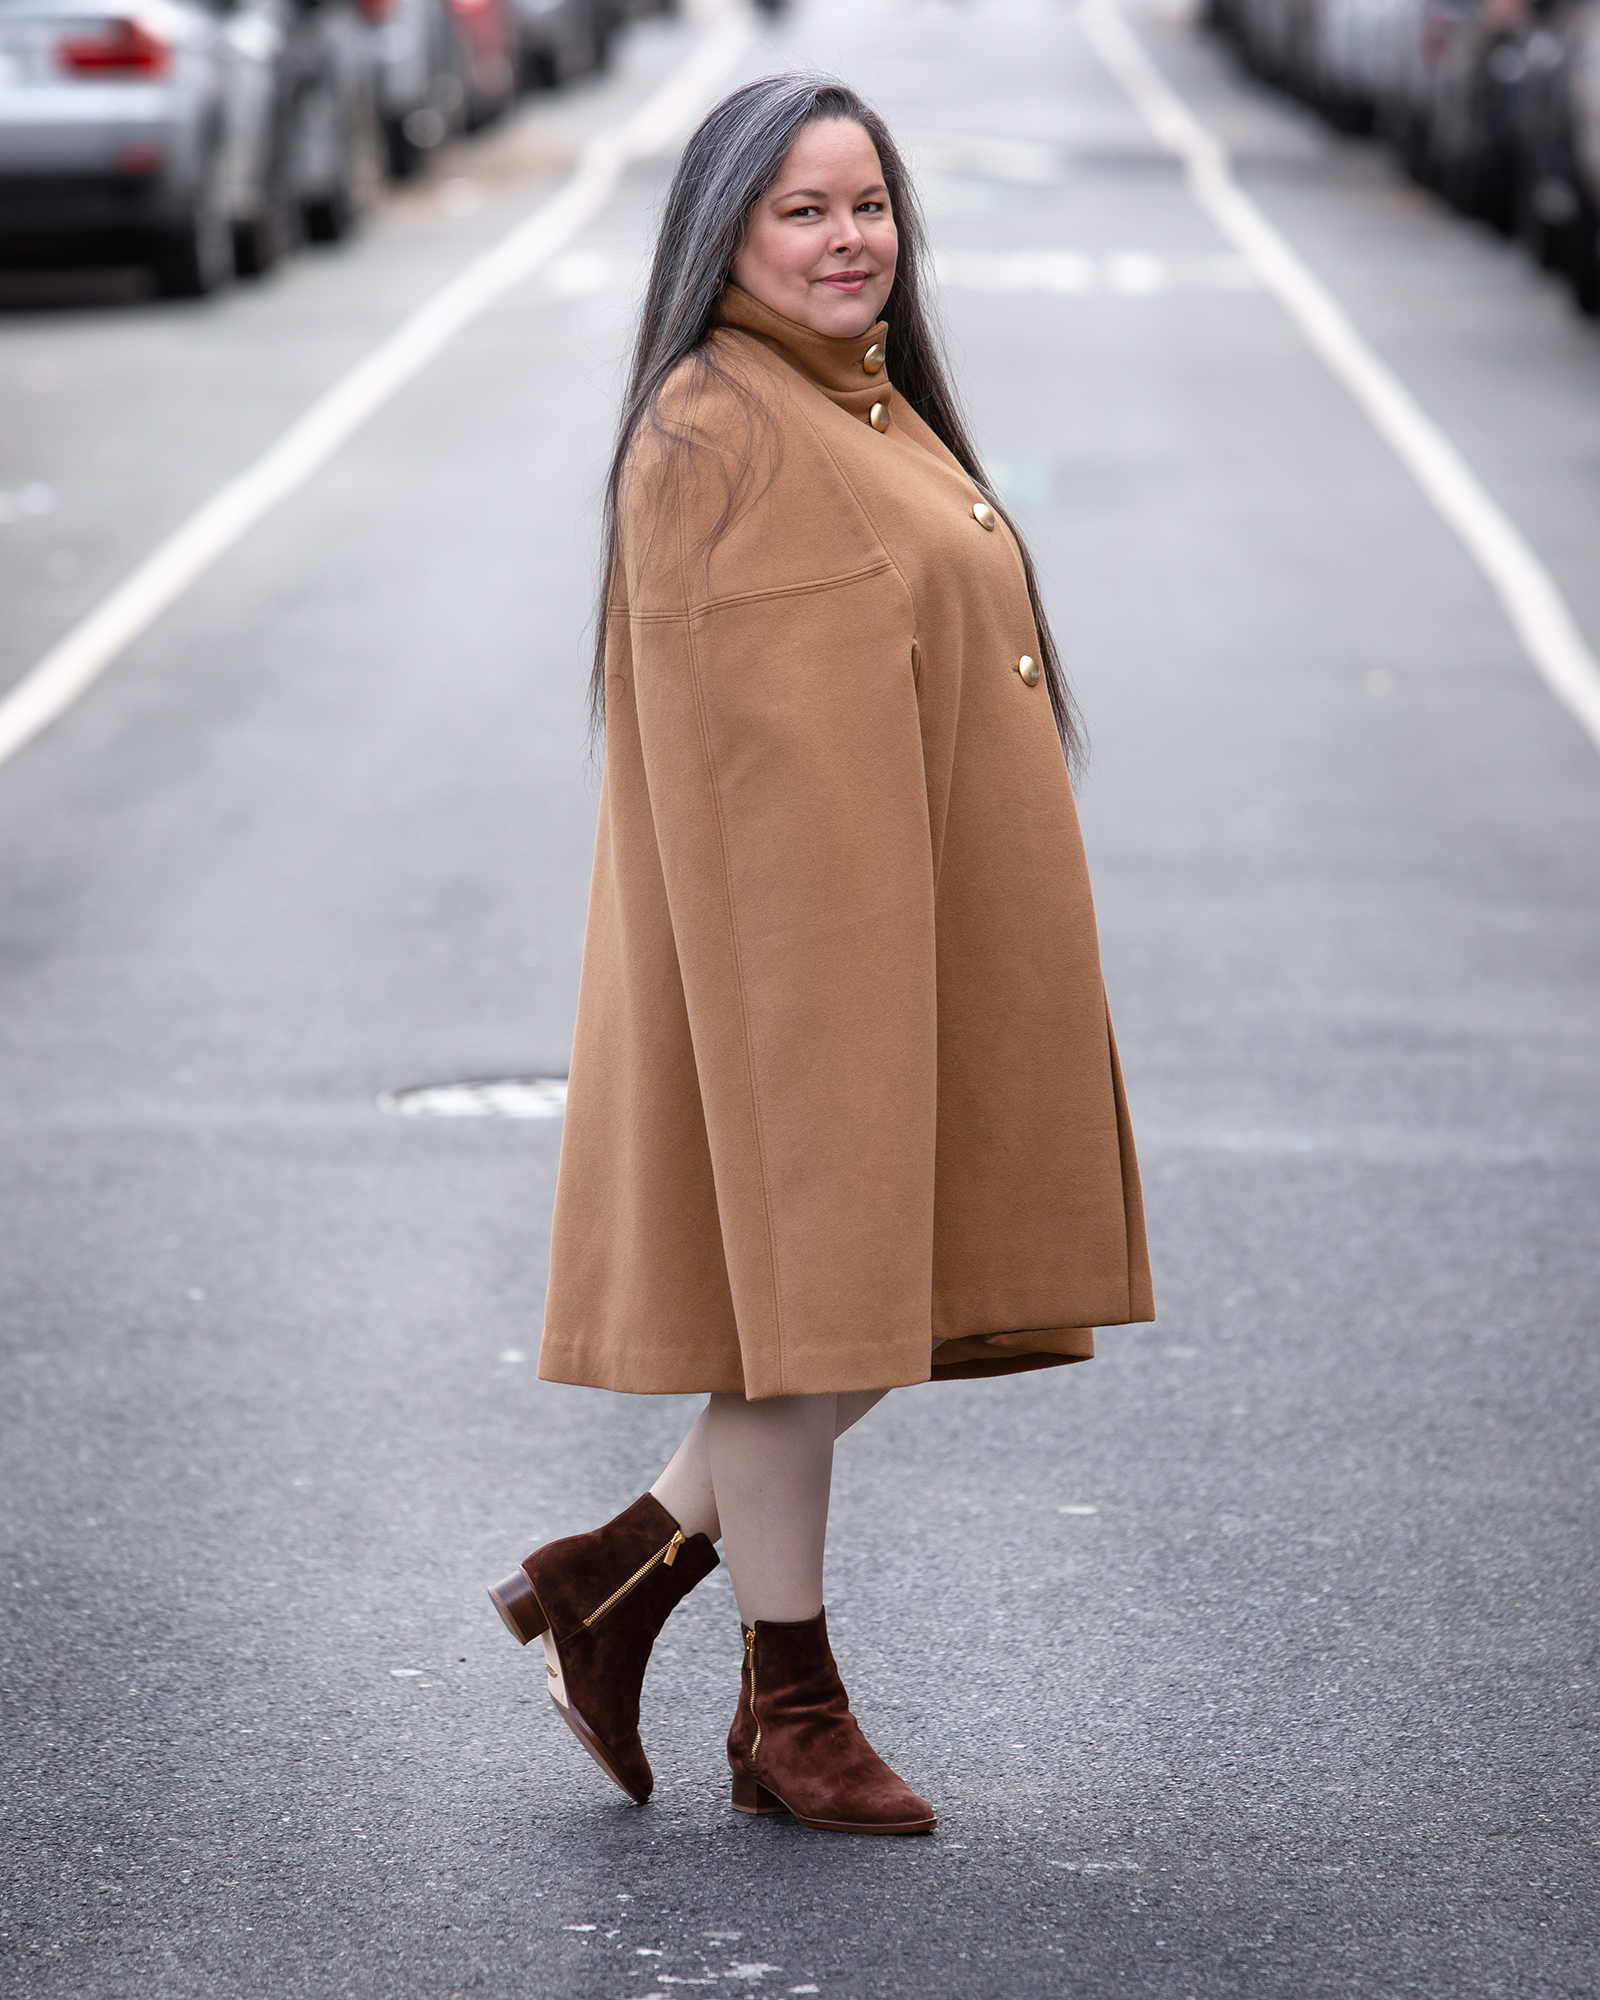
Anyway, two and a half years after finishing my gorgeous 1970s cape coat, last fall I had the sudden urge to make a beautiful and thoroughly impractical cape. Of course I turned to Burda Style because it is the queen of capes. I chose a pattern in the October 2012 issue (10-2012-140). This pattern is in the plus size section and I made a size 46 with several fit adjustments.
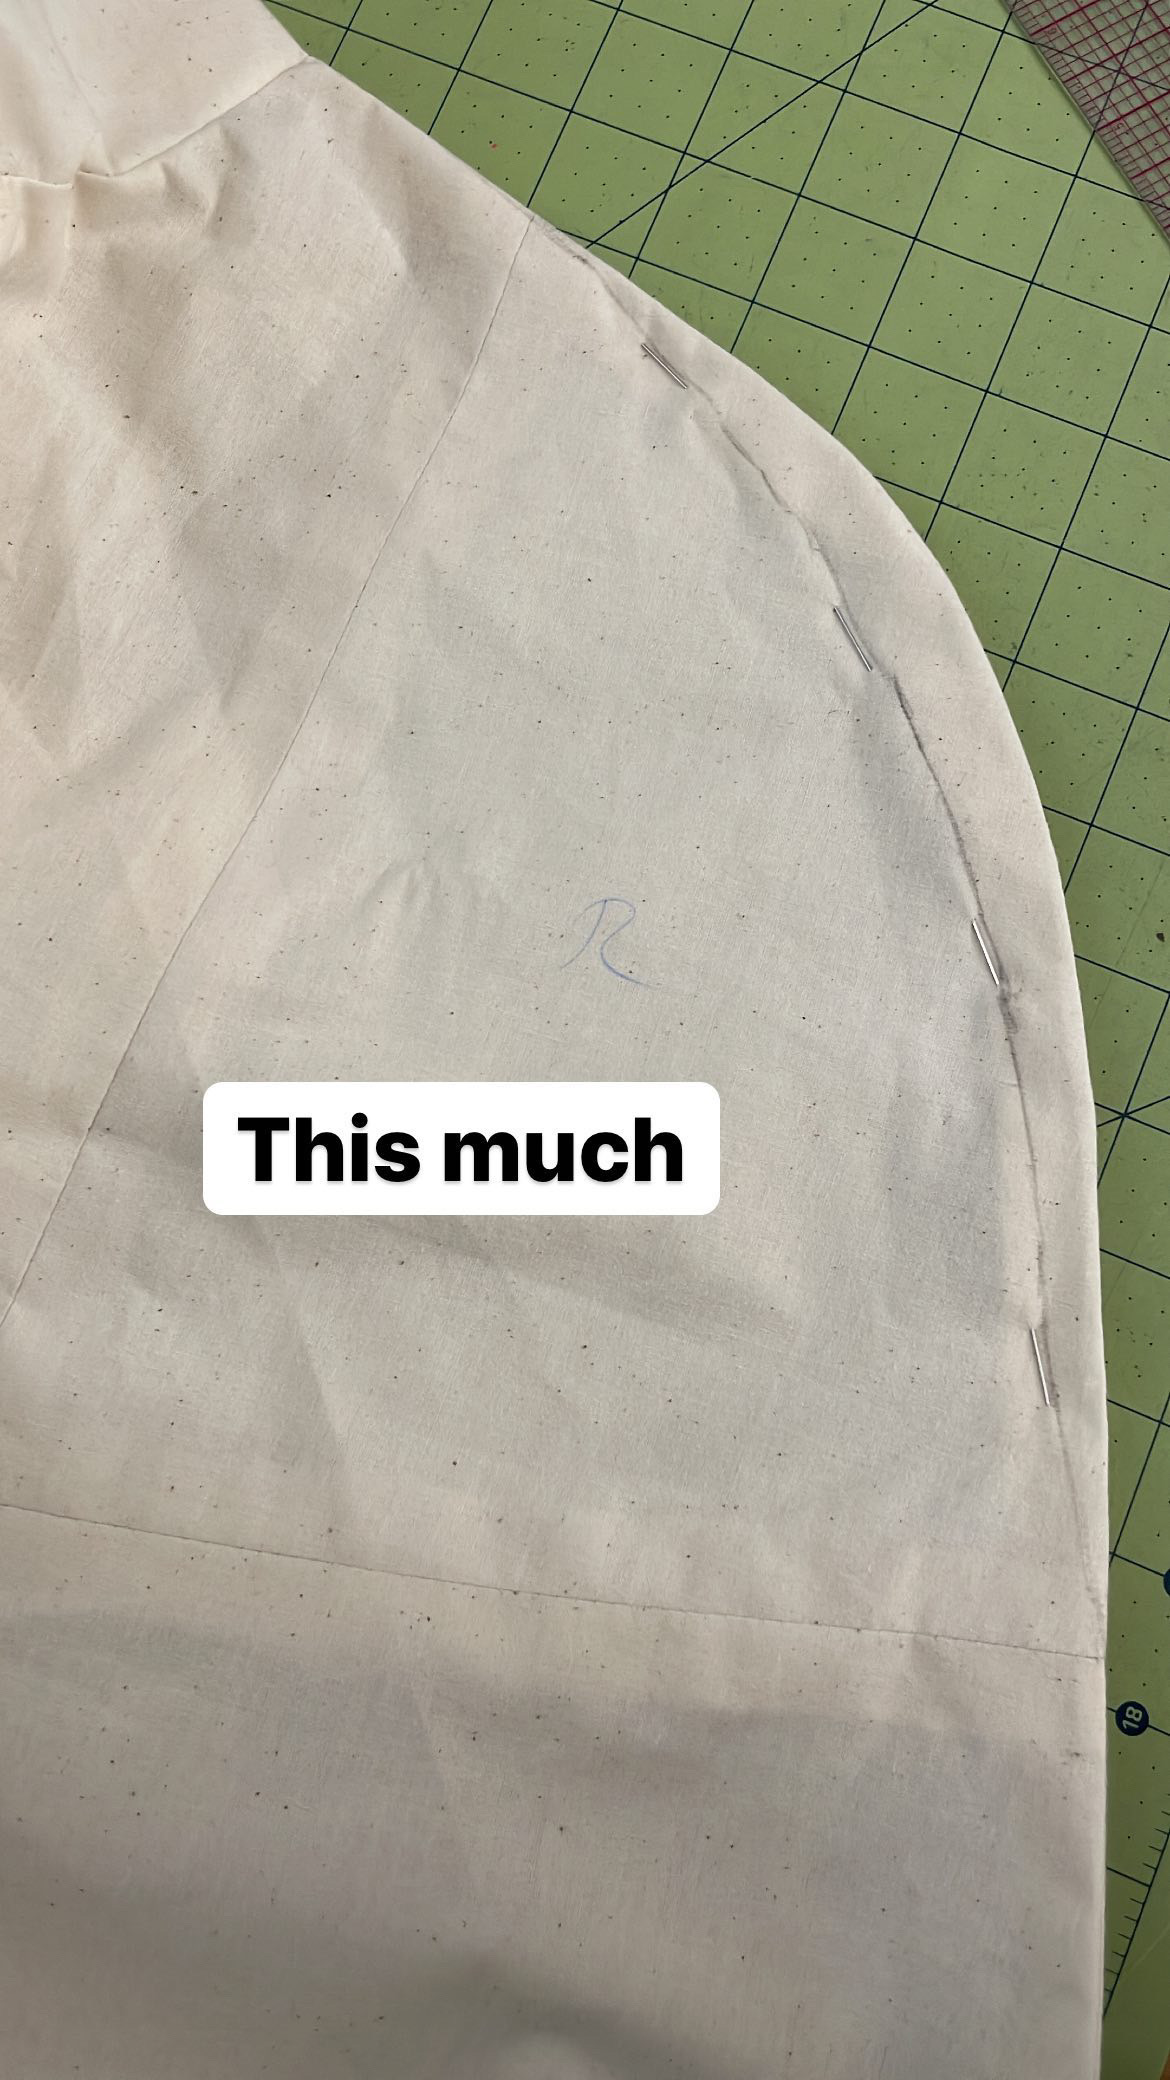
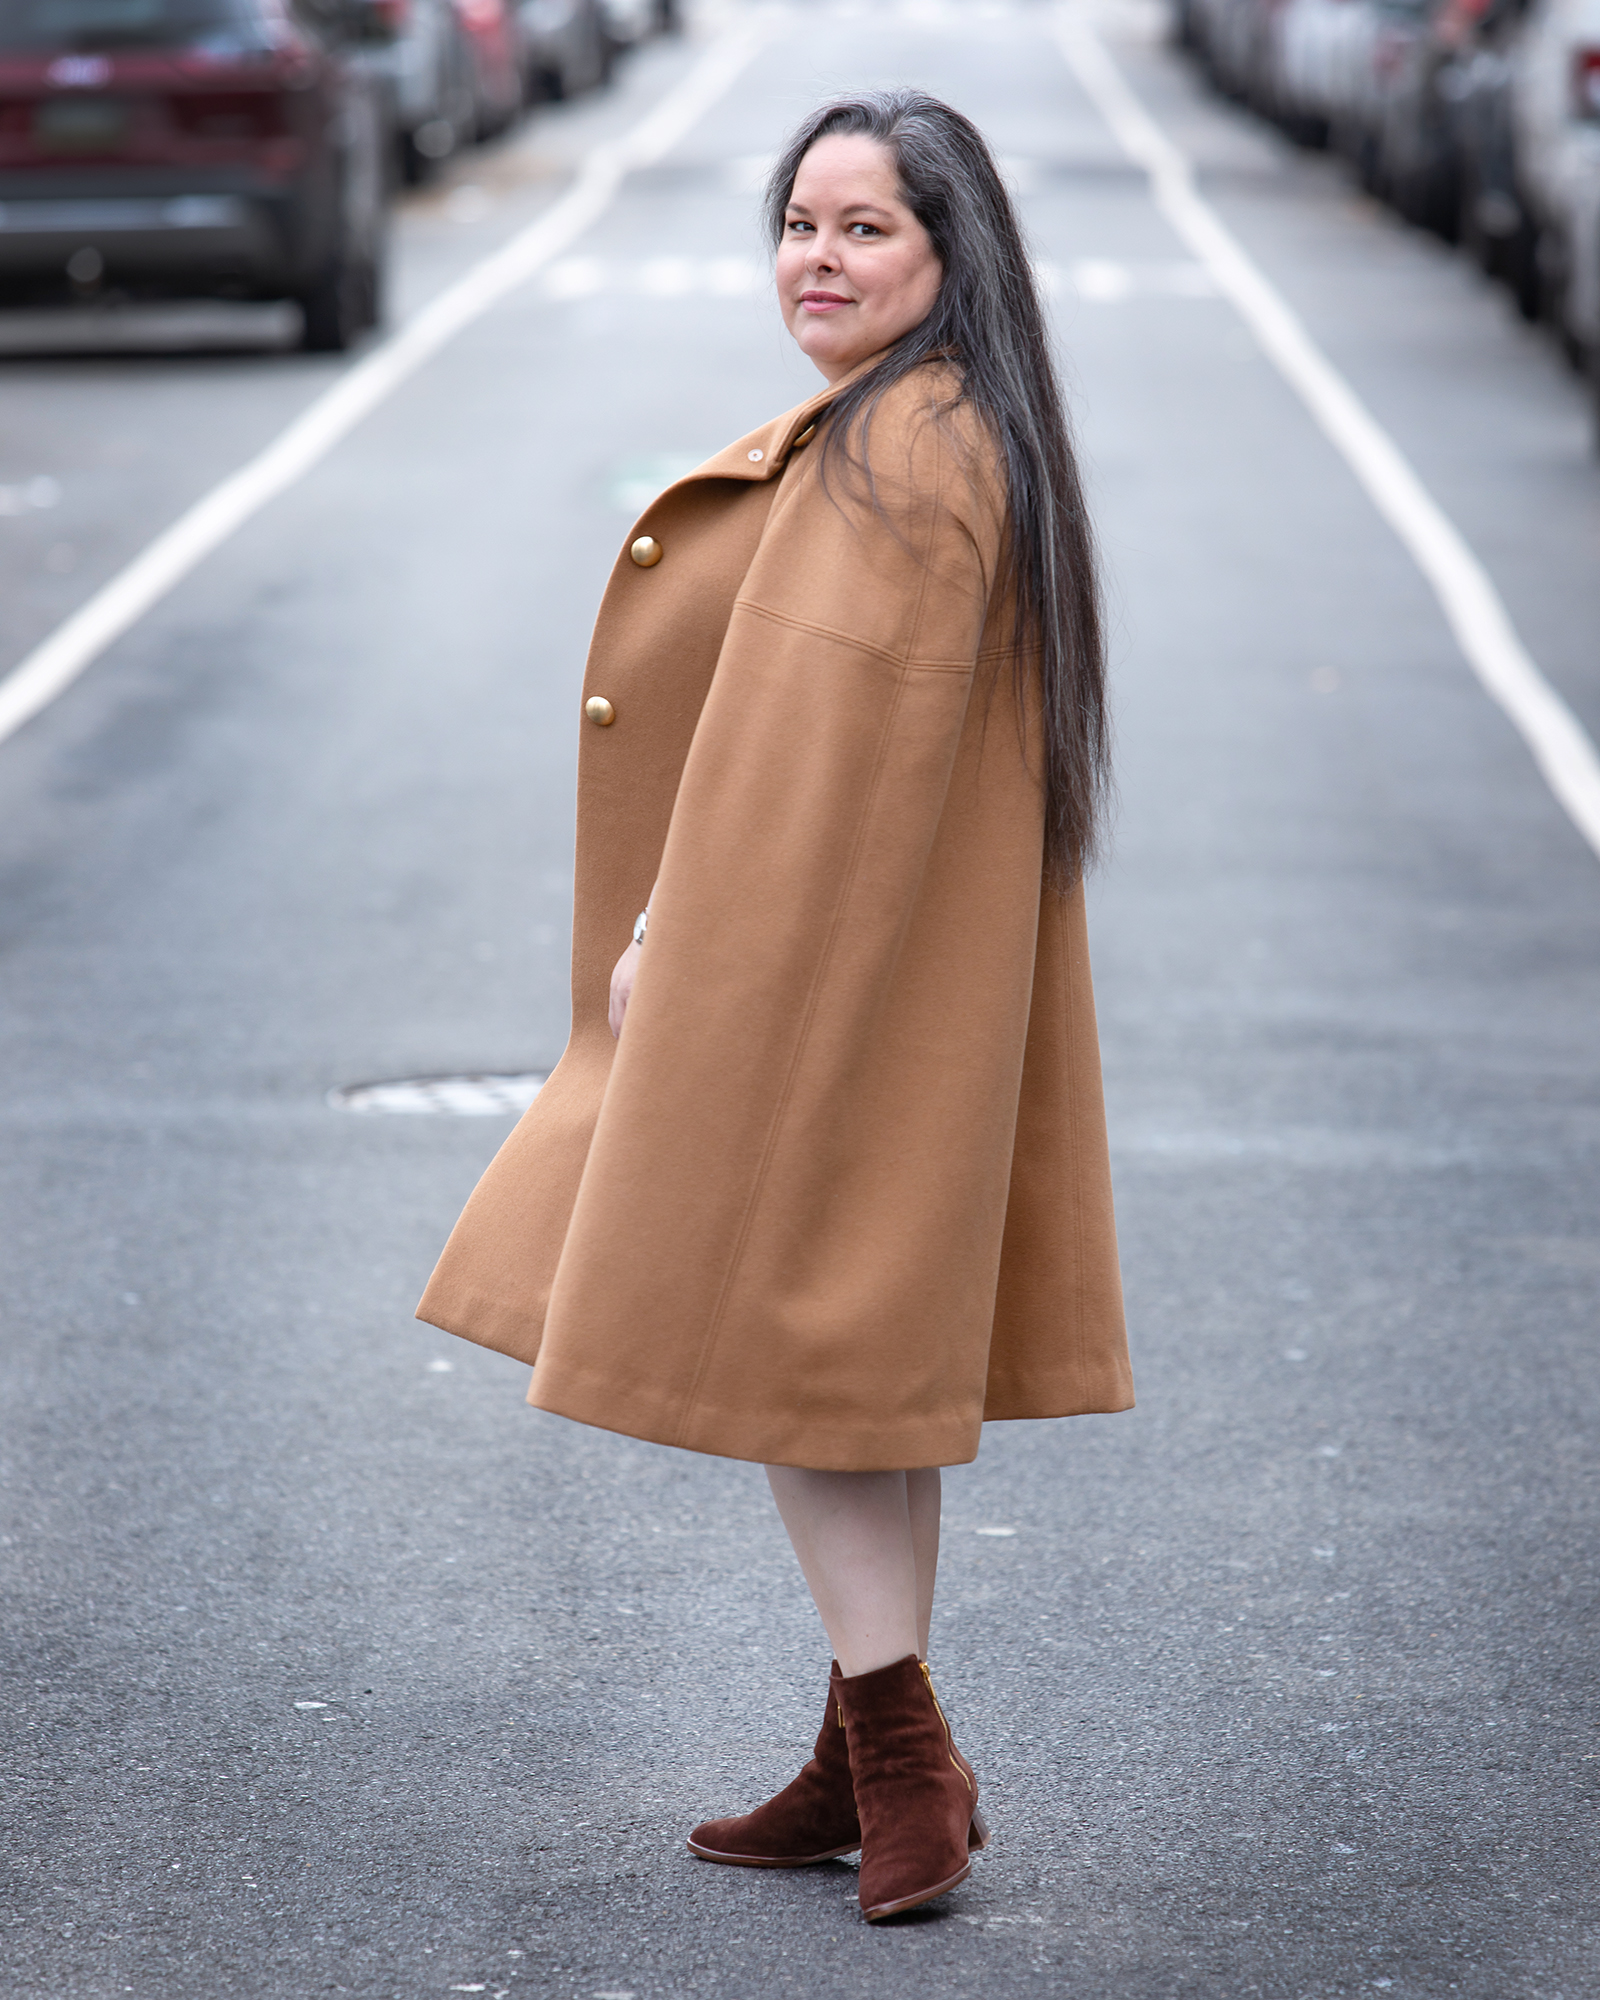
Even before I cut the muslin, I chopped two inches off the length of the cape since I’m 5’1.5″ The first adjustment to the muslin itself was the width of the shoulders, which thankfully showed up as a problem at this stage and not later. Yes, I made a muslin even though this isn’t a fitted garment, and I’m glad I did. The shoulders as drafted were far too wide, not just for me but for anyone else too I suspect. They made me look like an American football linebacker. I fixed this by flattening the curvature of the shoulder line a bit, starting from nothing at the neckline seam, and tapering to nothing again where the yoke ends. This made for a much better fit across the shoulders. If it looked awful in thin and floppy muslin, imagine how it would have looked in thick, structured wool coating!

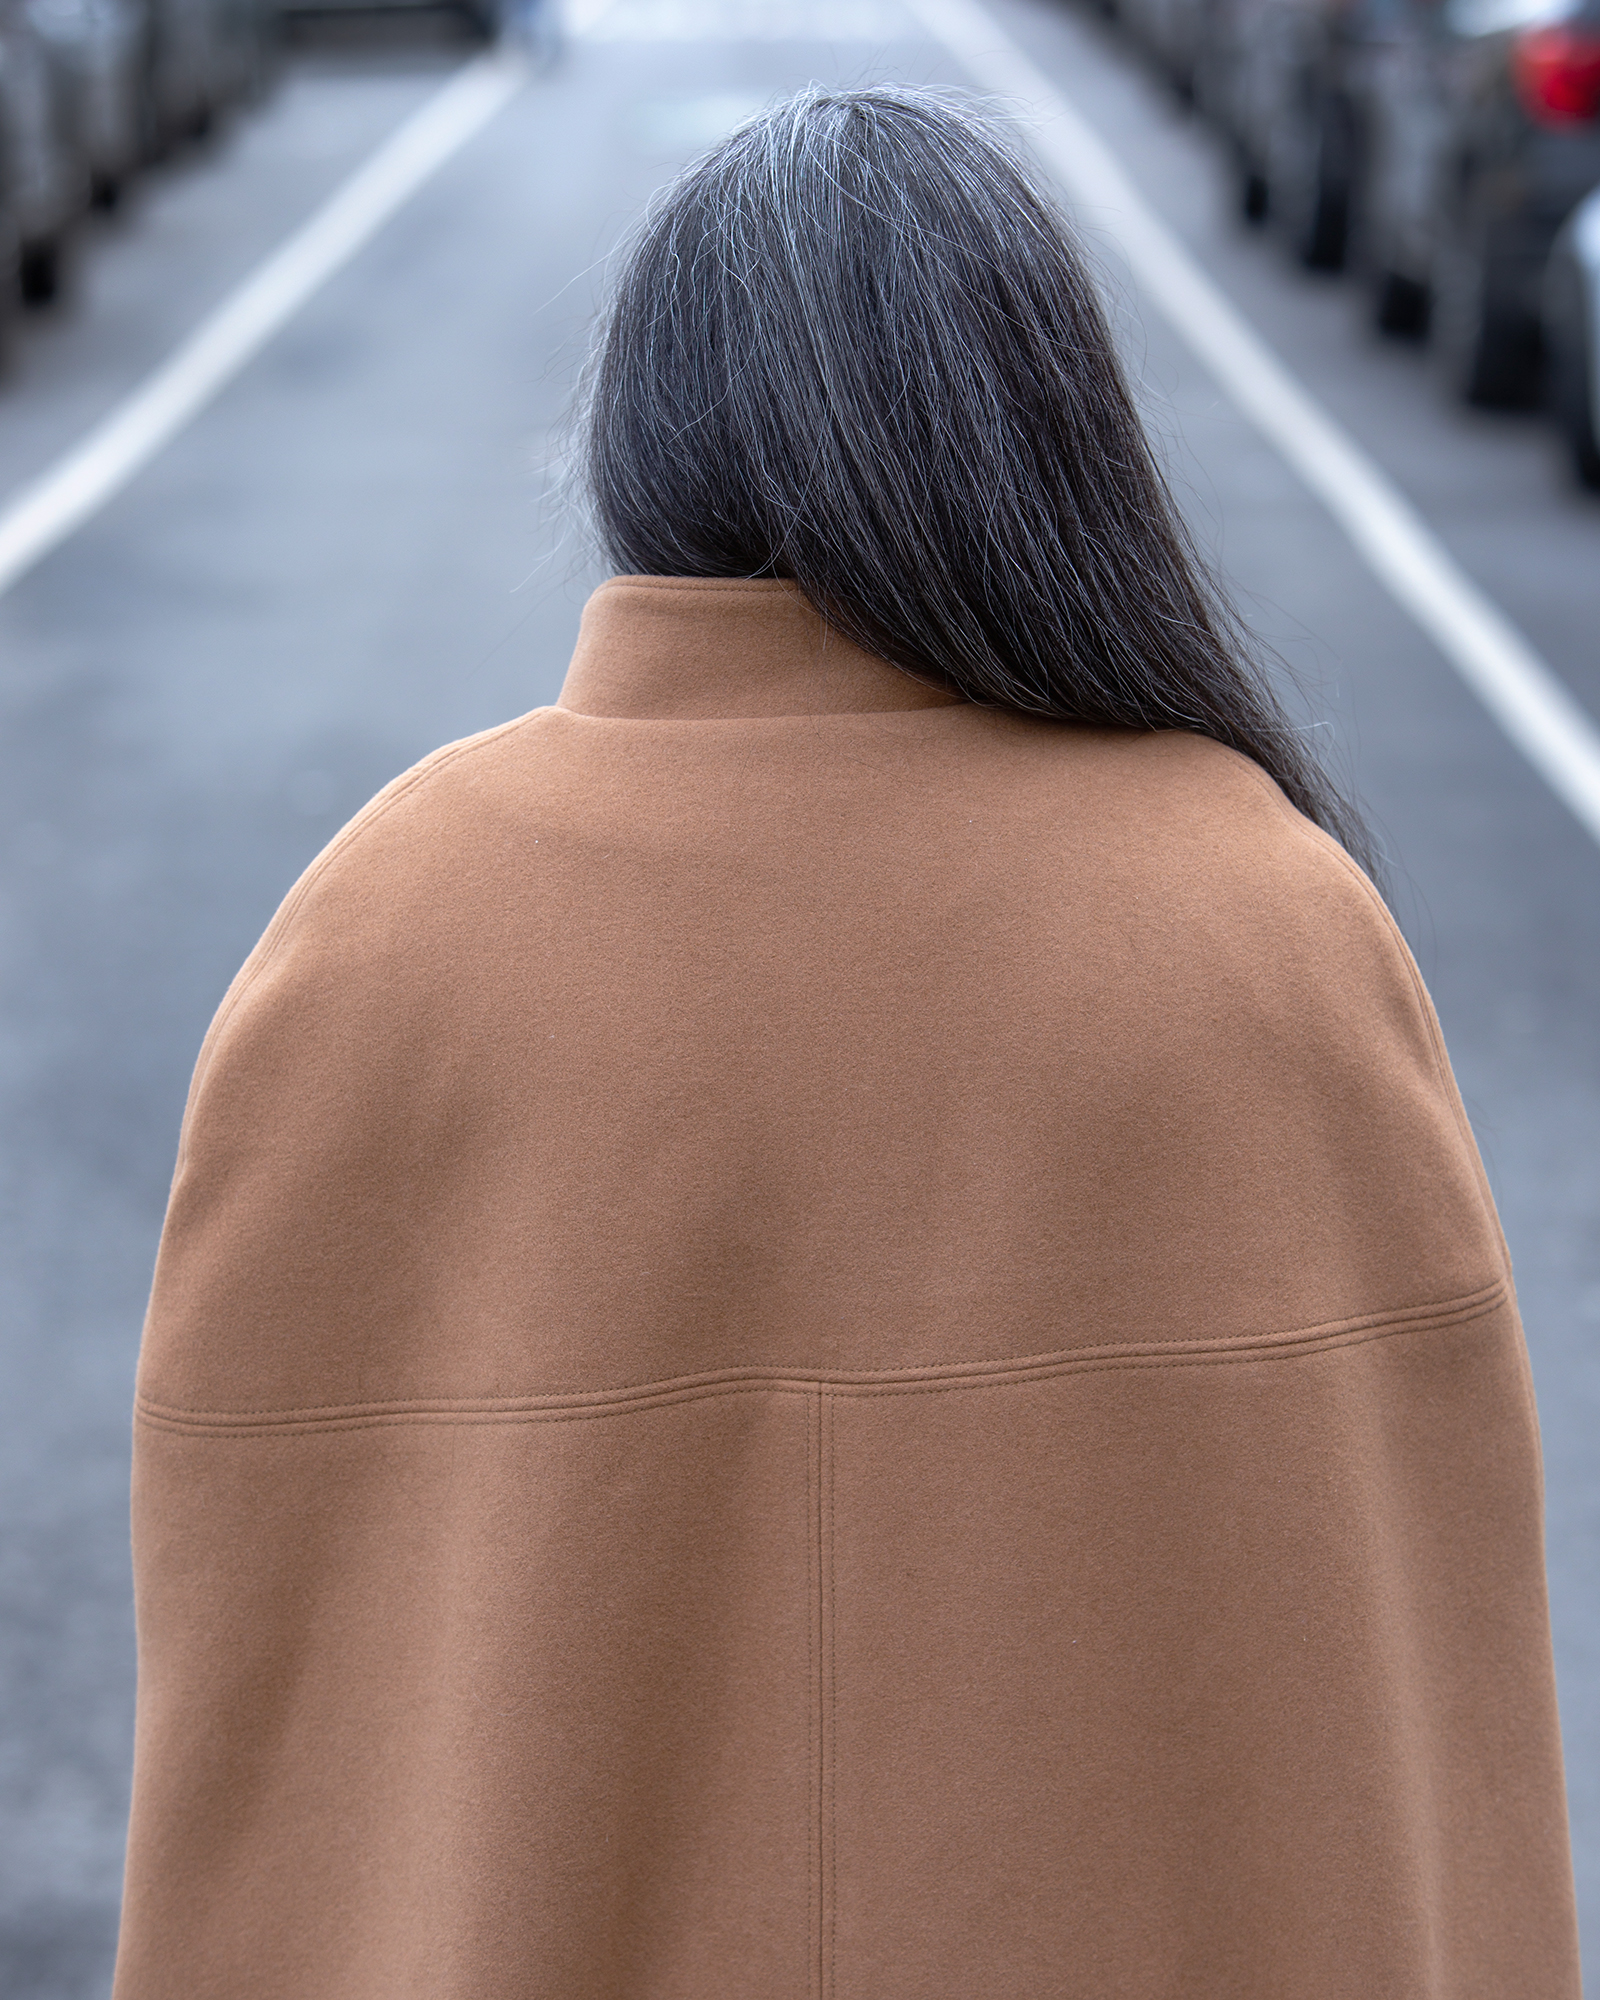
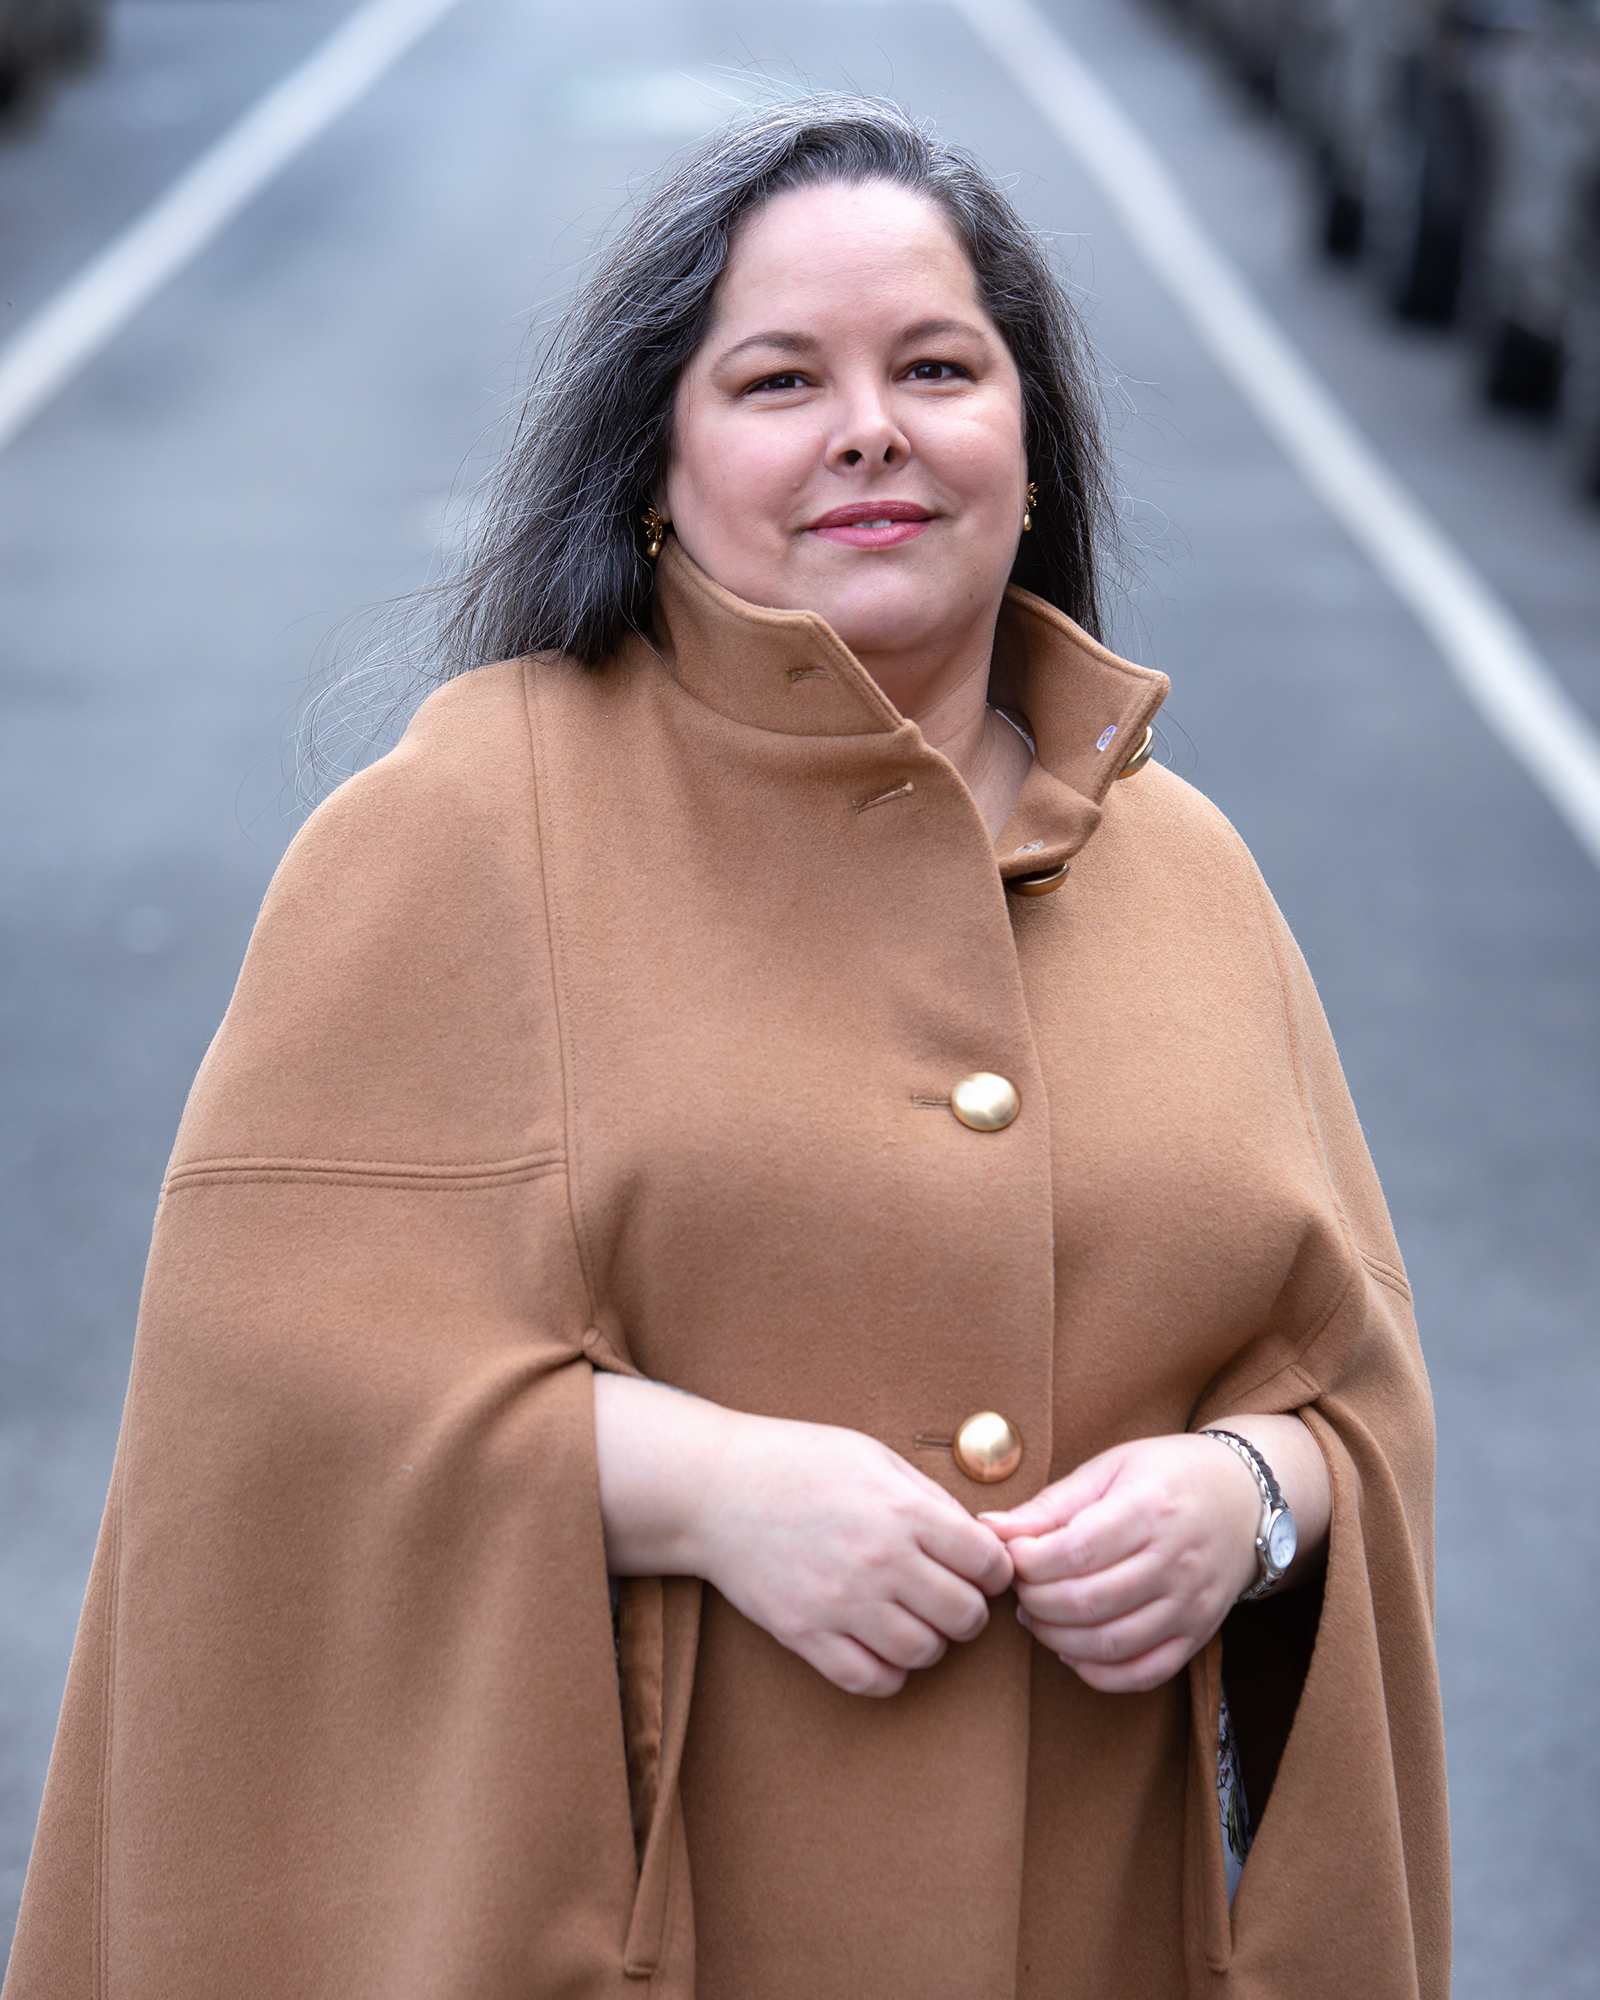
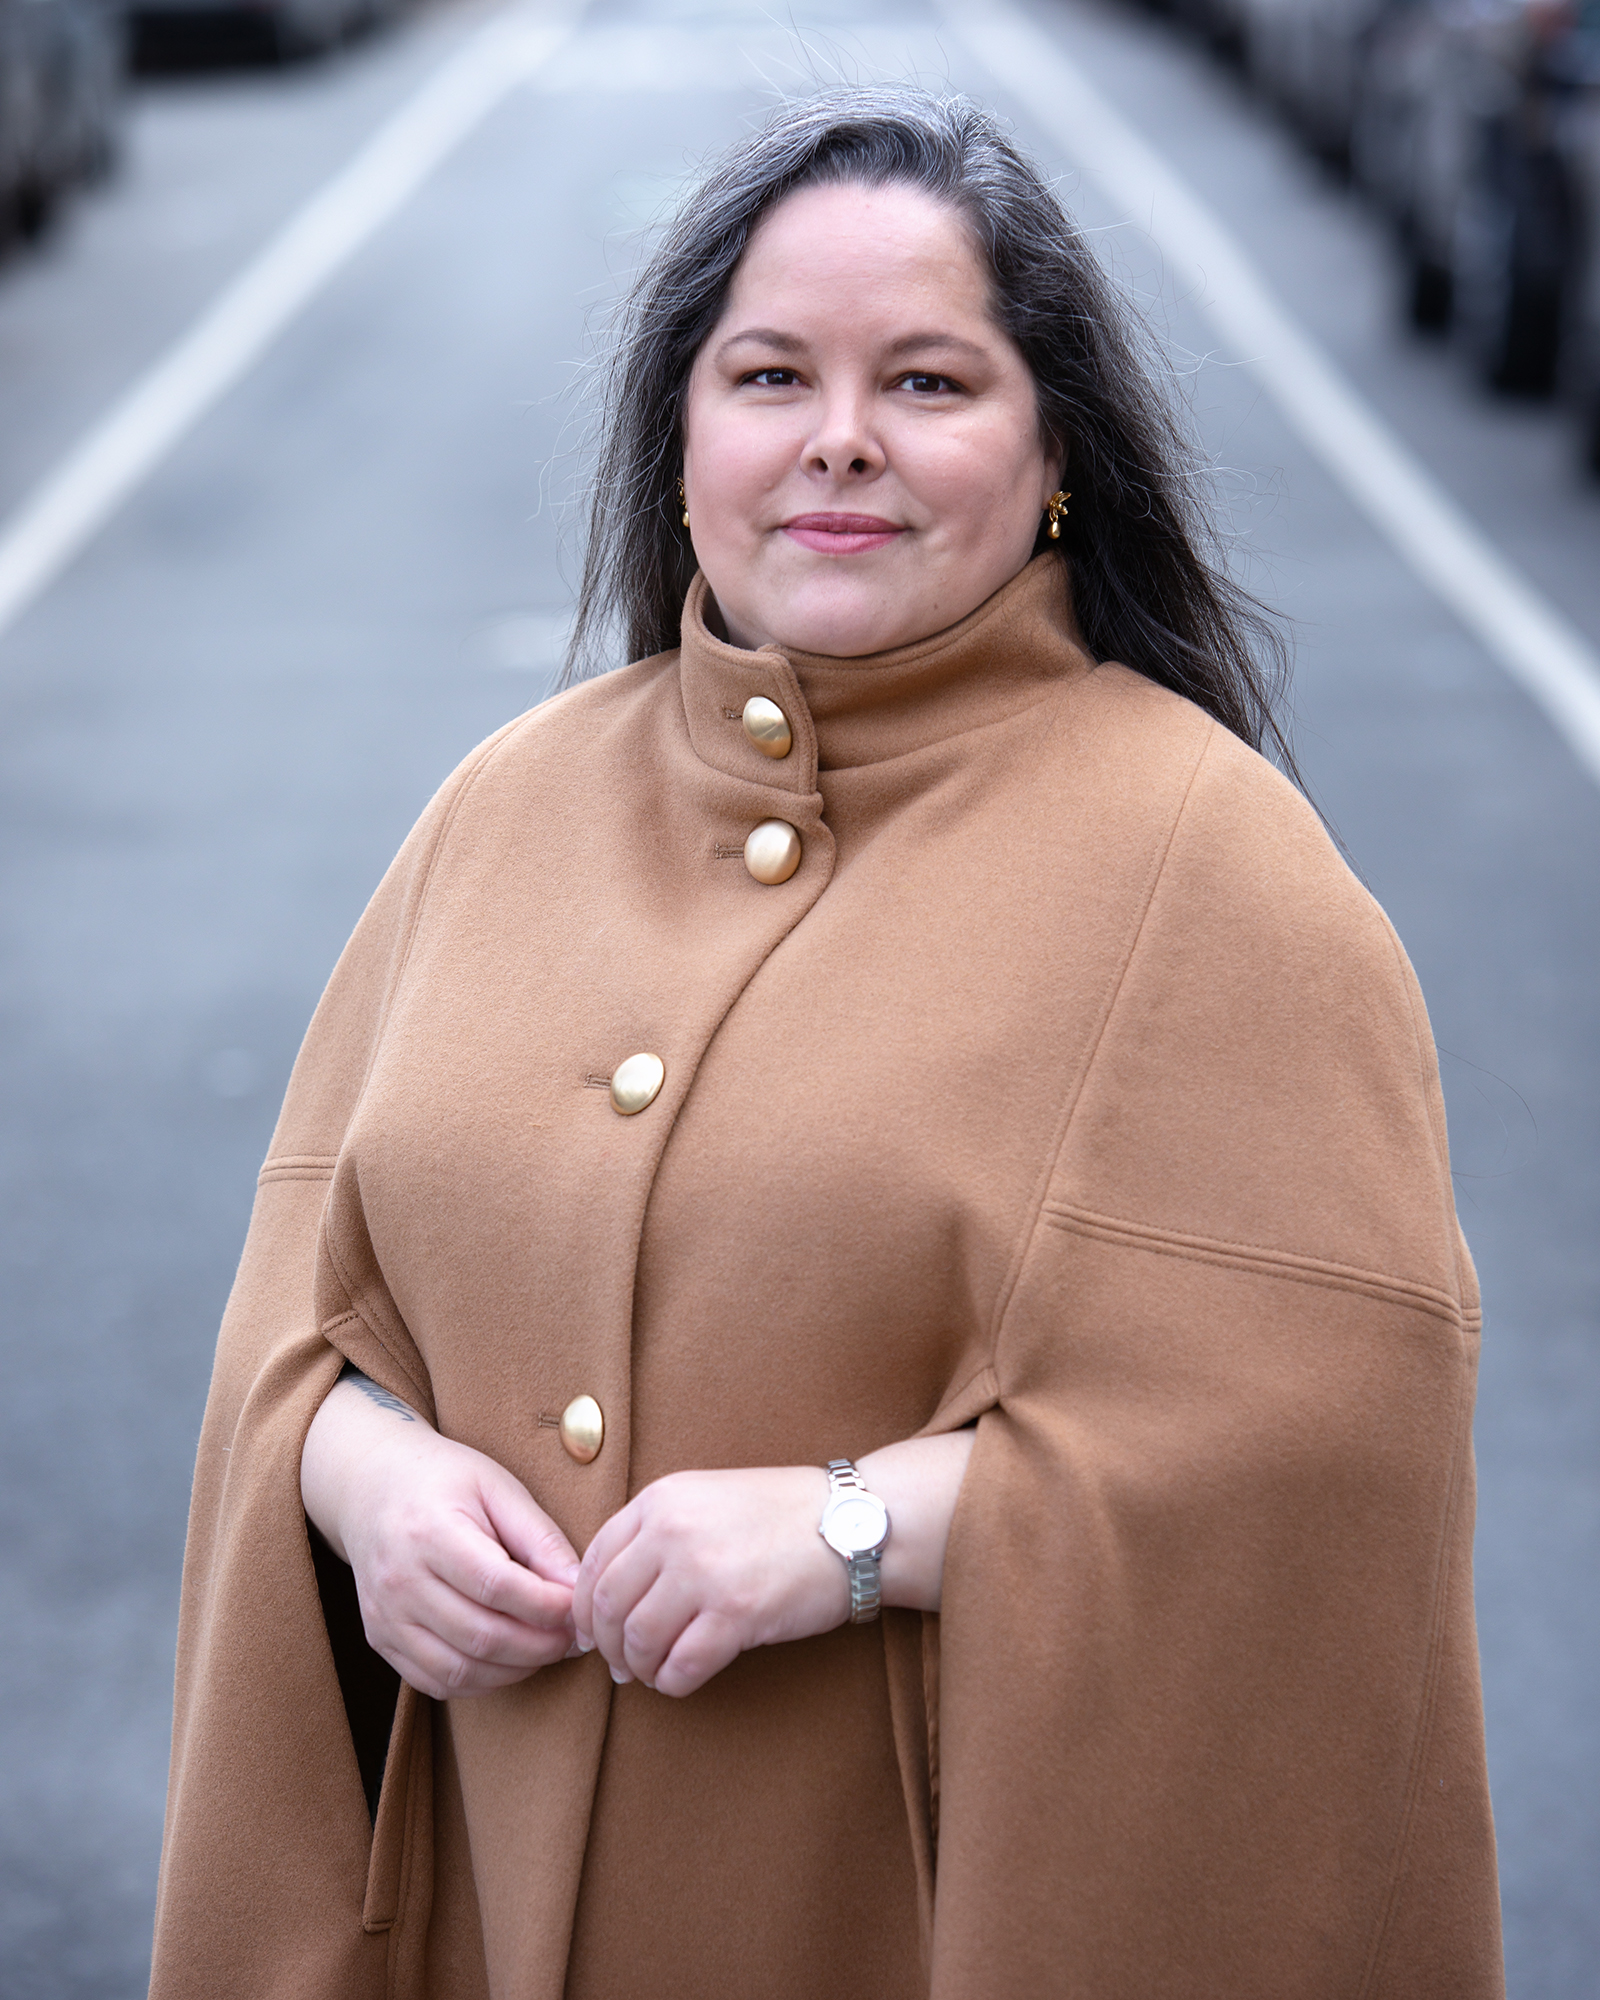
Another change I made before I cut into my wool coating was to adjust the height of the collar by not adding seam allowances. This reduced the overall height by 1/2″, which I still don’t think was enough. I also made the neckline and the collar a bit wider to accommodate my neck better. Still, I don’t love how this collar looks on me, but more on that later.
With those fit adjustments figured out, I cut into my fabric and got to work. Construction was relatively easy until it came to the lining. Burda Style is notorious for having cryptic instructions but the lining instructions for the cape were next level confusing. It took me a good few hours to figure it out. I got there in the end though! The lining is a rayon twill I bought here in the Garment District.
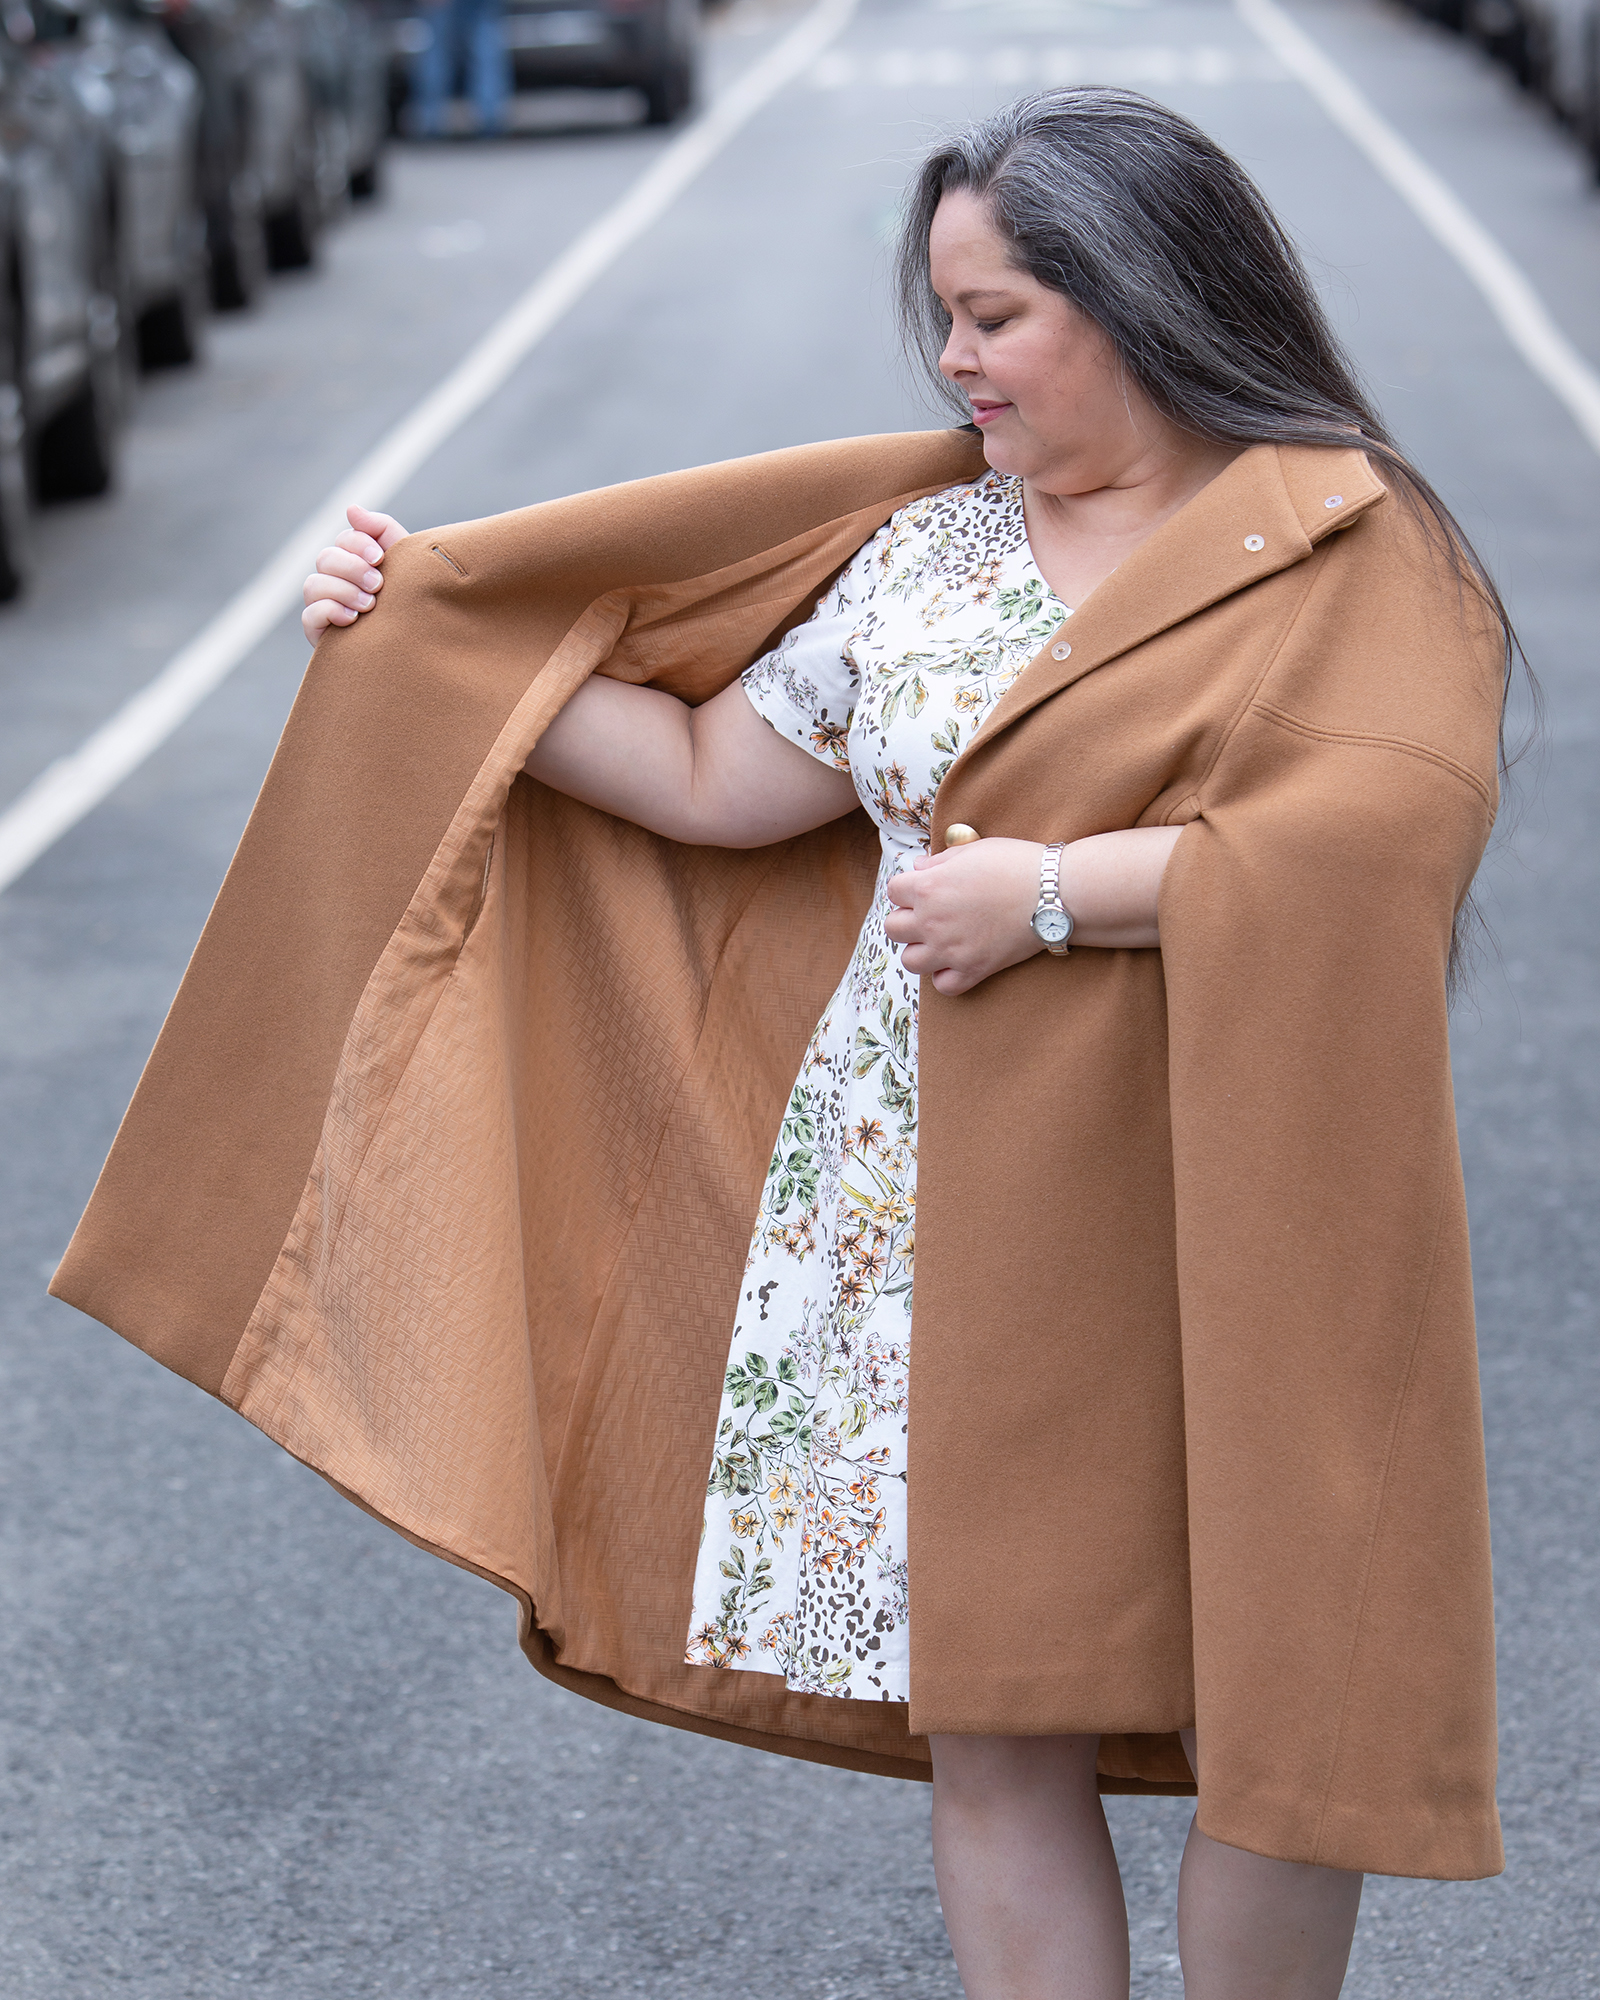
Once I constructed and lined the coat I tried it on to see where I wanted to put the buttons. It was then that the major fit problem I hadn’t noticed before materialized. The pattern is supposed to be double breasted but there is absolutely no way I could have been able to make it double breasted and also gotten my neck into it. Yes, I am fat, but the collar was drafted too small anyway. Since the whole cape was already put together, the only solution was to not make it double breasted and sew only one row of buttons and buttonholes close to the front edges. This made the cape be barely able to close around my neck but at least it’s functional.
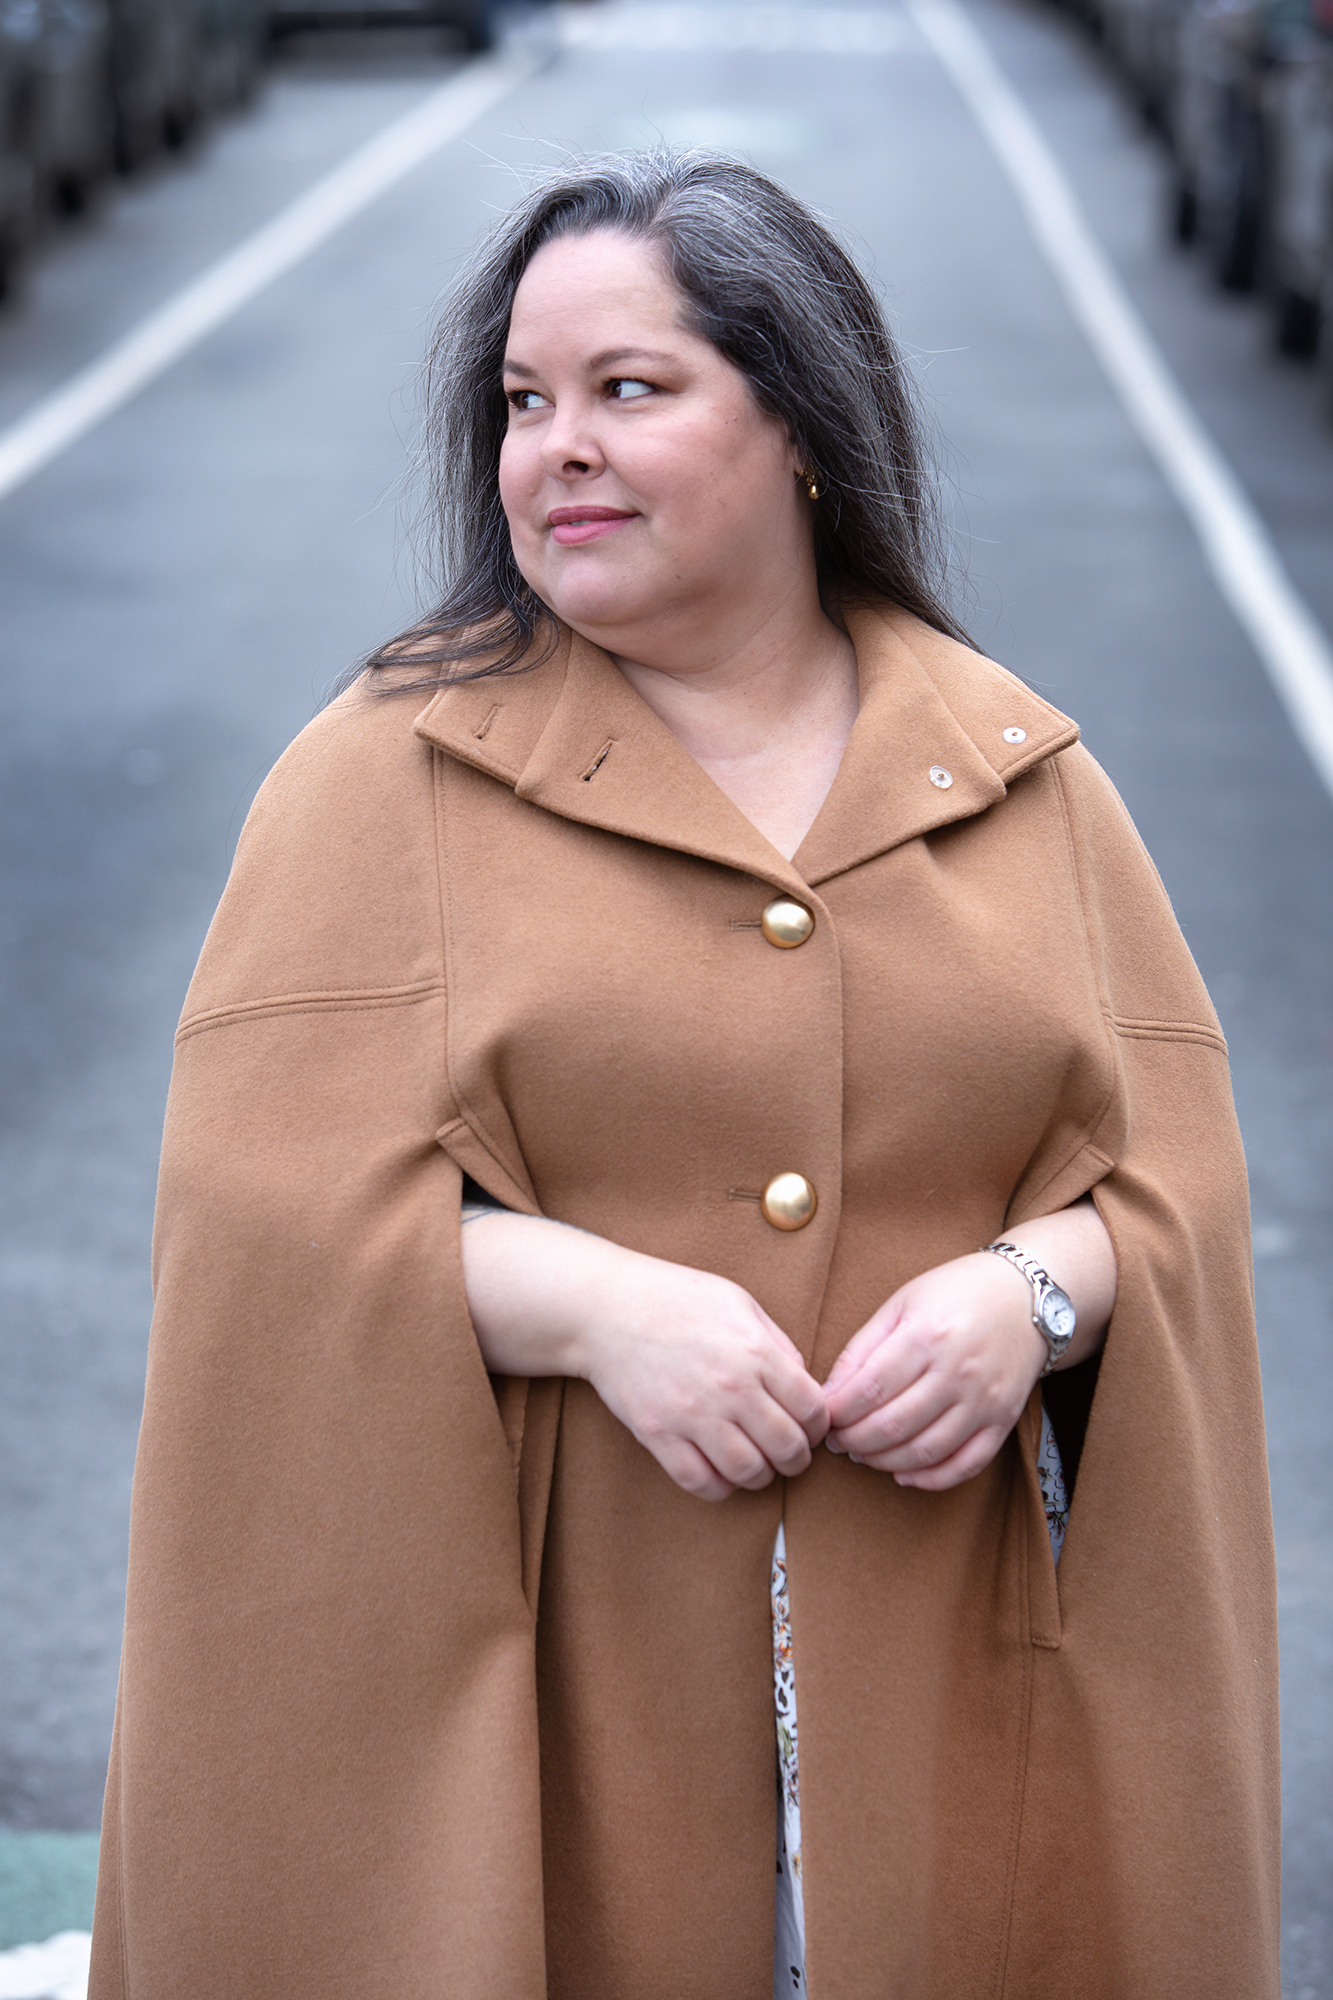
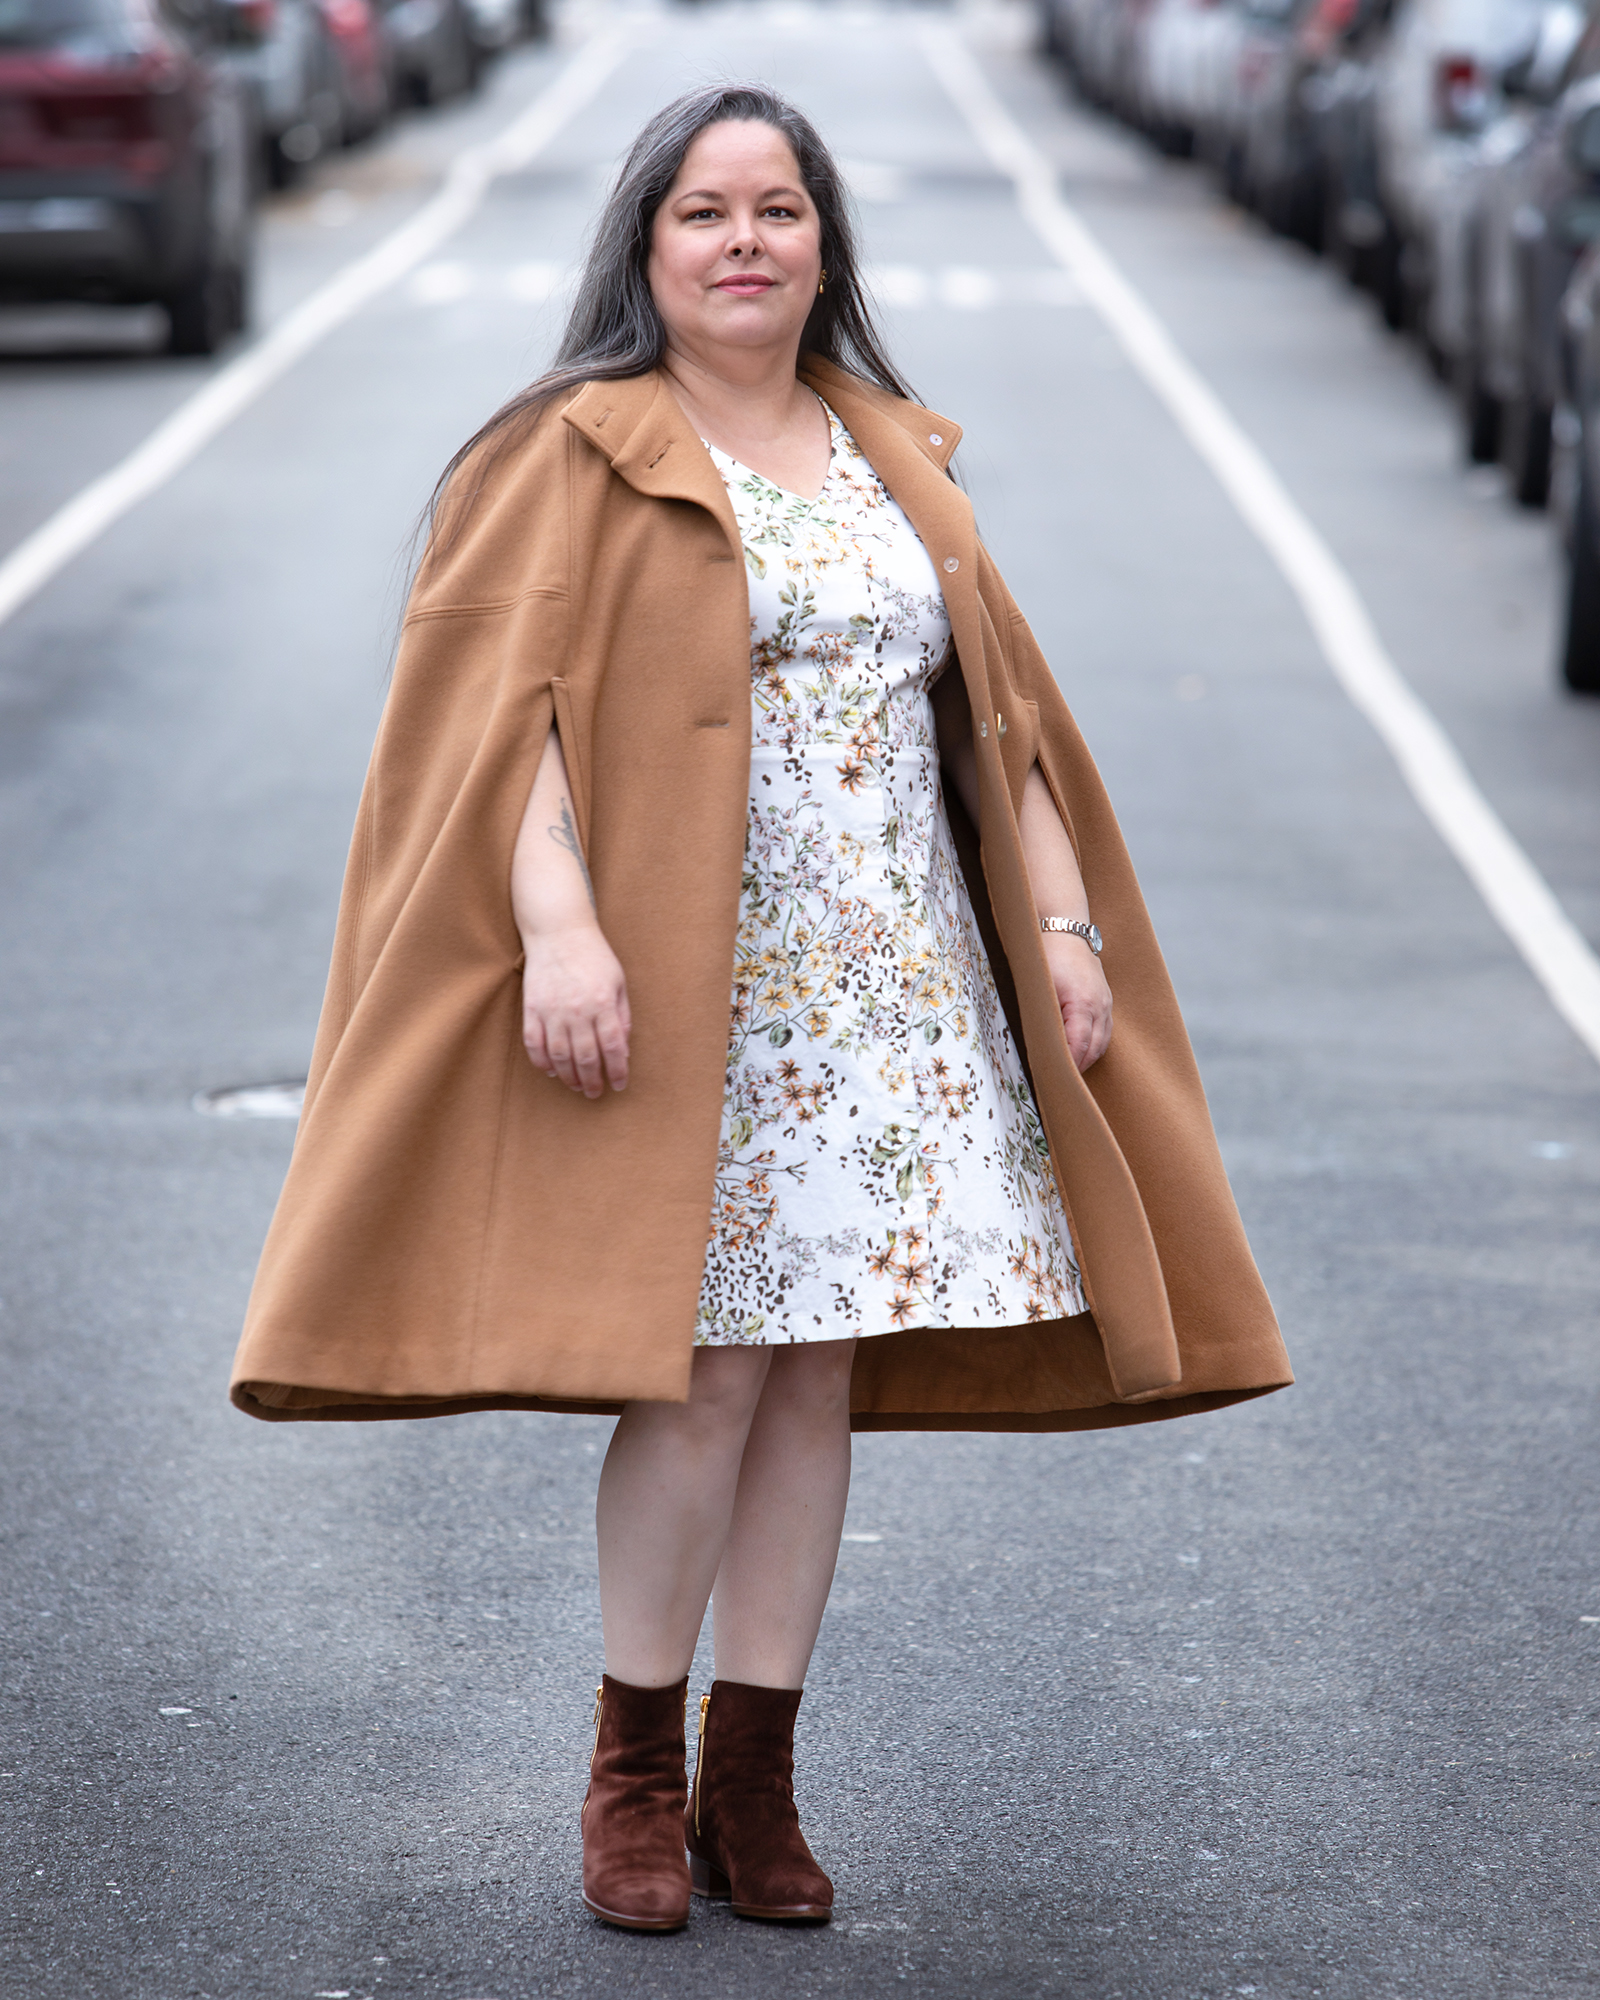
You wouldn’t be able to tell by looking at it that it is not as Burda Style meant this cape to be, so I guess all is well that ends well. That said, I hate how the buttoned up collar looks on me so I will probably never wear it that way. I’ll just leave it unbuttoned and folded down. It is also worth noting that I didn’t think my home machines could make good buttonholes on the collar since it was so close to the seam. I ended up taking the whole cape to the Garment District to get the buttonholes made professionally. I highly recommend this if you have the option. I did sew the buttons on myself and added a clear backing button for support.
Another thing I noticed is that the arm slits are positioned in such a way that makes actually putting your arms through when the cape is closed pretty awkward. This is definitely a design/drafting problem. They should have been placed several inches farther to the side. Given all the issues with the drafting of this cape, it is no wonder that the model is not shown wearing it closed. It’s just draped over her. They probably couldn’t close the cape and make it look good.
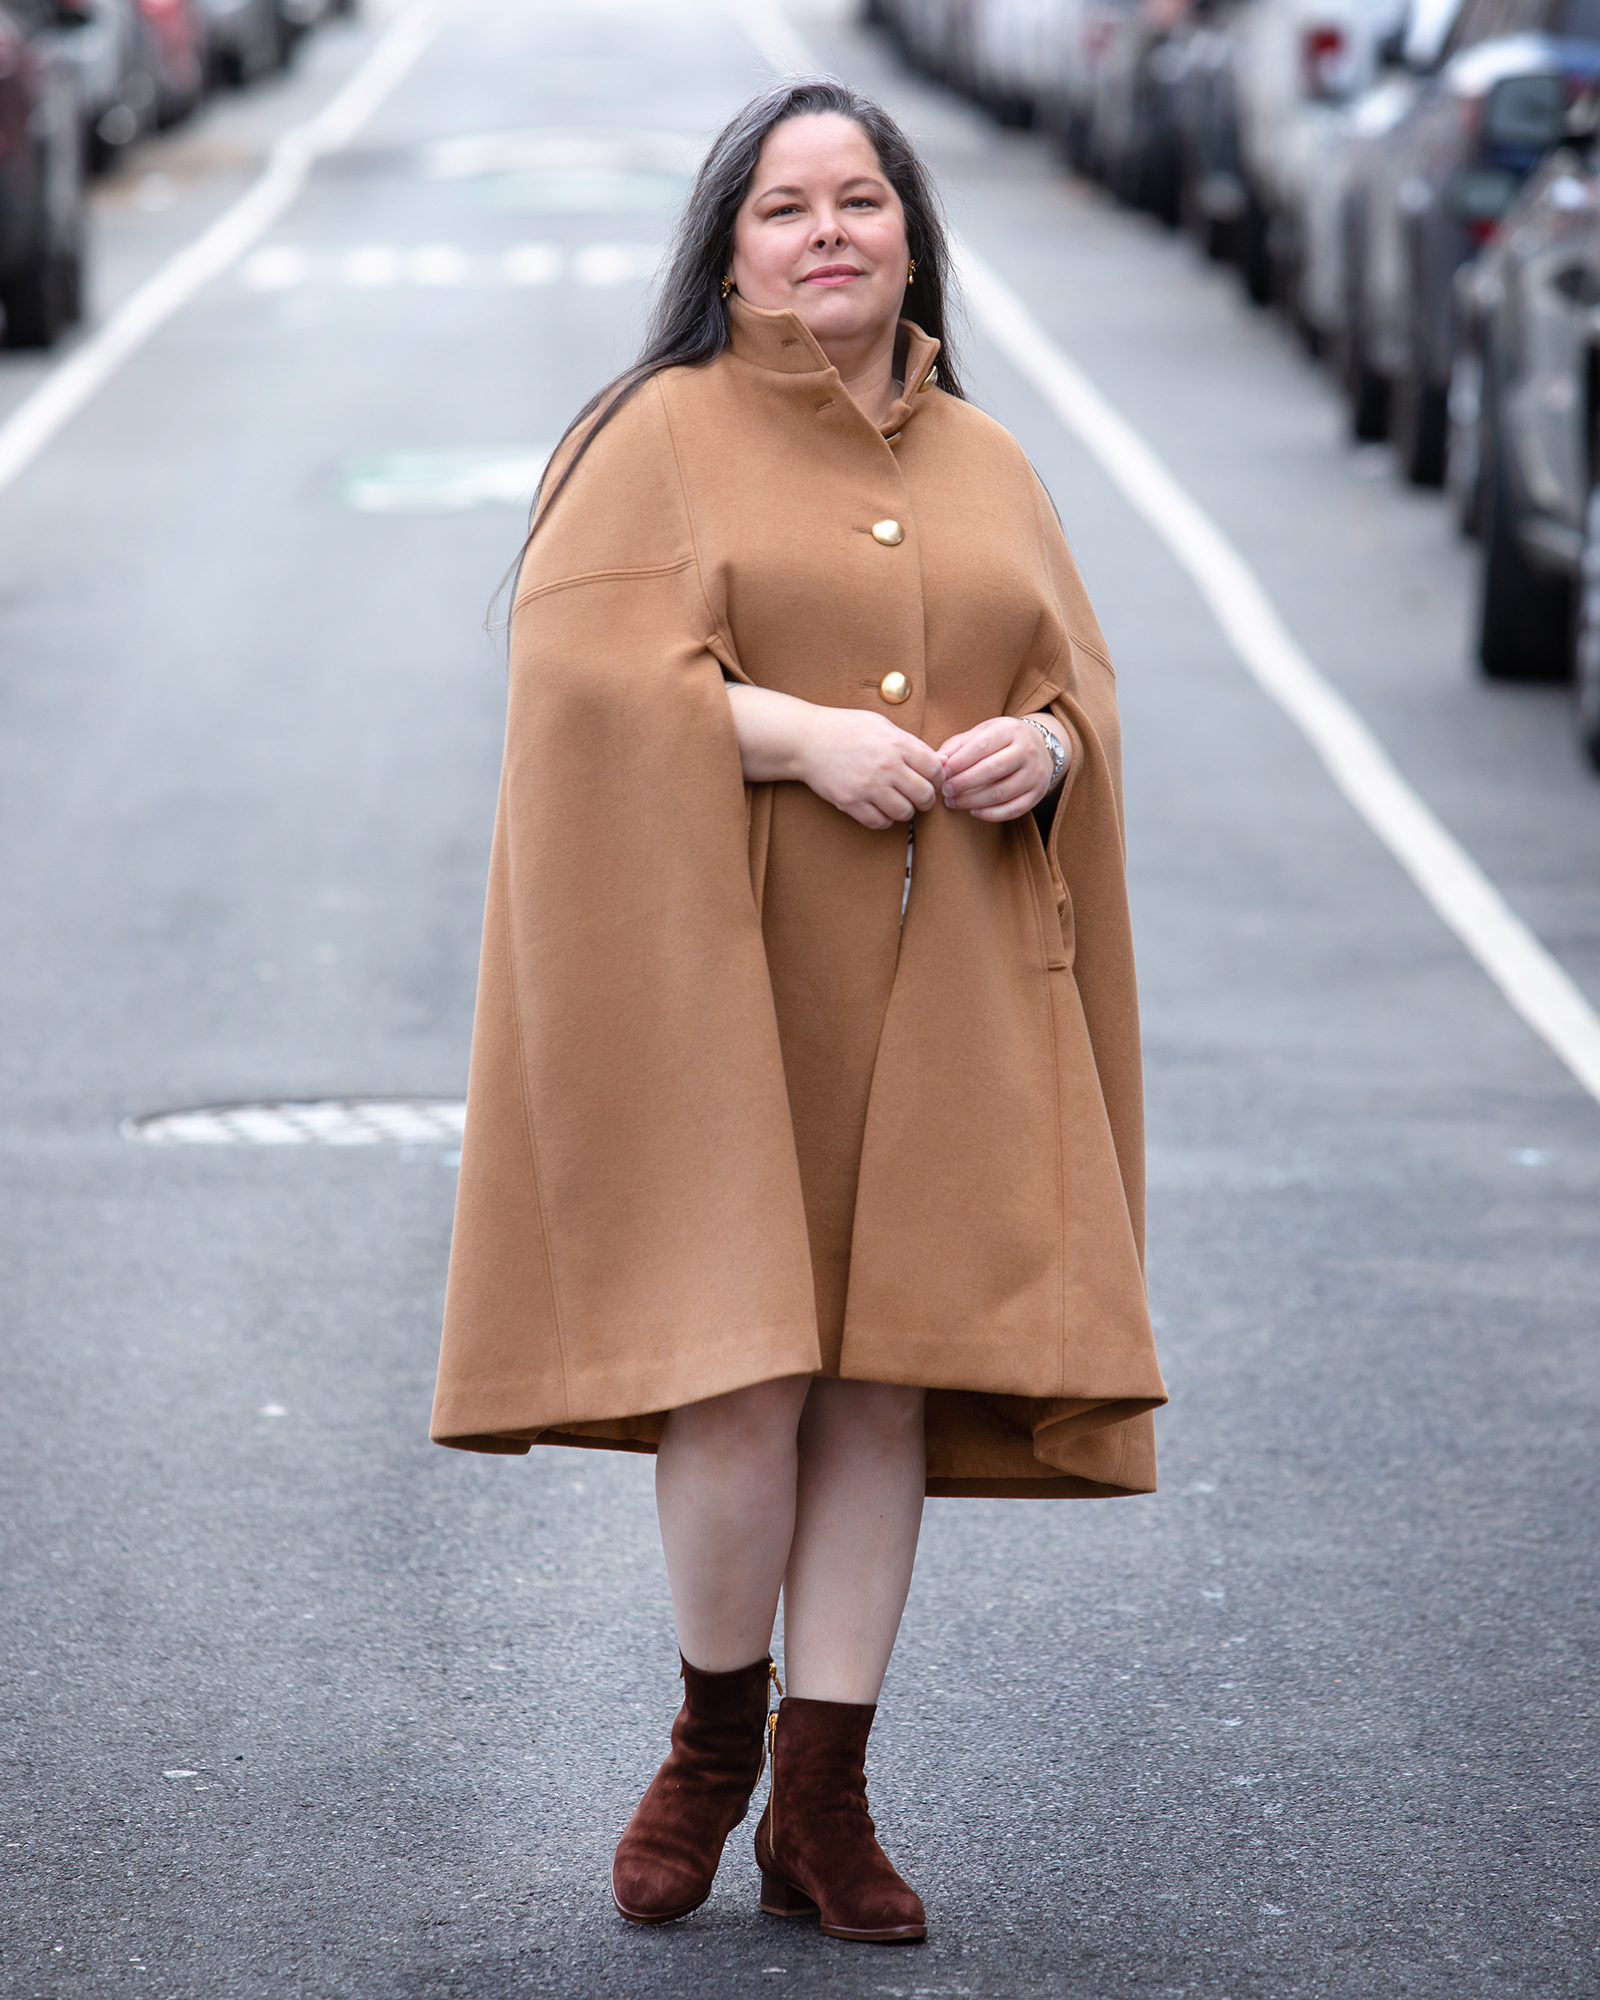
So, in the end, I ended up exactly with what I set out to make: a beautiful and impractical Burda Style cape. It’s just not impractical in the way I intended. Nevertheless, it felt really great when I put it on and I loved wearing it for the photos. I’m hooked on that amazing feeling of being a badass whenever I finish a piece of outerwear. Coat making and cape making are just so rewarding.
For more on the pattern, the fabric, etc., see my video about this project below.
Leave a Reply