After a weekend of trial and error with a particular recipe that required only egg whites, I found myself with FOURTEEN egg yolks in various plastic containers in the refrigerator. Yes, fourteen. I pondered for a couple of days how I was going to make use of them because I’d hate to throw them away. Eventually, I found a recipe on Pinterest for something called Pan de Mallorca. I had never heard of it before but it looked amazing. I mean, you just can’t go wrong with a sweet enriched bread covered in sugar. Apparently, Pan the Mallorca is a Puerto Rican specialty (though not exclusively), but now that I’ve tried it, it tastes quite a bit like what Cubans call Pan de Gloria (roughly, Heavenly Bread or Glory Bread), except the sugar on top is powdered sugar instead of granulated sugar.
So, I did quite a bit of digging and research before settling on how I was going to make my buns. As usual, I used the recipes I could find as a guide, and then went from there. The buns were very easy to make, especially because the dough requires virtually no kneading. I love to knead bread, but I’m all for simplicity too. Better yet, you can make these buns in a couple of hours, when most shaped breads require much more time for all the kneading, rising, shaping, rising again, etc.
Pan de Mallorca
1 cup of milk, slightly above body temperature
1 cup of water, slightly above body temperature
1 envelope Active Dry Yeast (or 2 1/4 tsp if using yeast from a jar)
3/4 cups granulated sugar
5 cups all purpose flour
6 large egg yolks
1/2 tsp salt
1 stick (1/2 cup) unsalted butter, plus 3 tbsp for brushing, separate
powdered sugar for dusting
In a large bowl, combined the milk, water, yeast, sugar, and 1 cup of the flour. Mix well and leave in a warm place for approximately 45 minutes. When there about 15 minutes to go, melt the 1 stick of butter and leave it to cool.
After the 45 minutes are up, whisk the egg yolks into the flour mixture until it is well combined. Slowly, add the remaining 4 cups of flour, little by little, and the salt. When the mixture becomes too thick for the whisk, switch to a wooden spoon. Mix in the 1 stick of melted and cooled butter. The dough will be very sticky. Cover the bowl with plastic wrap, place in a warm area, and let it rise until it doubles in bulk. This will take approximately 1 hour.
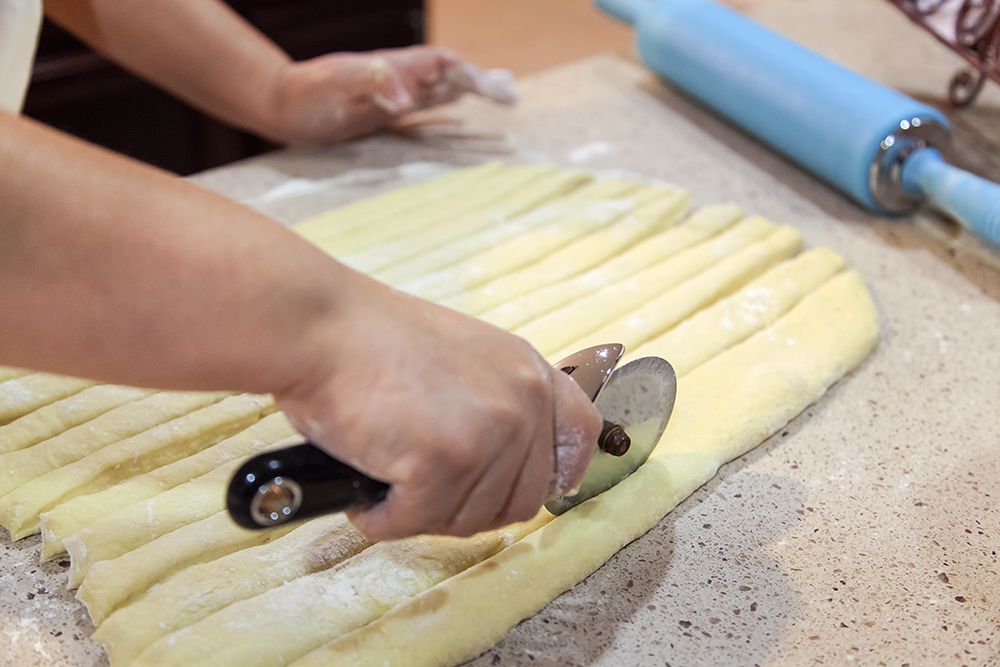
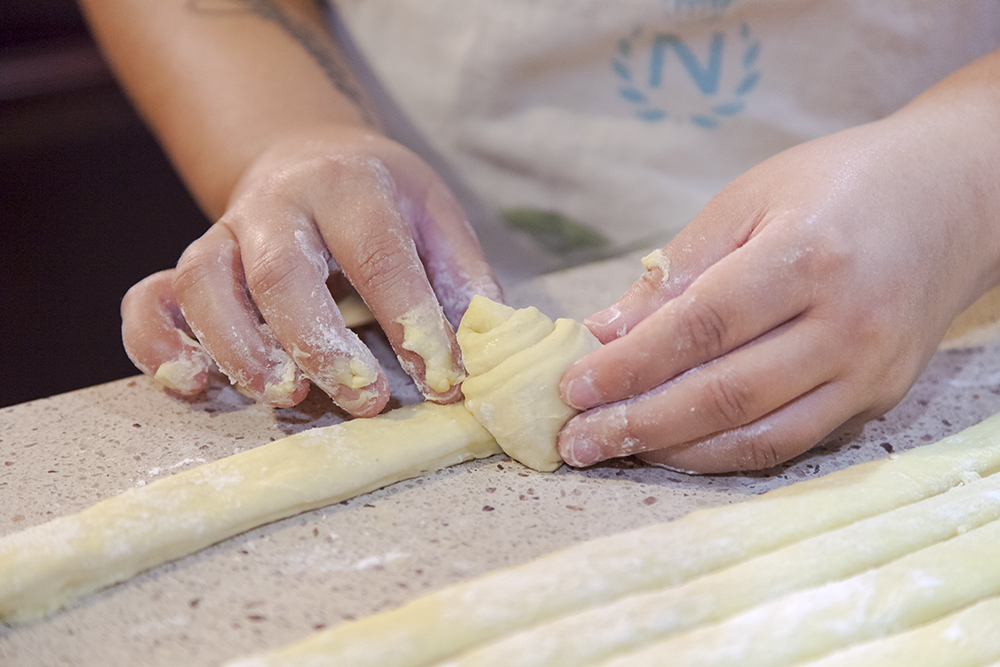
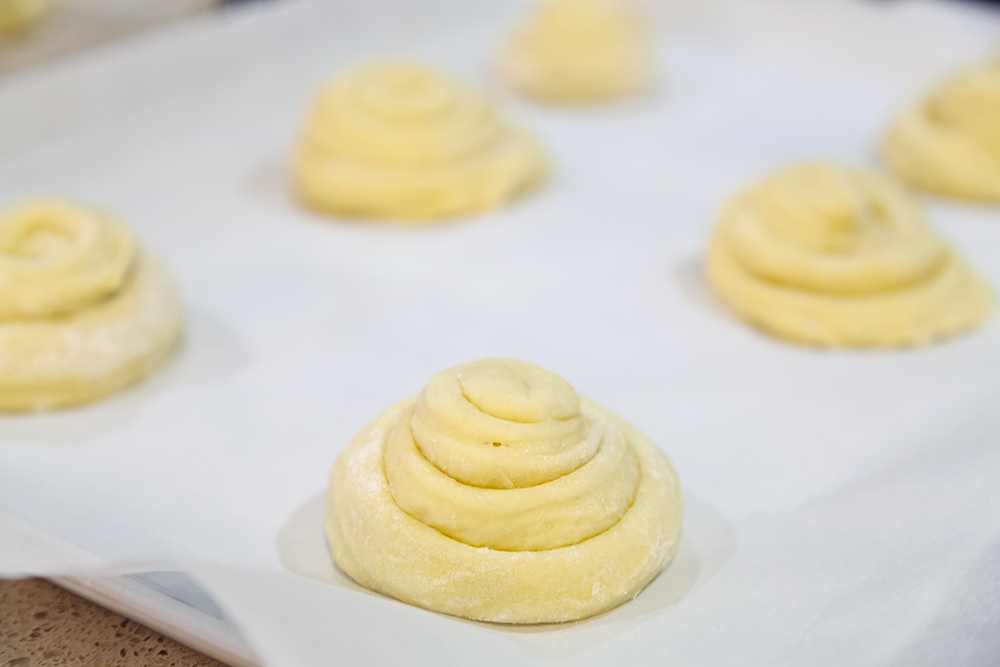
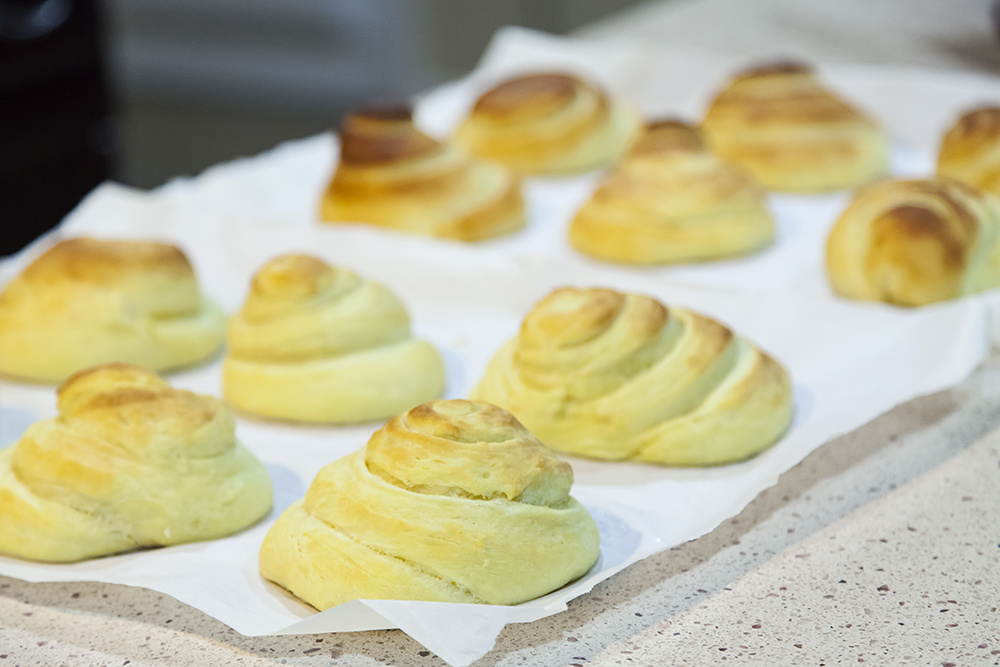
When the dough has risen to twice its original size, melt the 3 tbsp unsalted butter and have it ready with a pastry brush. Generously flour the surface on which you will be working with dough. Remove the dough from the bowl onto a counter, and dust liberally with flour to prevent sticking. Give it a few kneading strokes to make the surface less tacky and easier to roll. Using a rolling pin, gently roll the dough into a rectangle, making sure it does not stick to the counter. Cut the dough into 12 strips and roll each into a spiral, tucking the ends underneath each bun. Place the buns on two parchment-lines baking sheets, brush with the melted butter, and allow to rise in warm place for approximately 20 minutes.
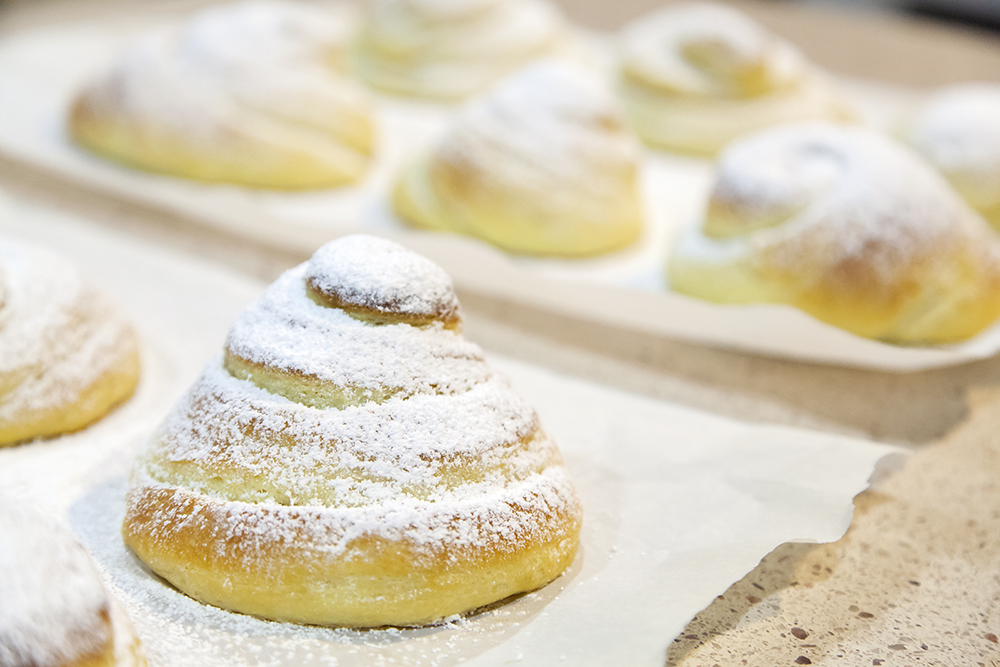
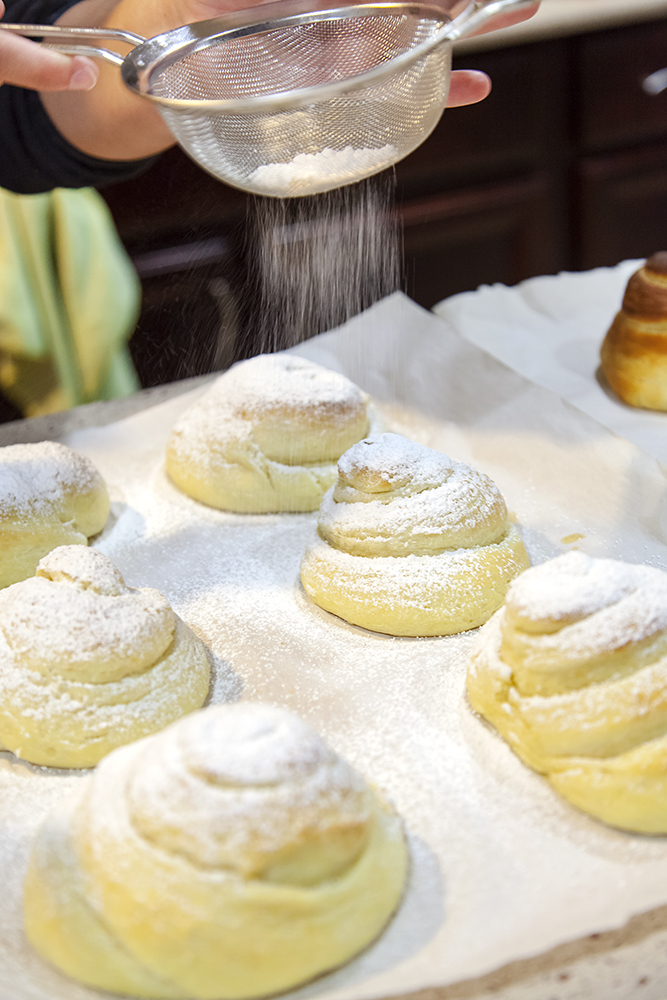
In the mean time place one oven shelf in the bottom third of the oven and another in the top third; preheat the oven to 375 ºF. Bake the buns for 13-16 minutes, rotating the baking sheets halfway through the baking time. Remove the baking sheets from the oven, pull the parchment paper with the buns off the baking sheet and onto a counter. Allow to cook for 5 minutes or so, then dust liberally with powdered sugar.
Makes 12 extra large buns.
A tip on rotating baking sheets: when you have only one baking sheet in the oven, what you do is rotate it so that the side that was at the back of the oven comes to the front and vice-versa, so a 180º rotation. When you have two baking sheets in the oven, you do the same but also move the bottom sheet to the top and the top sheet to the bottom. Does that make sense? Another tip, this time about rising. I always use my oven for the “warm place” to rise dough. I leave the oven off, obviously, and turn the oven light on, then stick the bowl in and close the oven door. The heat generated by the light in the closed oven is a great temperature for rising dough. If I need to preheat the oven, then I just take the bowl out and set it on the counter, next but not on the stove. And one last thing, this dough is super sticky so the least you handle it the better. Don’t worry about getting perfect coils, they will chance shape anyhow.
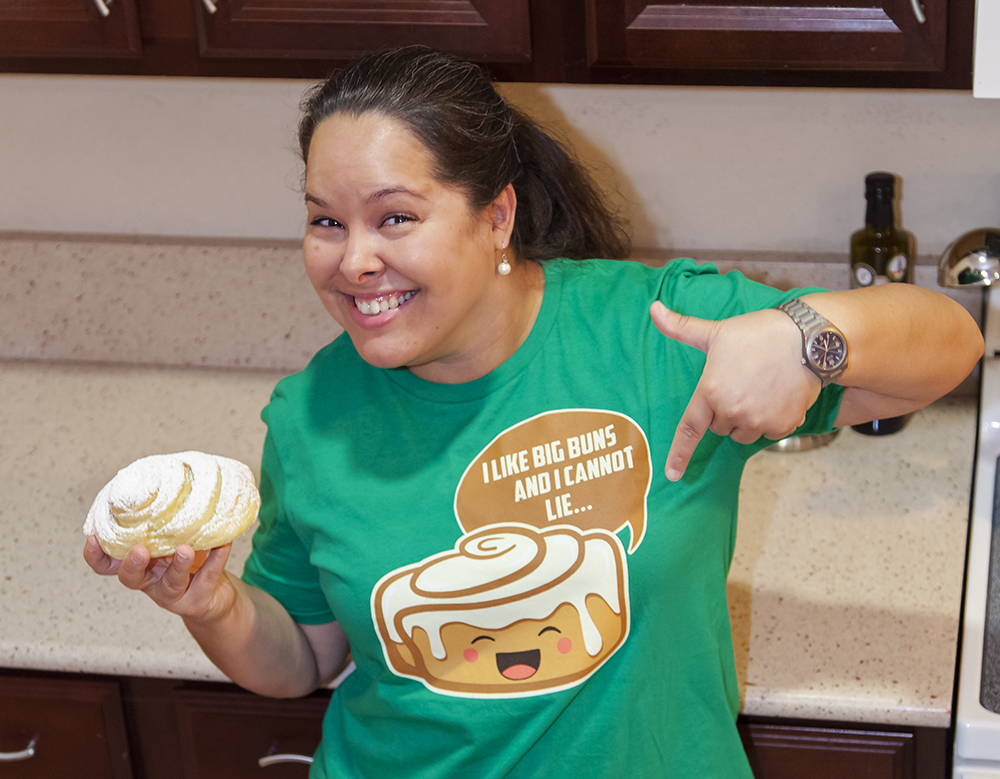
I posted photos of the buns on Instagram (follow me! @TheSerialHobbyistGirl) and my personal Facebook wall right after I made them and they were hugely popular. I learned that Starbucks sells Pan de Mallorca, and a few people wanted the recipe. I’ve never tried Starbucks’ version, but I am pretty sure these are better. These buns are scrumptious. I ate one right after I dusted them, while they were still hot from the oven, and it was heavenly. Then I had one for breakfast today, and my dinner was two buns. I can’t get enough, this recipe was success and it has pleased everyone. Even my husband, who is not usually very verbal about like stuff was (but is VERY verbal about NOT liking stuff) said something along the lines “make more, please!”
Cherry Bolo
Hi. How does one bring milk and water to slightly above body temperature?
The Serial Hobbyist Girl
Test the temperature with your (clean) pinky finger. It should feel warm but not hot.
Lissa Brooks
I desperately need your shirt. And hey – I’m a serial hobbyist, too! I’d never heard that term before, but your “about me” page totally describes me to a T.