When the people from Cashmerette Patterns approached me about becoming a Cashmerette Club Collaborator, I was on the fence. I didn’t know if I wanted to commit, then I saw that one of the patterns I’d have to make was the Glover Jean Jacket and I was sold.
As a disclaimer, I received a year of All Access club membership in exchange for trying this pattern, along with two others. That said, they did not ask me to say anything, or post anything. Everything I have to say about this pattern is my opinion and my opinion alone.
A few years ago, well, more than a few really, I made two jean jackets from the Hampton Jean Jacket by Alina Design Co. and loved the process and the jackets. But I do remember thinking then, and several times since then, that I really wished someone would release a pattern for a classic jean jacket with options for different cup sizes.
Don’t get me wrong, the Hampton is a great pattern if you don’t need a larger cup size and are OK with a more limited size range. They have a great sew-along too.
But the higher sewing powers heard me, and the Cashmerette Glover Jean Jacket landed on my cutting table.

I’m at a point in my sewing life where if a pattern doesn’t come with multiple cup sizes, I am not interested. I CAN make a full bust adjustment, but I don’t want to. Next!
The Glover Jean Jacket is a classic type 3 denim jacket with chest pockets, welt pockets, and all the details you’d find in a classic ready to wear denim jacket.
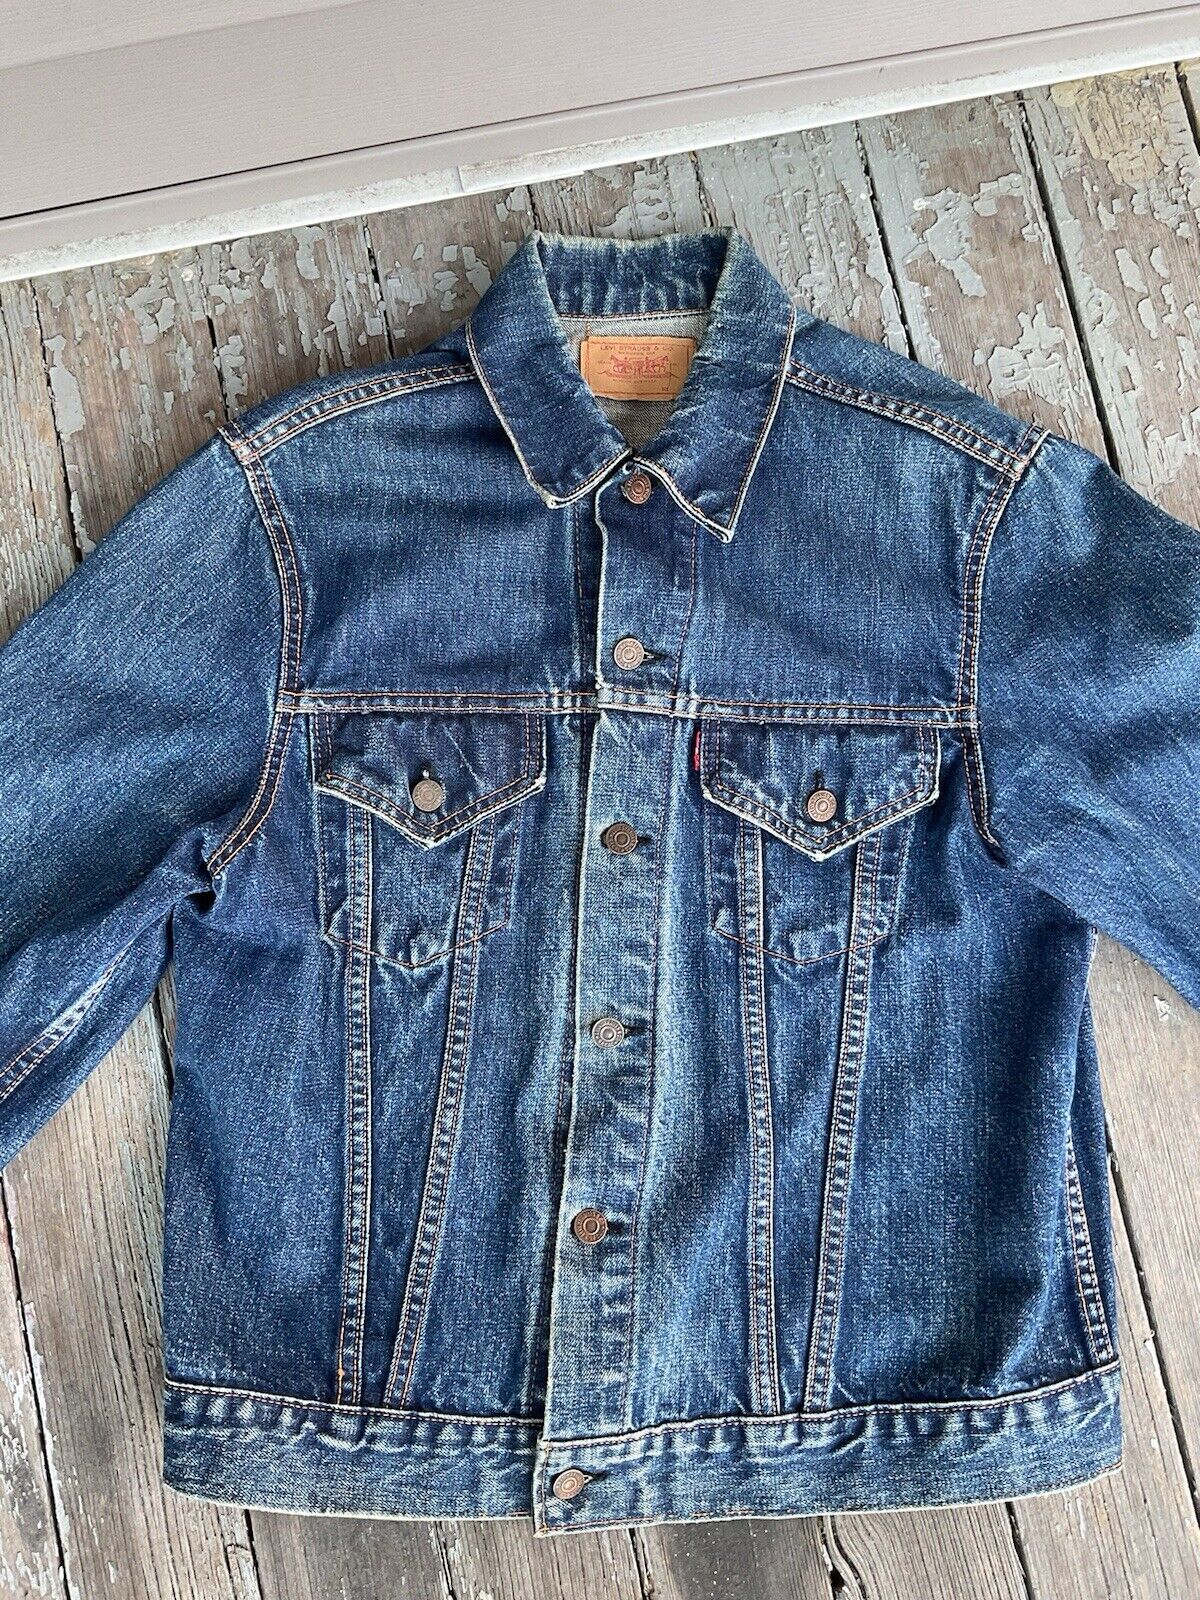
If you don’t know what a type 3 denim jacket is, it is the third big design iteration of the denim jackets produced by Levis starting in the 1960s. Levis more or less set the standard for denim jackets. The type 3 has a V-shaped panel with seams at the fronts that replaced the knife pleats of the previous two versions, it has two chest pockets with flaps where previous versions often had only one, and it sometimes has side front pockets, which may or may not be welt pockets. It also has a center back panel with seams like the front, again, replacing the pleats of previous models. Those are the biggest differences between type 3 and types 1 and 2 denim jackets. Type 3 jackets are the most commonly sold and worn jackets, and have been since their release.
One thing the Glover doesn’t have, that ready to wear denim jackets do, is flat felled seams. And with a ½ seam allowance, there isn’t room for them. If that is something that matters to you, think about adding a bit more seam allowance in the required seams to accommodate flat felled seams, and find a tutorial somewhere else.
Although this jacket took a long time to make, about 20-25 hours, all of that was in the construction. The fit was almost spot on as drafted. Granted, this is a very forgiving design. I made the size 16 E/F cup throughout based on my high bust and full bust measurements. And, based on the finished garment measurements, that would also work for my waist. The only change I made in terms of fitting was to shorten the sleeves 1½ inches. I always have to shorten long sleeves.
I love the final fit. It’s comfortably roomy, but not oversized. I love where the sleeves fall on me and I love that I have full range of motion even with the jacket fully buttoned.
Just like with my last denim jacket, I knew I wanted to distress the seams to make the jacket look more like ready to wear ones. To do that, I used 120 and 150 grit to sand the right side of the garment on the seam right after I made each seam. I started with the 120 grit and then used the 150 to fine tune. You absolutely do not have to do this, and many denim jackets don’t, especially the ones made from raw denim that are meant to create a natural distress pattern with wear and washing. But I am happy with the result of sanding my seams.

In terms of design changes, I decided not to make the welt pockets. Don’t come for me! I made that choice based on looking at a ton of denim jackets online, especially vintage ones. Not all of them have these pockets, or any pocket other than the chest pockets. Others have pockets hidden in the V-shaped seams, which I think I might try to figure out next time.
The construction of the body of the jacket gave me pause at first. The sleeves are sewn in flat and then the underarm sleeve and side seams are sewn as one. I was tempted to disregard that and set the sleeves in the round, but the more I thought about it the more sewing them flat made sense. It makes it much easier to topstitch the shoulder seam.
There is just one thing about this jacket that I don’t think works as written in the pattern. For the topstitching of the center fronts, where the button placket is created by folding the fabric to the inside, you have to stitch about 1/8” in from the fold to catch it in the seam. Then, the instructions ask you to sew another line of topstitching ¼ inch away from that first line towards the center front. If you do that, you will not be able to fit a horizontal buttonhole in the space that remains between that topstitching line and the edge of the center front. You’d have to have a very small button to make it work.

I didn’t remember making this second line of stitching on my previous jackets so I checked. They don’t have it. Then I went online again to look at photos of ready to wear denim jackets. None of them have that second line of stitching; they have a single line. So, I made my jacket with one single line of topstitching on that edge and was able to fit my buttonholes.
Keep in mind that I was working with a pre-release version of the pattern and that the instructions I had may not necessarily be the same as the ones in the public release.

Speaking of topstitching, I recommend you match the color of your bobbin thread to your topstitching thread. Not the same weight, your bobbin case can’t take the thickness of topstitching thread, but definitely the color. This will make the visible parts of the inside of your jacket, especially around the neckline and the buttonholes, nicer looking. I didn’t do that with my very first denim jacket and I regret it.

Finally, my fabric. I bought this 10oz denim from Stonemountain & Daughters. When it first arrived, I worried that it was a bit too light for a jacket. I had used 12oz denim for my last denim jacket and liked it. But once the jacket is put together, it’s a nice weight.
The buttons are from Pacific Trim, in the New York City Garment District. One of my favorite things about making denim jackets is getting to use a hammer to attach the buttons.

I love how this jacket came out. The fit is great, it’s roomy, comfortable, but it doesn’t drown me in denim. I love the wash of the denim. I think I might make another one if I find either great quality raw denim, or a great white or cream denim. The Club members are in for a treat with the Glover!
Now I just need to wait for spring to wear it!
Here is a video version of this review, if you’d rather watch that.
Leave a Reply