Like my sequins and stretch velvet Grainline Studio Linden Sweater, I had been thinking about this jacket, planning it, and gathering as much info about how to do it right for over a year before I even put rotary cutter to fabric.
I even made one in a light wash for practice earlier this year, and to see if the pattern fit. It did. I’ll post that one some other time because it’s great too and deserves its own post.
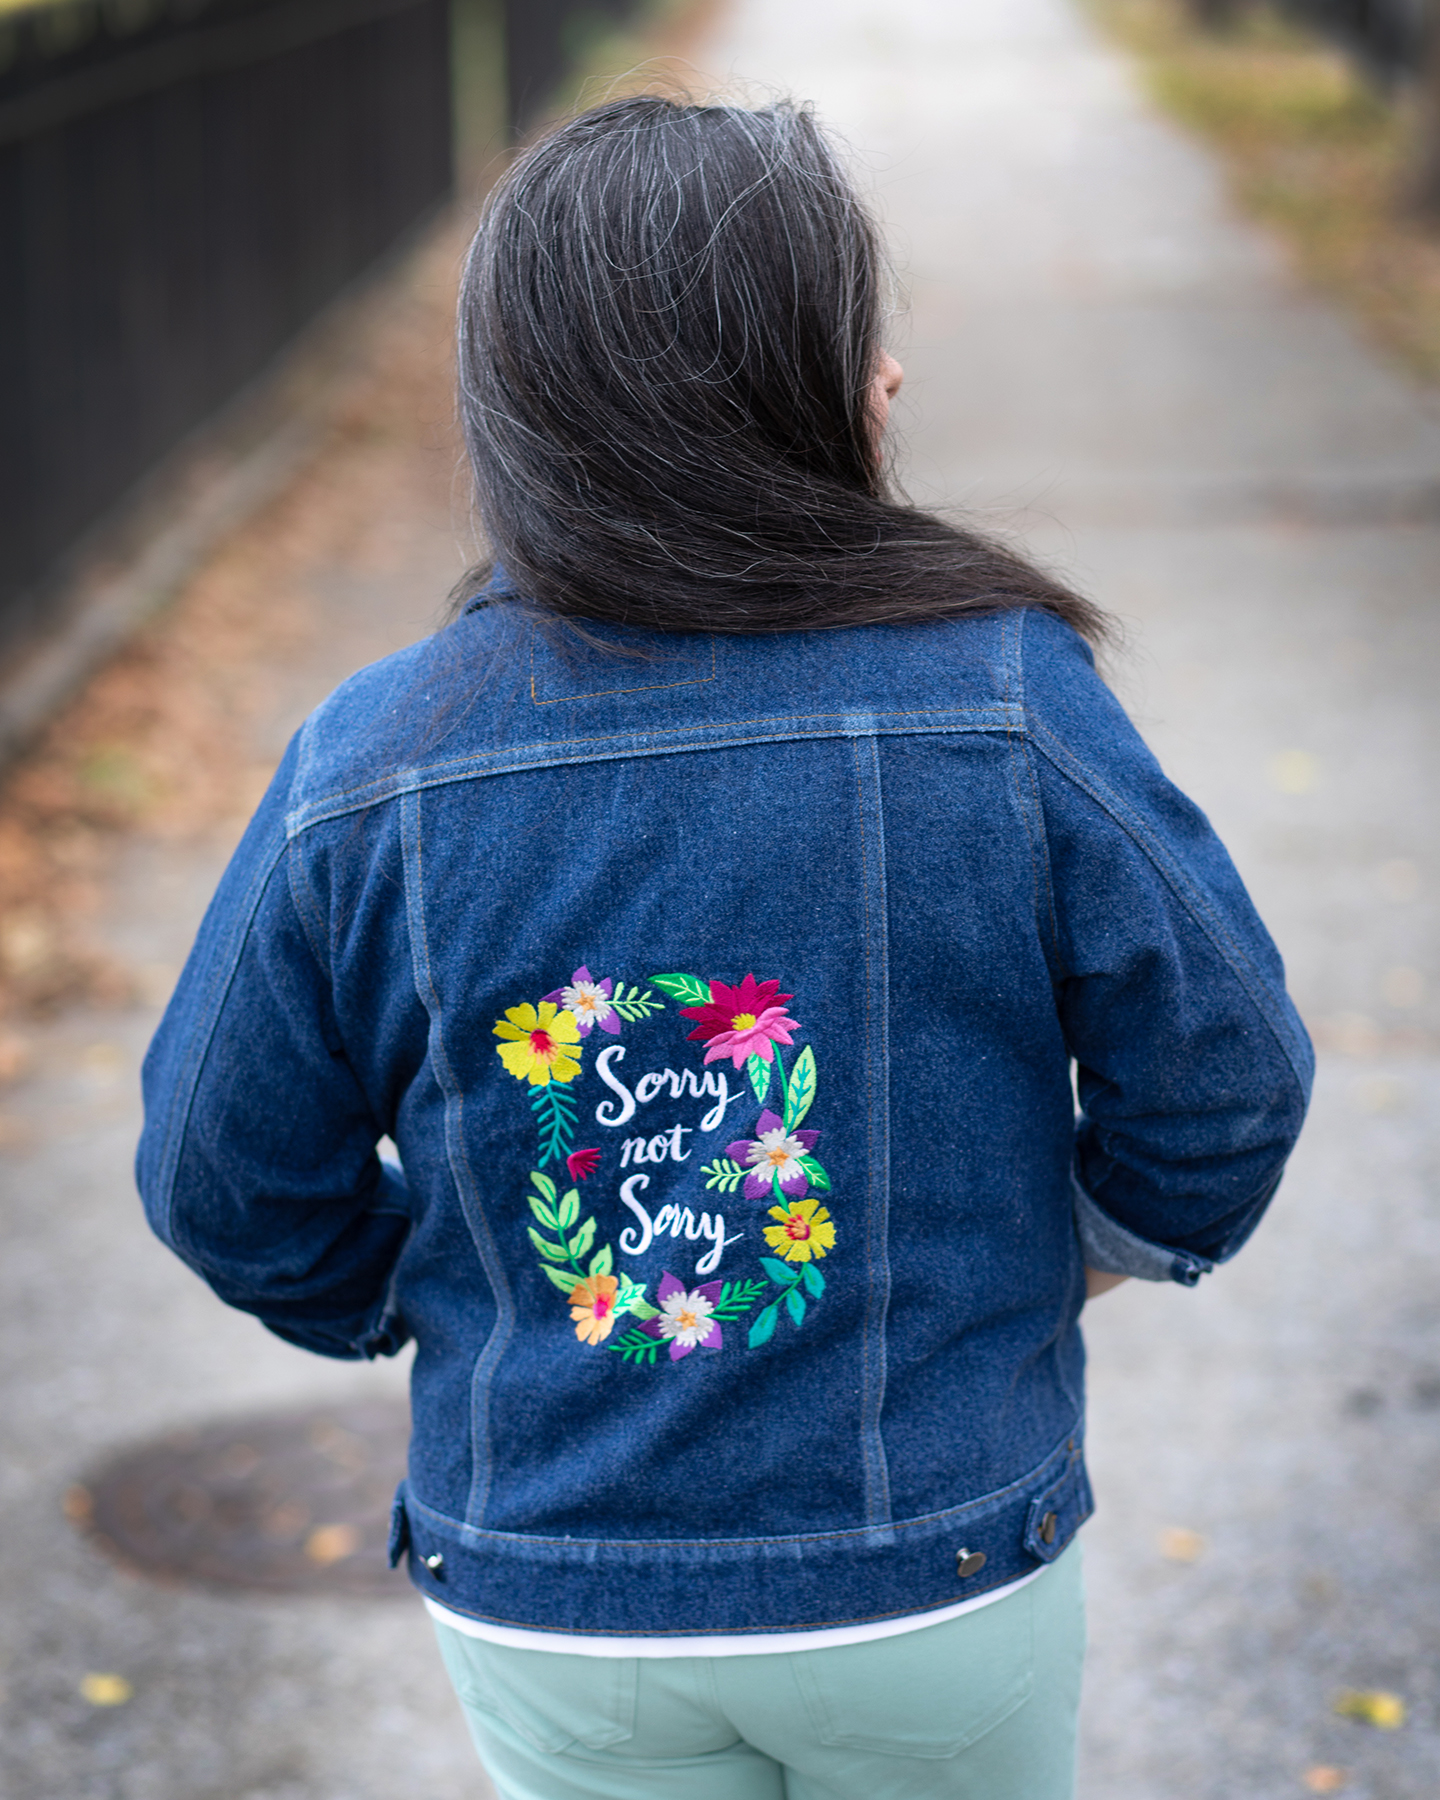
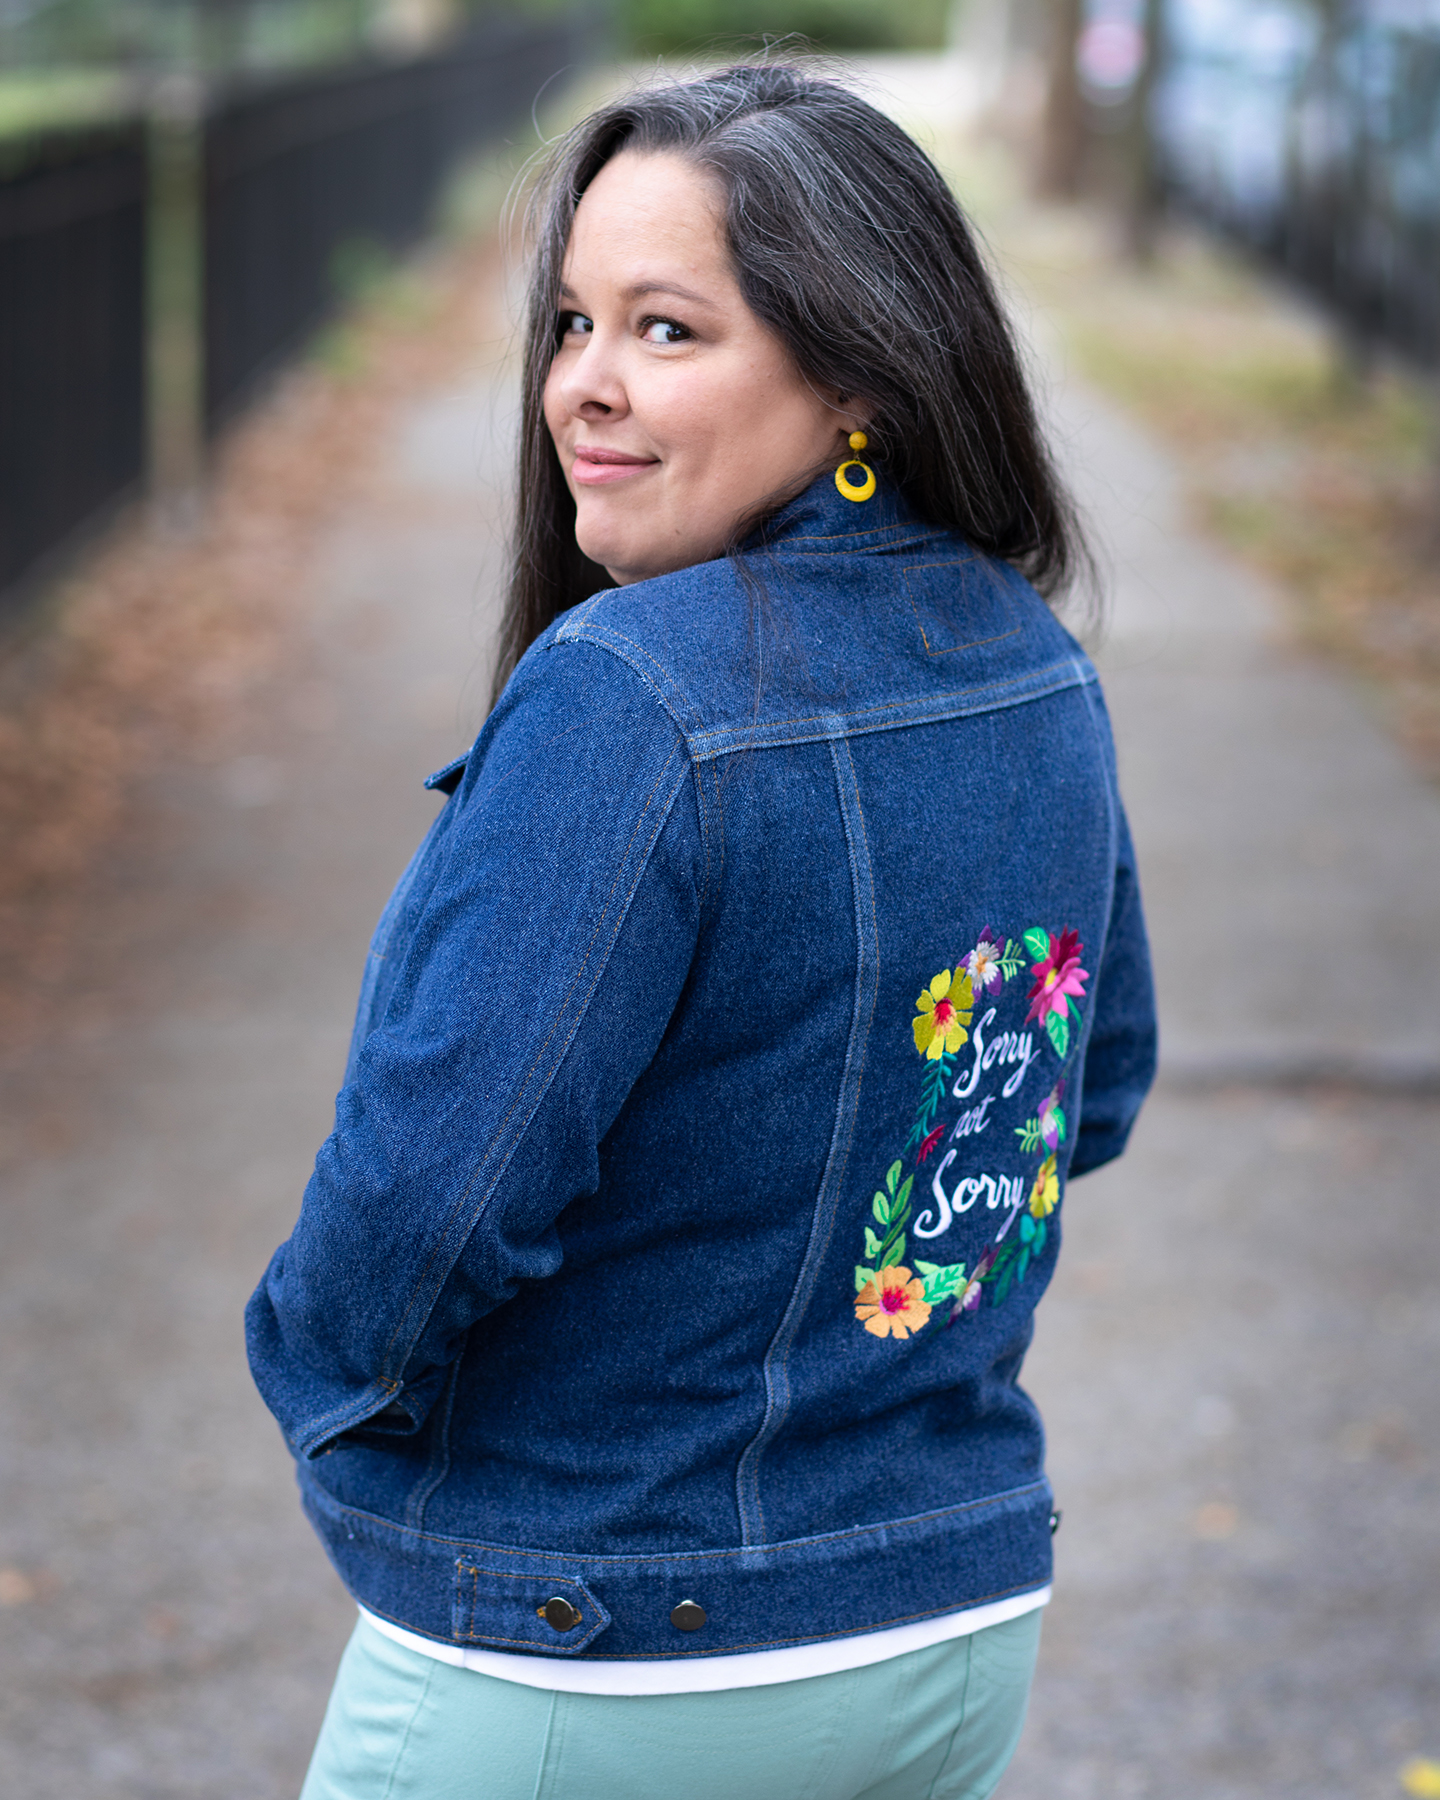
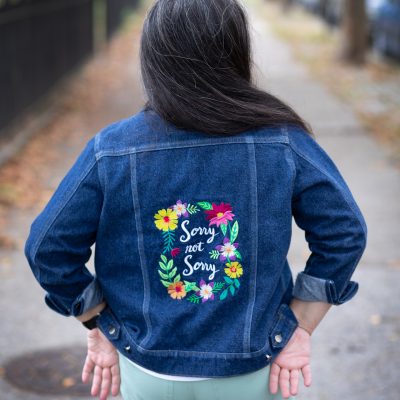
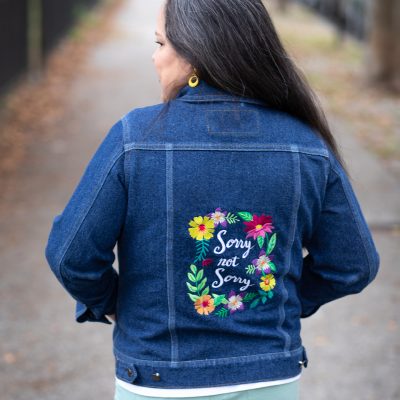
For this one, I knew I wanted a dark wash, I knew I wanted to distress it, and I knew, most importantly, that I wanted a sassy embroidery design on the back.
I knew all of that, I had the fabric for months, but I was waiting until September for two reasons. First, I wouldn’t be able to wear it in summer, and second, Pattern Review was running the denim contest in September so I thought that would be a great time to finally make the embroidered jacket.
When September came, I got to it. You can see my contest entry/review over on Pattern Review.
I pondered whether to make the entire jacket first and then embroider or whether embroidering first would be better. In the end, I decided that I would just lose it if I made the jacket and then screwed up the embroidery and ruined the whole thing, so embroider first, sew later it was.
To start, I cut a piece of fabric larger than the center back panel (large enough to cover the embroidery hoop), traced the outline of the pattern piece with chalk, and then found the center of the piece so I could center the embroidery design.
The design, which is from Urban Threads, uses 12 different thread colors and had something like 14 color changes (I have a single-needle embroidery machine). The embroidery alone took over 3 hours. Thankfully, except for one minor issue I was able to fix on the spot, the embroidery went without a hitch.
After that was done, I cut the center back panel from the piece of fabric and proceeded as indicated on the pattern.
The distressing portion of this jacket, at least at the beginning, was pretty nerve wracking. I was terrified that the sand paper would ruin my fabric. I started by sanding the seams after sewing them but before topstitching, but soon I was fearless and did some sanding after too.
The pattern designer says to do all the sanding/distressing before topstitching, but if you use a fine grit sandpaper, you can do some distressing afterwards too without shredding the topstitching thread.
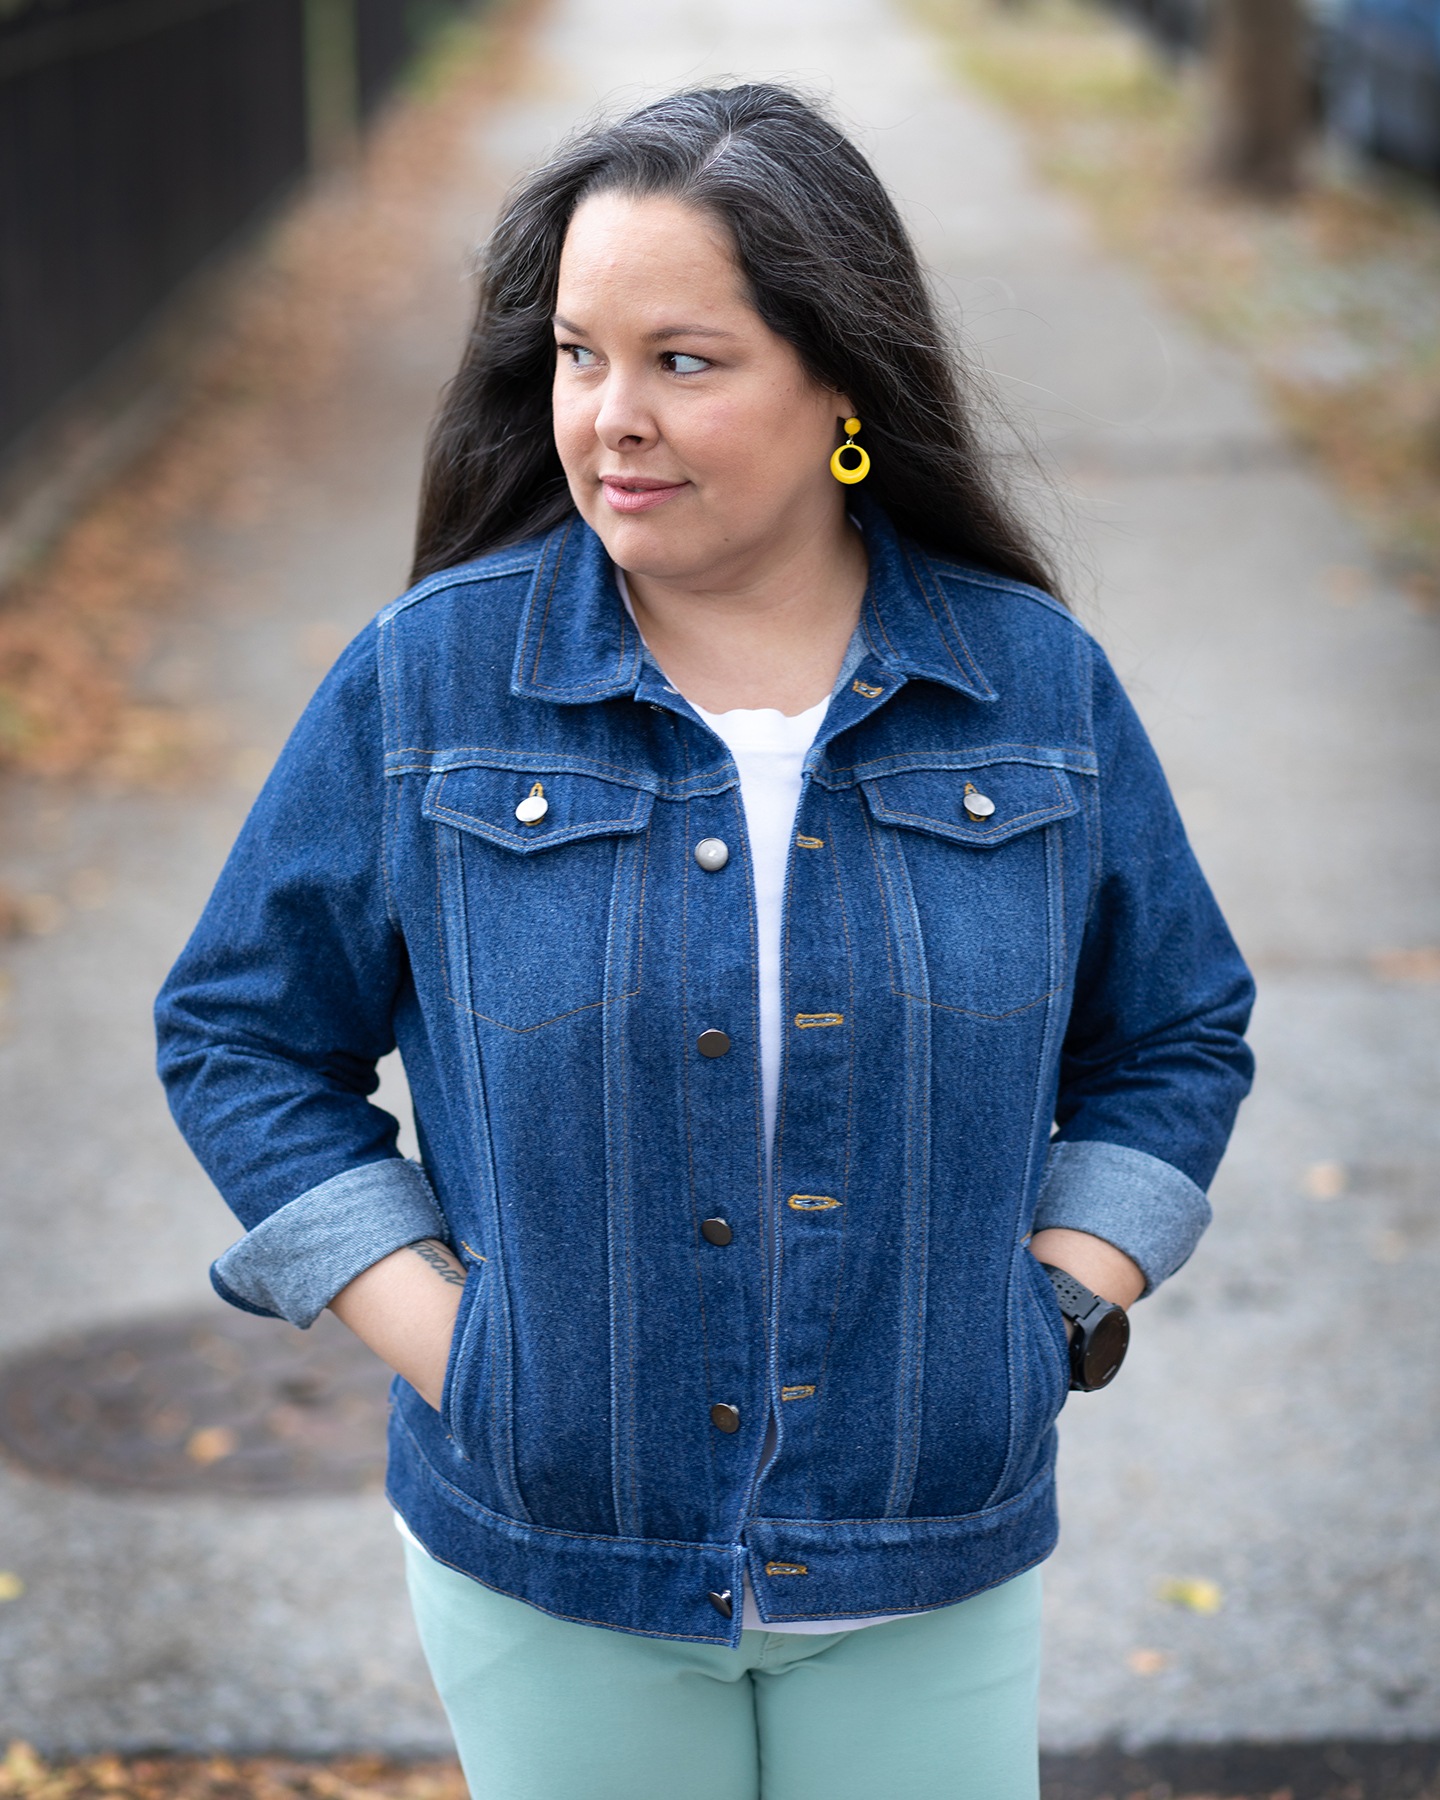
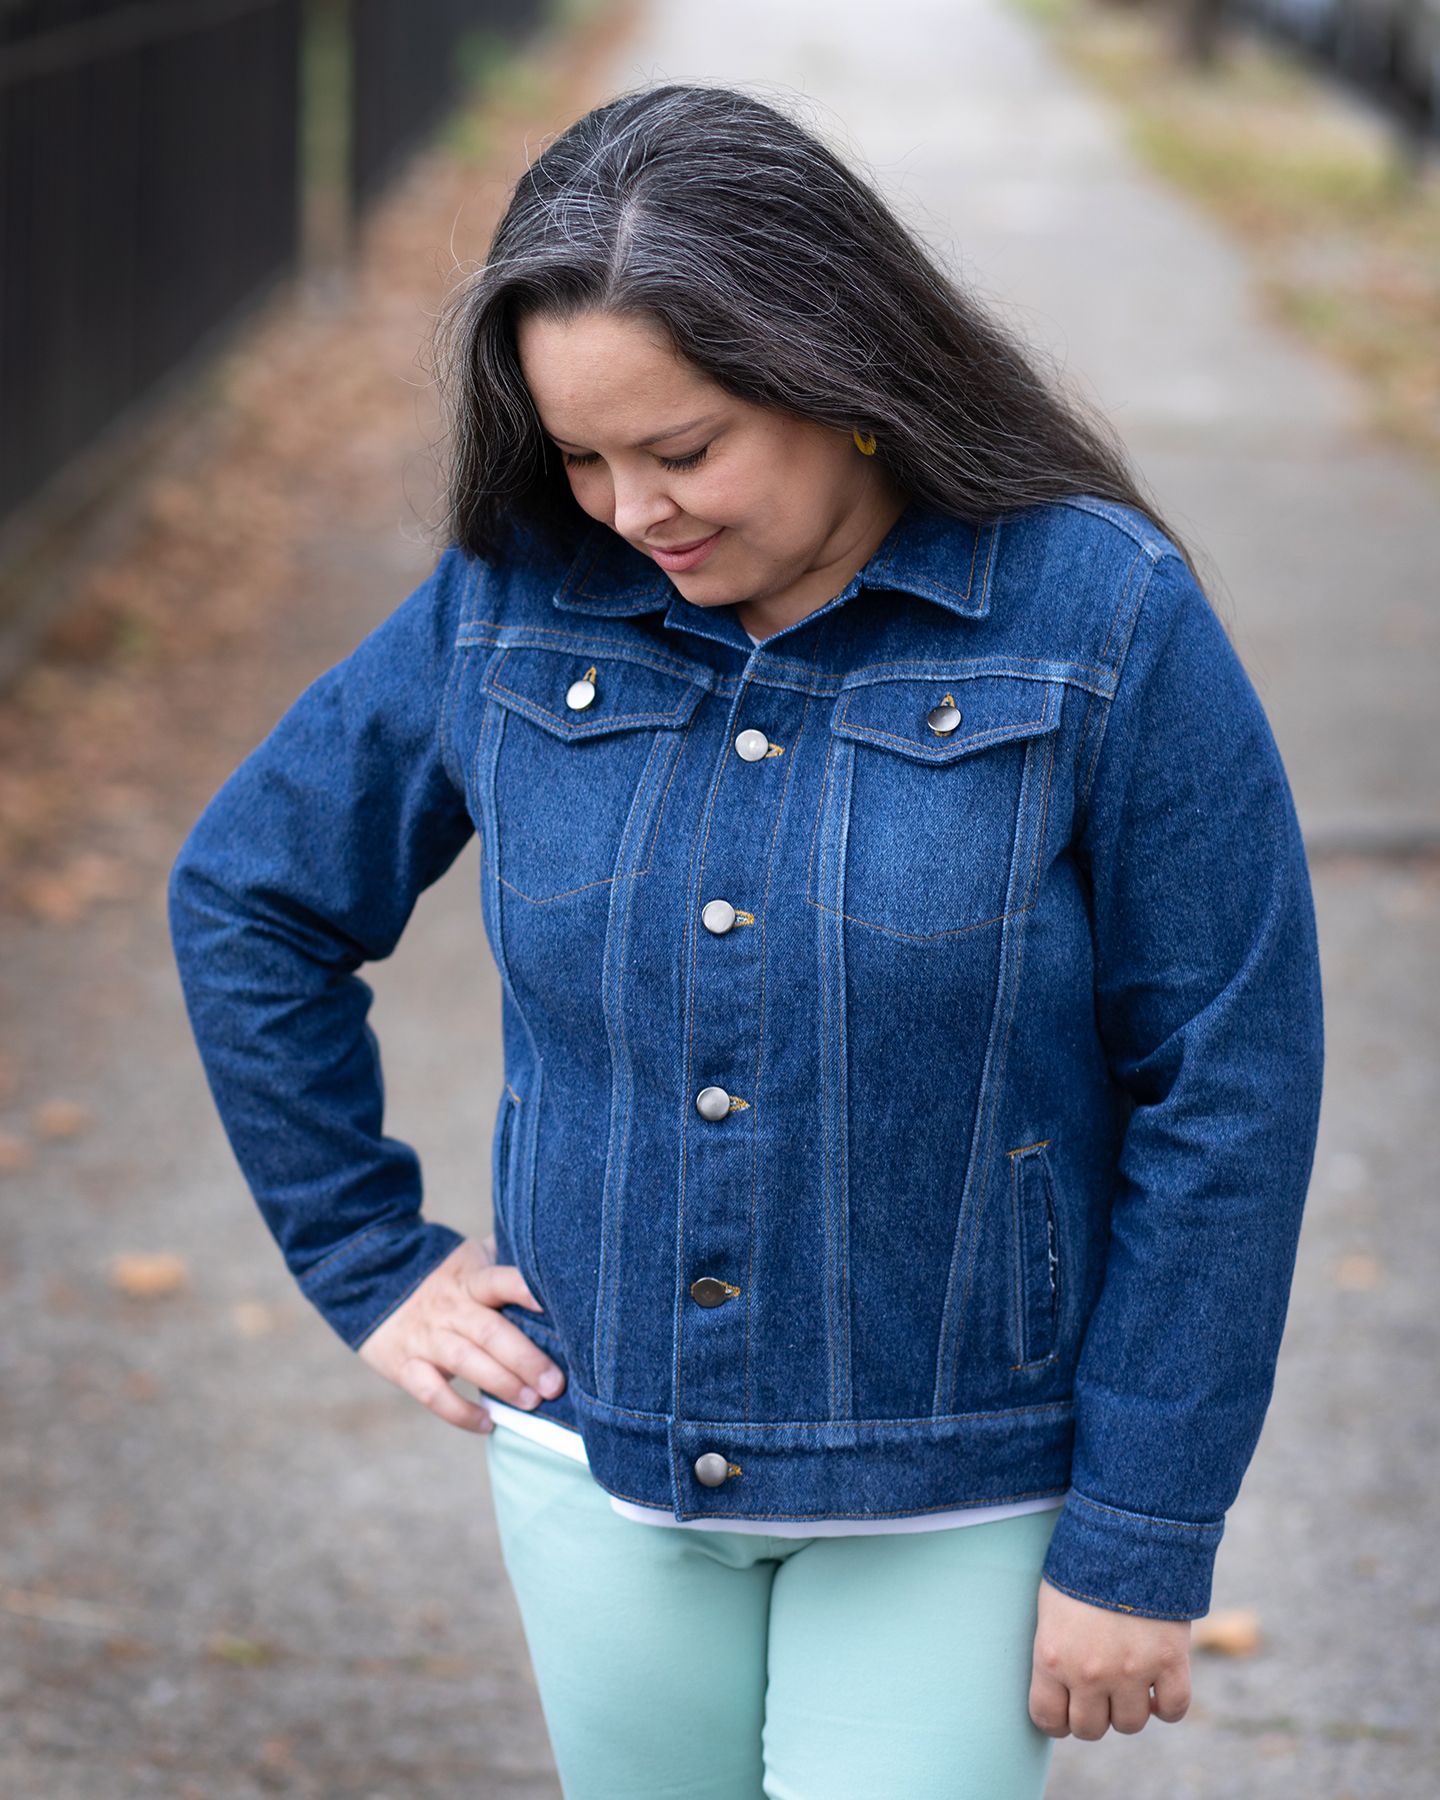
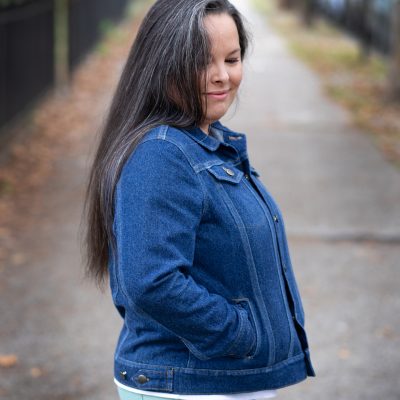
I sanded every seam, around the pockets (chest and welt), the shoulders, the upper back, the cuffs, the button band, the elbows, and the fold on the collar. I pretty much eyeballed everything and I love how it looks.
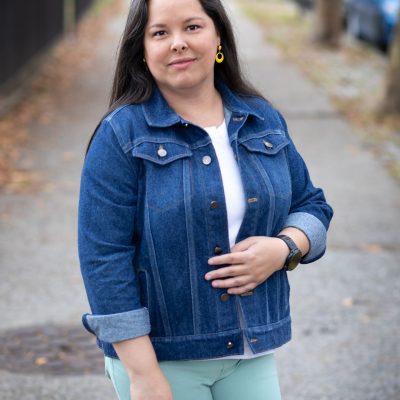
Just to complete the look, the thread in the bobbin matches the topstithcing thread in areas of the jacket where the wrong side is visible, like the collar, the button band, the cuffs, and the buttonholes. Such a small detail really makes the jacket look polished and like a Ready-To-Wear garment.
The pattern itself is a dream to sew. Everything goes together perfectly, the instructions are great AND there is a sewalong. I didn’t make any changes except in the sizing and the sleeve length.
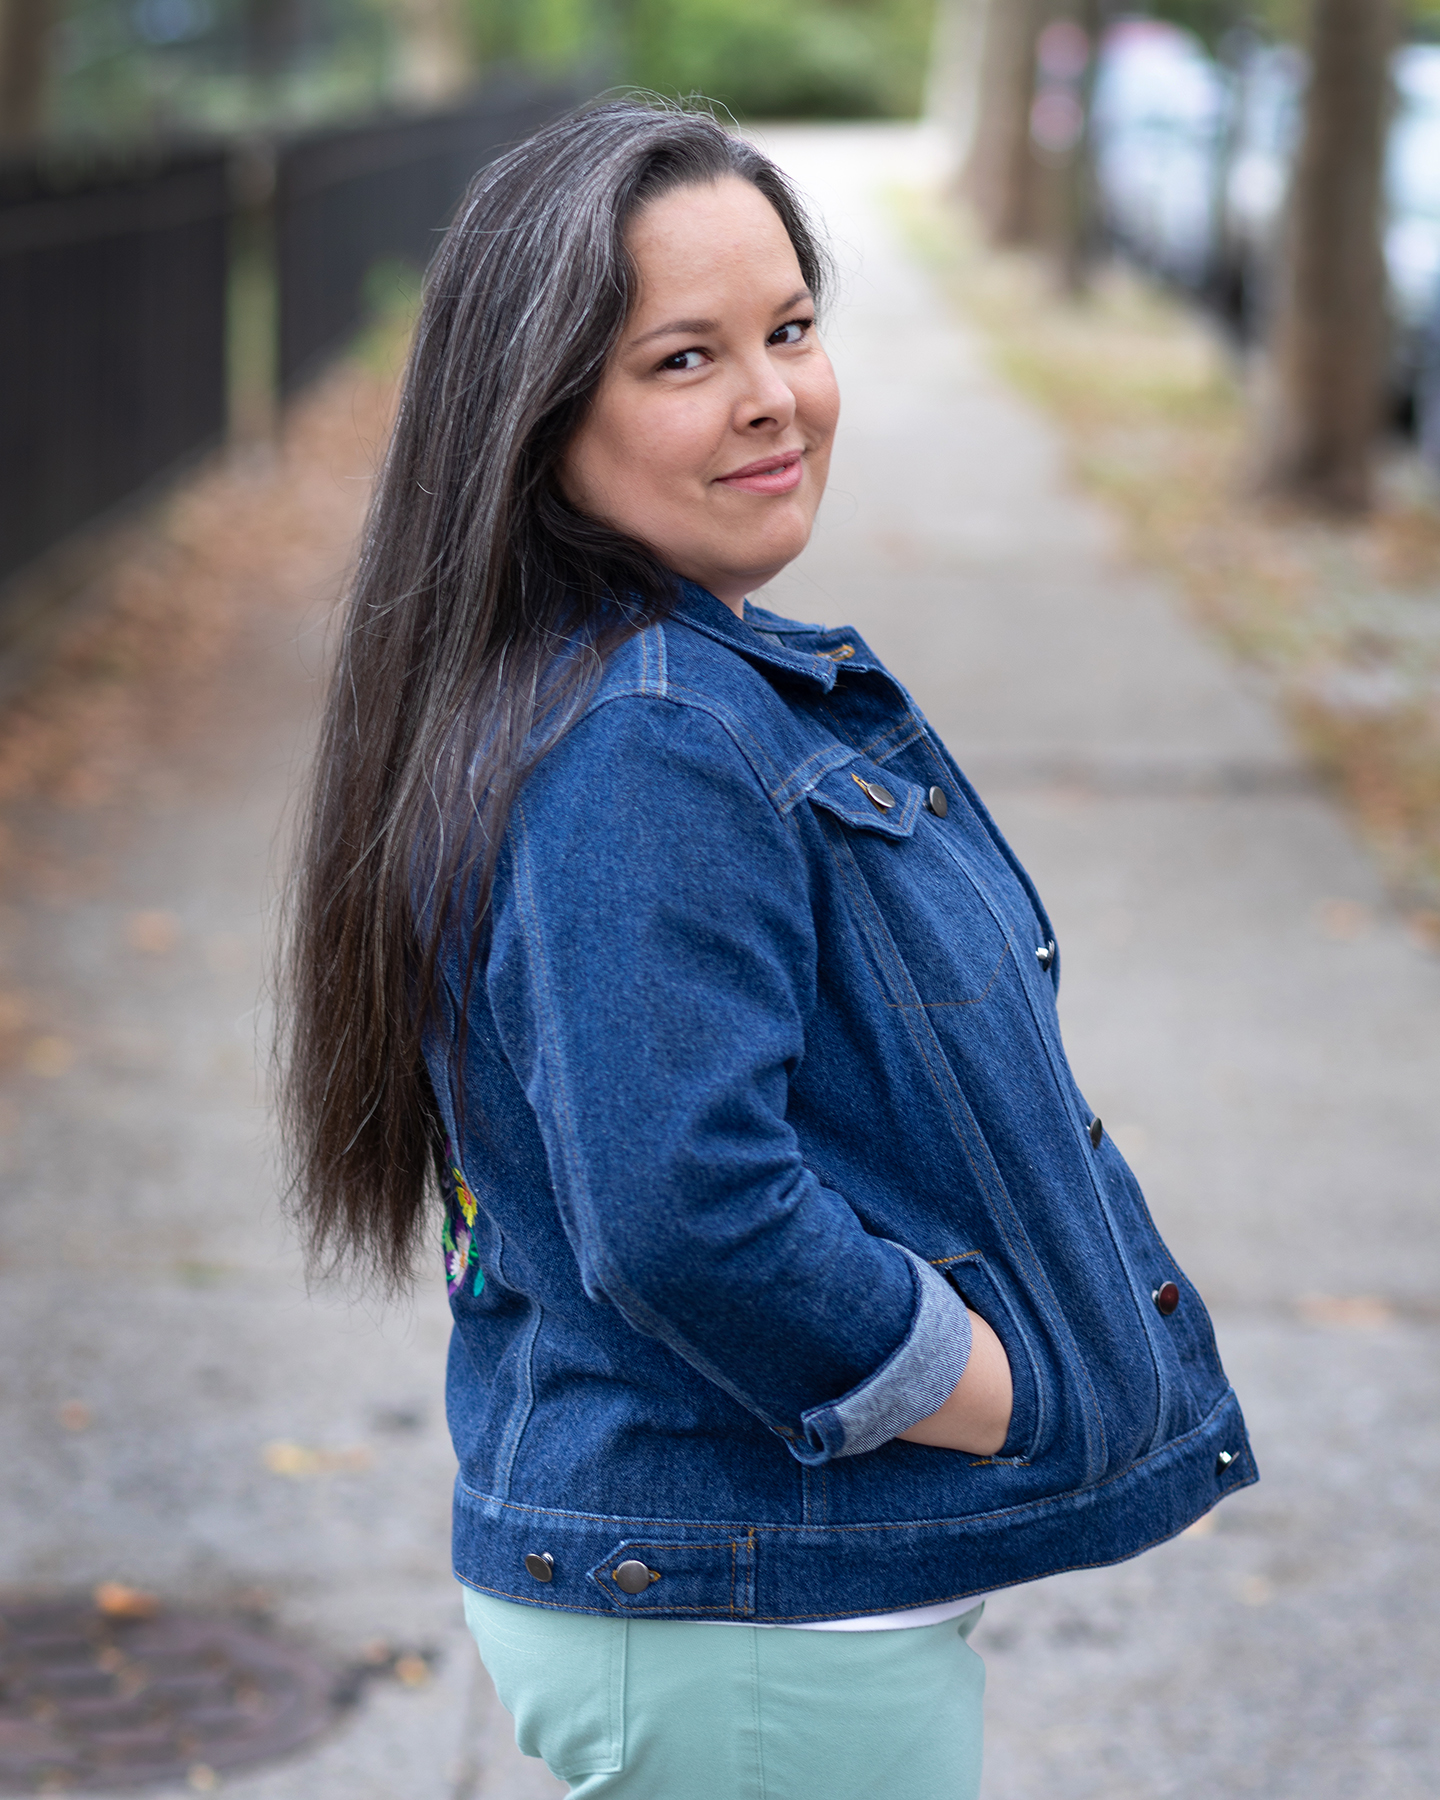
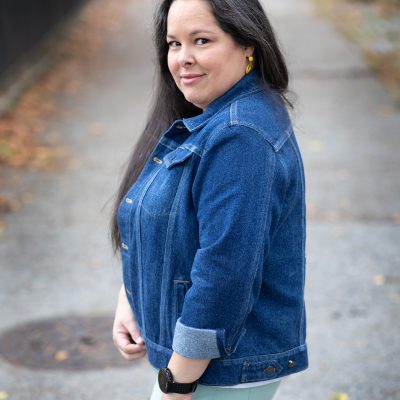
My bust measurement puts me at a size 16 but, based on the finished garment sizes, I made the size 14 and shortened the sleeves 2.5 inches. This right here is the beauty of sewing. I’ve never had a denim jacket before because I could never find any that fit me everywhere. If I could get it closed at the front, the sleeves were always monumentally long.
The only thing about this jacket that gave me trouble was the buttons. I used a type of jean buttons I had never used before and they kept falling off. I think I have hammered them enough now but I thought I was just going to have to rip them all out and replace them with different ones.
I have a full video dedicated just to this jacket, and it includes some of the construction parts of the process. You can see it on my YouTube channel.
All in all, this jacket took 26 hours and 10 minutes to make. Although I’ve never kept track of time before, I’m pretty sure this is the most time I’ve spent on sewing project before, and it was worth it.
I took my time in the planning, the sewing, the details, the workmanship, and it shows.
The jacket, if I may toot my own horn, looks amazing. I LOVE IT.
I will not apologize for saying that it looks freaking fabulous. Sorry, not sorry.


Lisa G :-)
It DOES look amazing!!! Toot away!!! Awesome job! 👏🏼👏🏼👏🏼