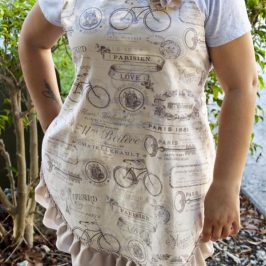
For someone who doesn’t consider herself terribly domesticated, I sure love aprons! Then again, I LOVE coats and live in South Florida, so go figure. I have several aprons; some I bought, some I made, and some were gifts from other people, but a girl can never have to many aprons. Anyhow, a couple of years ago an acquaintance of mine posted a picture on Facebook of a gorgeous apron she made, it was in a gorgeous floral print and matching solid blue fabric. I was smitten. I loved the fabric and I loved the shape of the apron. I did some searching and it turned out that the it was a pattern from an indie designer, Jamie Christina. I bought it immediately and then I waited, and waited, to find a similar fabric to the Facebook apron. I didn’t find it and I got involved in other projects so the apron pattern sat in a drawer.
 |
| Tied at the front |
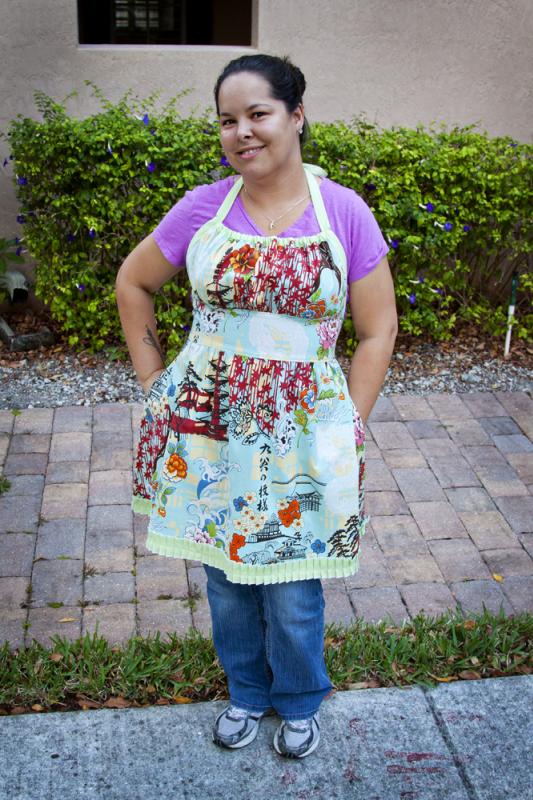
A few days ago I decided I wanted to make the apron and I searched through my fabric stash to see if I found anything suitable that I liked. I have a lot of pretty quilting cotton, thought I don’t quilt, so I started there. There I found this lovely Asian themed fabric from Alexander Henry that had been in the stash for years; I think the actual name of the fabric/design is Koto. I didn’t have any other patterned fabric I liked to go with it so I chose the green solid instead.
 |
| Tied at the front |
While I love the finished result and the construction of the apron wasn’t actually difficult, I have to say that the instructions on the pattern were not very good. There is the option of making a reversible apron or a non-reversible one, and I chose the latter. The instructions were for the non-reversible version were all over the place and has the sewist doing a lot of back and forth on the sheet, and it’s just not very clear. The instructions for the reversible apron take up 95% of the space so I suspect that they are clearer and better than for non-reversible. That is my only complaint with this pattern. It’s really not difficult to figure out but it is annoying nonetheless.
 |
| Tied at the back |
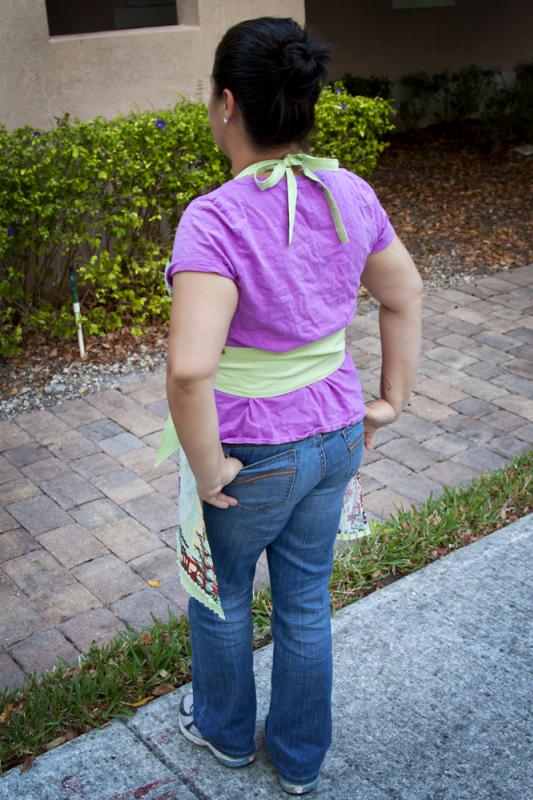
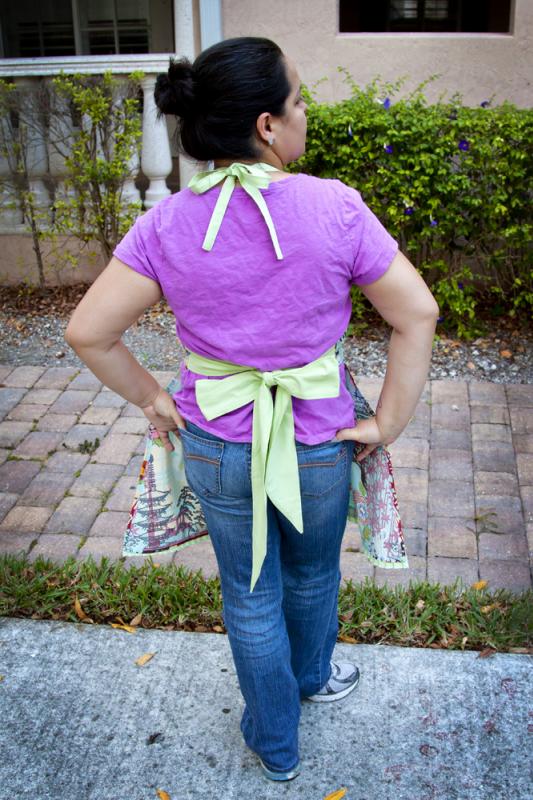
The construction of the apron is pretty cool, and leaves all the edges of the bodice portion bound since the shoulder straps, which go all the way to the waistband, are double folded binding tape cut on the cross grain. The top edge of the bodice serves as an elastic casing, which is how you get the gather there. I have read that some people leave out the elastic altogether and just gather the bodice to into the binding strip. I like the elastic. The pattern instructions call for gathering the ruffles at the bottom by making a loose stitch line through the middle of the fabric strip and manually gathering it to the skirt bottom but I didn’t do it that way. Instead, I used my ruffler presser foot set to the “6” setting (the middle of the three). I put the ruffle strip into the ruffler foot, the skirt under the ruffler foot, and sewed the ruffles directly onto the skirt. I hope that makes sense. The alternative would have been to make the ruffles and then apply them to the apron, but then the ruffles would have had two visible stitch lines unless I was SUPER careful to stitch only on top of the first stitch line.
 |
| Tied at the back |
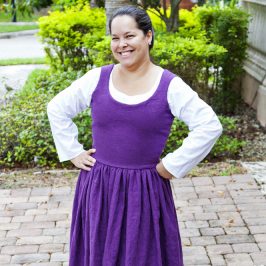
After all is said and done, I LOVE the apron and I will probably make another in different fabric combinations. Love. I would wear this as a dress if it had a back, and it turns out that Jamie Christina does have a dress pattern that looks like this on the front…


Leave a Reply