For about a year now I’ve wanted to make a long, unlined wool coat that I can throw on when it’s cold but not puffer-coat cold.
I wanted it to be easy to wear and more or less easy to fit, which meant a slightly oversized coat.
But as it often happens, it just moved to the back burner, especially because the pattern I initially wanted to use did not have great reviews online.
Then, in early October I was faced with the decision of finalizing something, anything, to take to Camp Workroom Social with me to work on at the Makers’ Atelier class I was enrolled in.
I ended up choosing the Marit Coat from the pattern magazine La Maison Victor, issue 7 in English, thinking that because it was unlined, oversized, and with dropped shoulders it would be a pretty easy and quick project.
I was wrong. So,so wrong.
I muslined a size 46 and it was enormous. Not just long, I had already shortened it, but also wide. I could have gone with a size 42 but chose in the end to go with a 44 just to be on the safe side.
Better slightly big than slightly small.
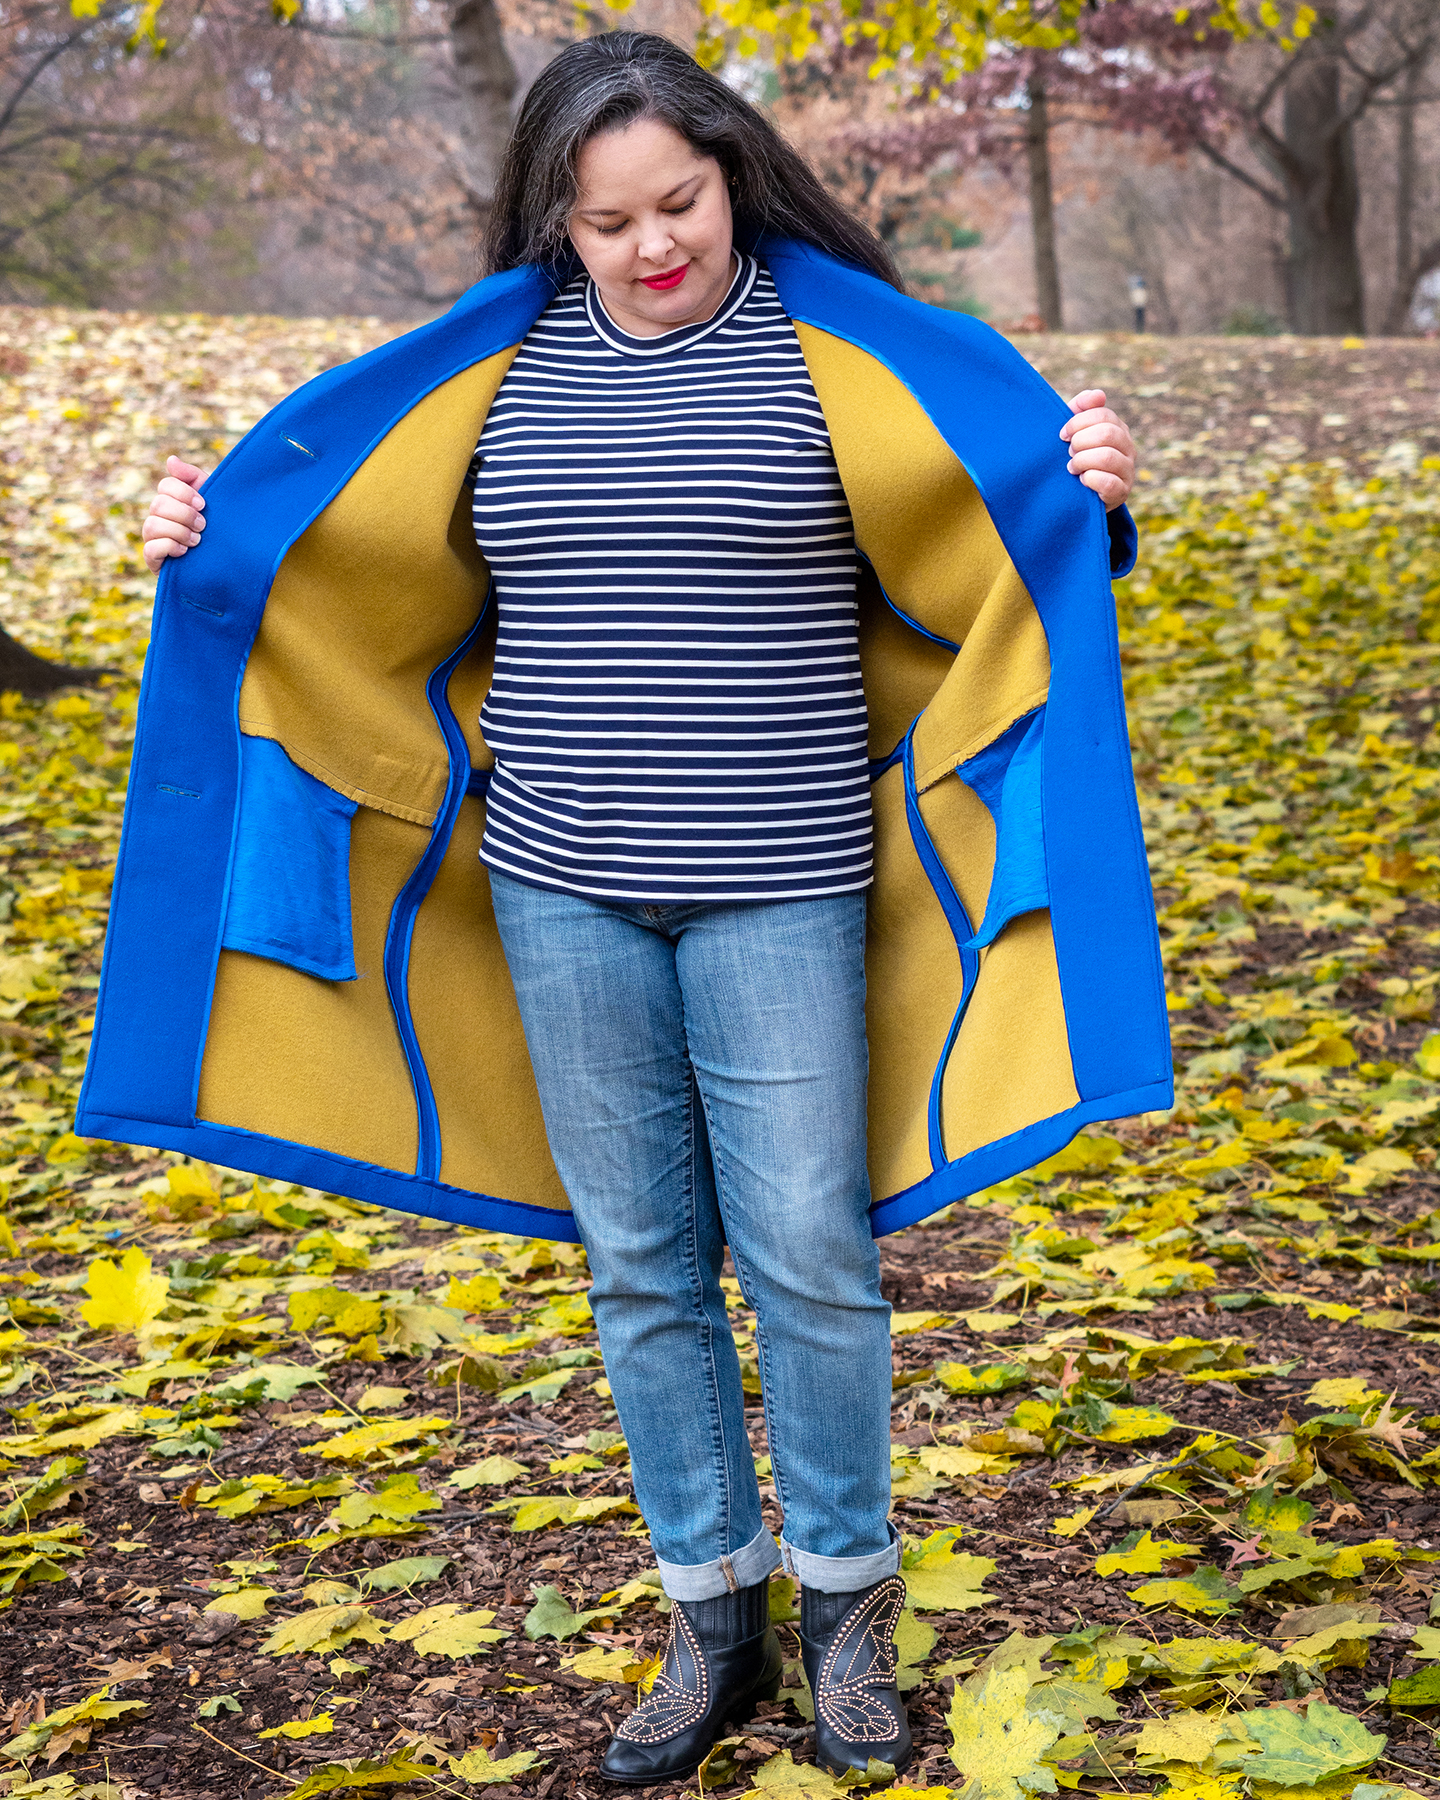
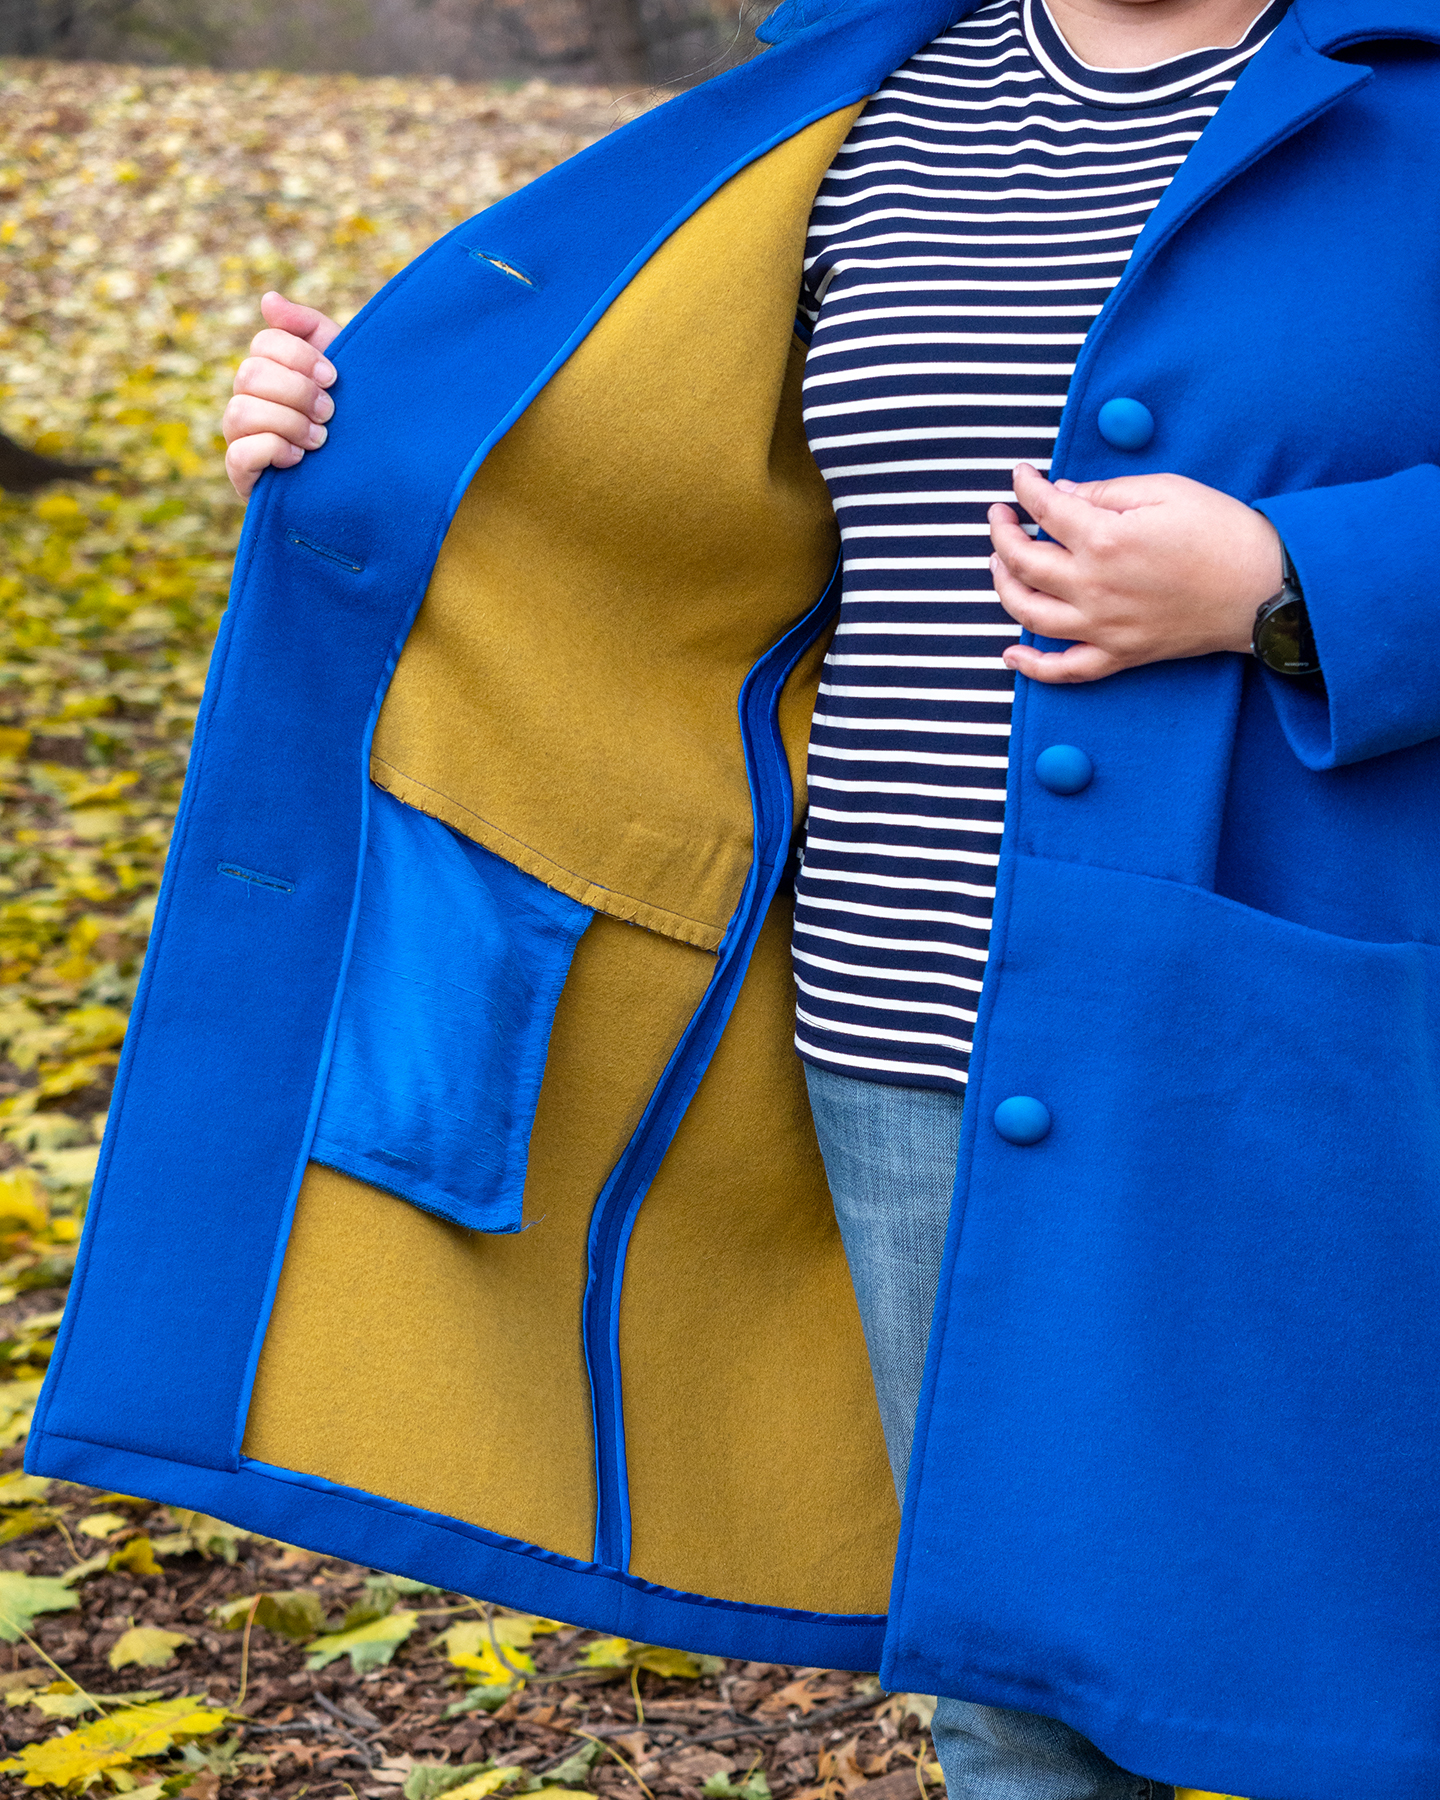
I bought the fabric precisely because it was a double cloth wool with a gorgeous blue color on one side and mustard on the other. Perfect for an unlined coat regardless of which side you choose as your right side.
For my 5’1.5″ body, I shortened the body of coat two inches above the hip seam, and an inch below. I added no hem allowance and in the end shortened it another 1 1/4″ or so once I was doing the hem later.
I shortened the sleeves 2″ and, again, added no hem allowance.
That was the extent of the fitting alterations I made to the pattern, although I did make one other alteration to the coat itself, but more on that later.
So, I took all my things to camp and, with the help of the teacher, the wonderful Sharon Butler, I started working on it.
And I say started because, spoiler alert, I did not finish it that weekend. This thing took forever and a half to finish, mostly because I took my time to do things right, not just easy, and did tons of hand sewing.
Which brings me to the problems with this pattern.
To be fair, it is not the pattern itself that is lacking, it is the instructions.
I have a whole video review of the pattern where I explain this, but the instructions on the magazine do not call for securing the upper collar to the lower collar or facing to the coat after they are sewn together and turned right side out.
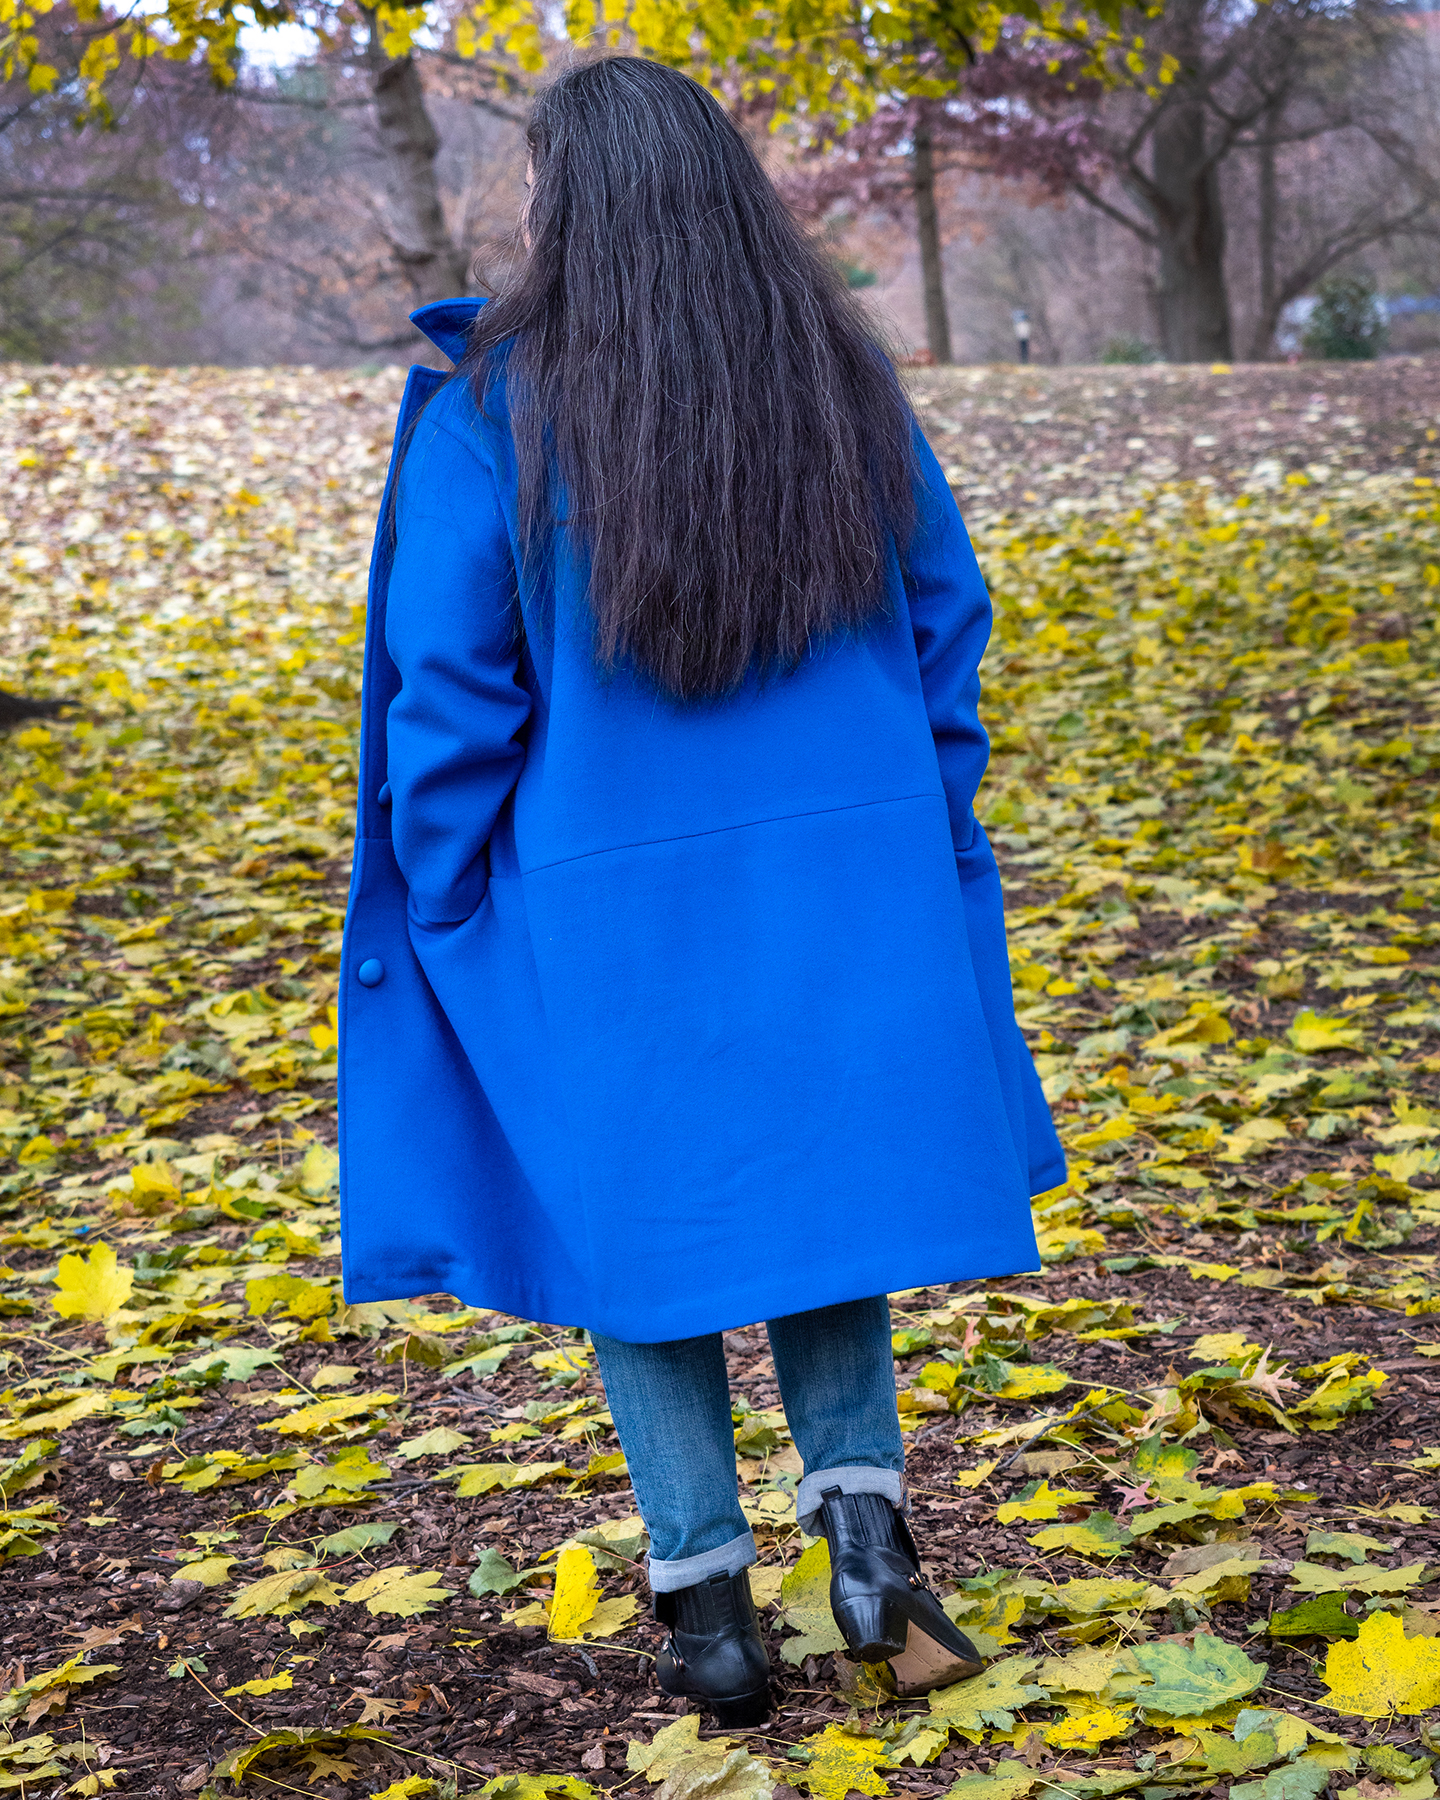
This means that the facing and collar will continuously flip up and out on you while wearing it.
To prevent that, after I constructed the collar, I secured both sides of the collar to each other by hand, pressing the seams flat and then catch-stitching them.
Then I attached the facing and the coat at the shoulder seams by stitching in the ditch. And, finally for the collar, I hand sewed the upper and lower collar together by stitching in the seam between the collars and the collar stands.
This way everything is secure and nothing is loose and unruly.
I cannot stress enough the importance of doing this; making the coat as the pattern instructs and nothing more will not give you good results.
Most of the reviews of this pattern are in languages I can’t read, but if you look at the hashtag on Instagram you will see that most people chose to line the coat, which is fine, and this also takes care of the loose collar and facing situation.
I don’t know whether those people talk about securing the upper and lower collars together or not, but I would not skip this step regardless of whether I lined the coat or not.
Along the same lines, the way that the pattern instructions have you construct the pocket produces a limp, floppy front hip seam, not an attractive look at all
Again, I explain this in more detail in the video, but I essentially secured the folds of the lower front body next to the pockets to the upper front body of the coat with invisible hand stitches.
One other part about the construction according to the instructions that I don’t like is how they construct the hem, which is a bit odd and not my favorite, but I guess it works.
If I had to do it again, I would extend the facing to meet the bottom of the coat and hem it that way rather than fold the coat up to meet the (shorter) facing to form the hem.
All of this makes more sense when you look at the written instructions and are constructing the coat, I promise.
The final challenge, I guess, of this coat, was the sleeves.
Once I had all of the body constructed, I attached the sleeves, tried the coat on, and was immediately disappointed.
The shoulders were HUGE.
I know I said it was a dropped shoulder, but I looked like a deflated linebacker.
I was determined though, because the materials alone for this coat cost over $145, so I made do.
To fix the problem, I pinched out the excess fabric, both from the sleeve and the armscye, starting at the “cap” and tapering out to nothing at the match points on the sleeve.
I put cap in quotes here because given that this is a dropped shoulder, it should not have as high and rounded a cap as it did, which I think is part of the problem. It may also very well be the fact that I have pretty narrow and sloping shoulders in the first place.
That worked, for which I am glad because I almost cried when I looked on the mirror and saw the monstrosity that was this coat with those shoulders on me.
Of course, it’s not the ideal solution, I’d much rather have caught this in the muslin stage, but my muslin didn’t show this issue, or at least I didn’t catch it.
But all is well that ends well.
For the interior the pattern has no finishing instructions, except for the edge of the facing, which it does call for binding. But, because it is an unlined coat, I decided to do Hong Kong finishes on most of seams (except for the pocket seams, where I did a blanket stitch). I was able do some by machine but for the side seams, with the bulk around the pockets, I decided it would be best to do all the binding by hand.
So, I spent hours sewing the bias tape to the seams to create the Hong Kong finishes. I sewed more or less 14 yard of bias tape to this coat.
Was it worth it? Absofreakinglutely.
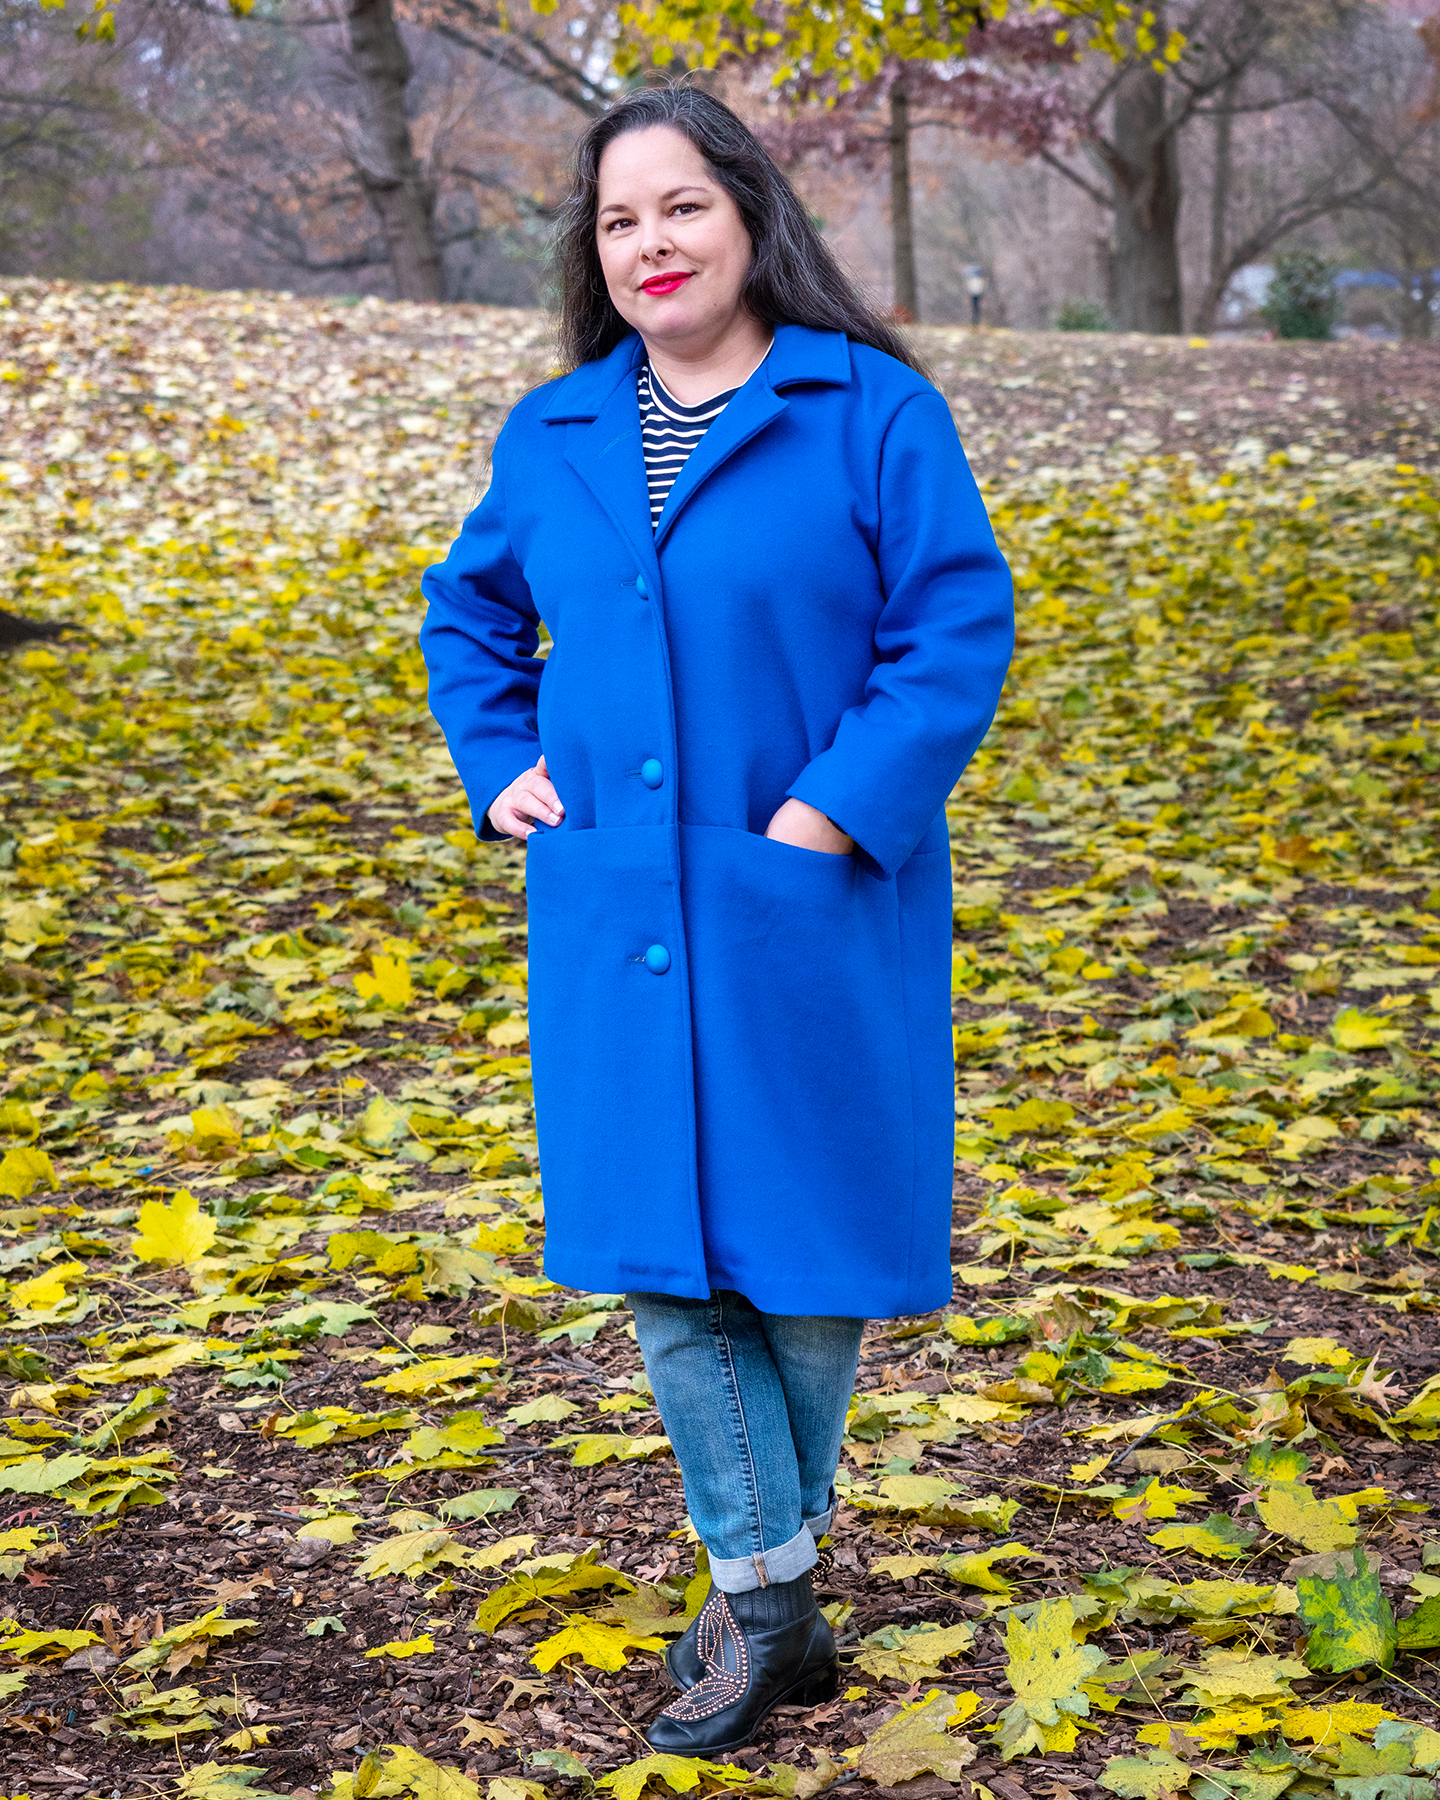
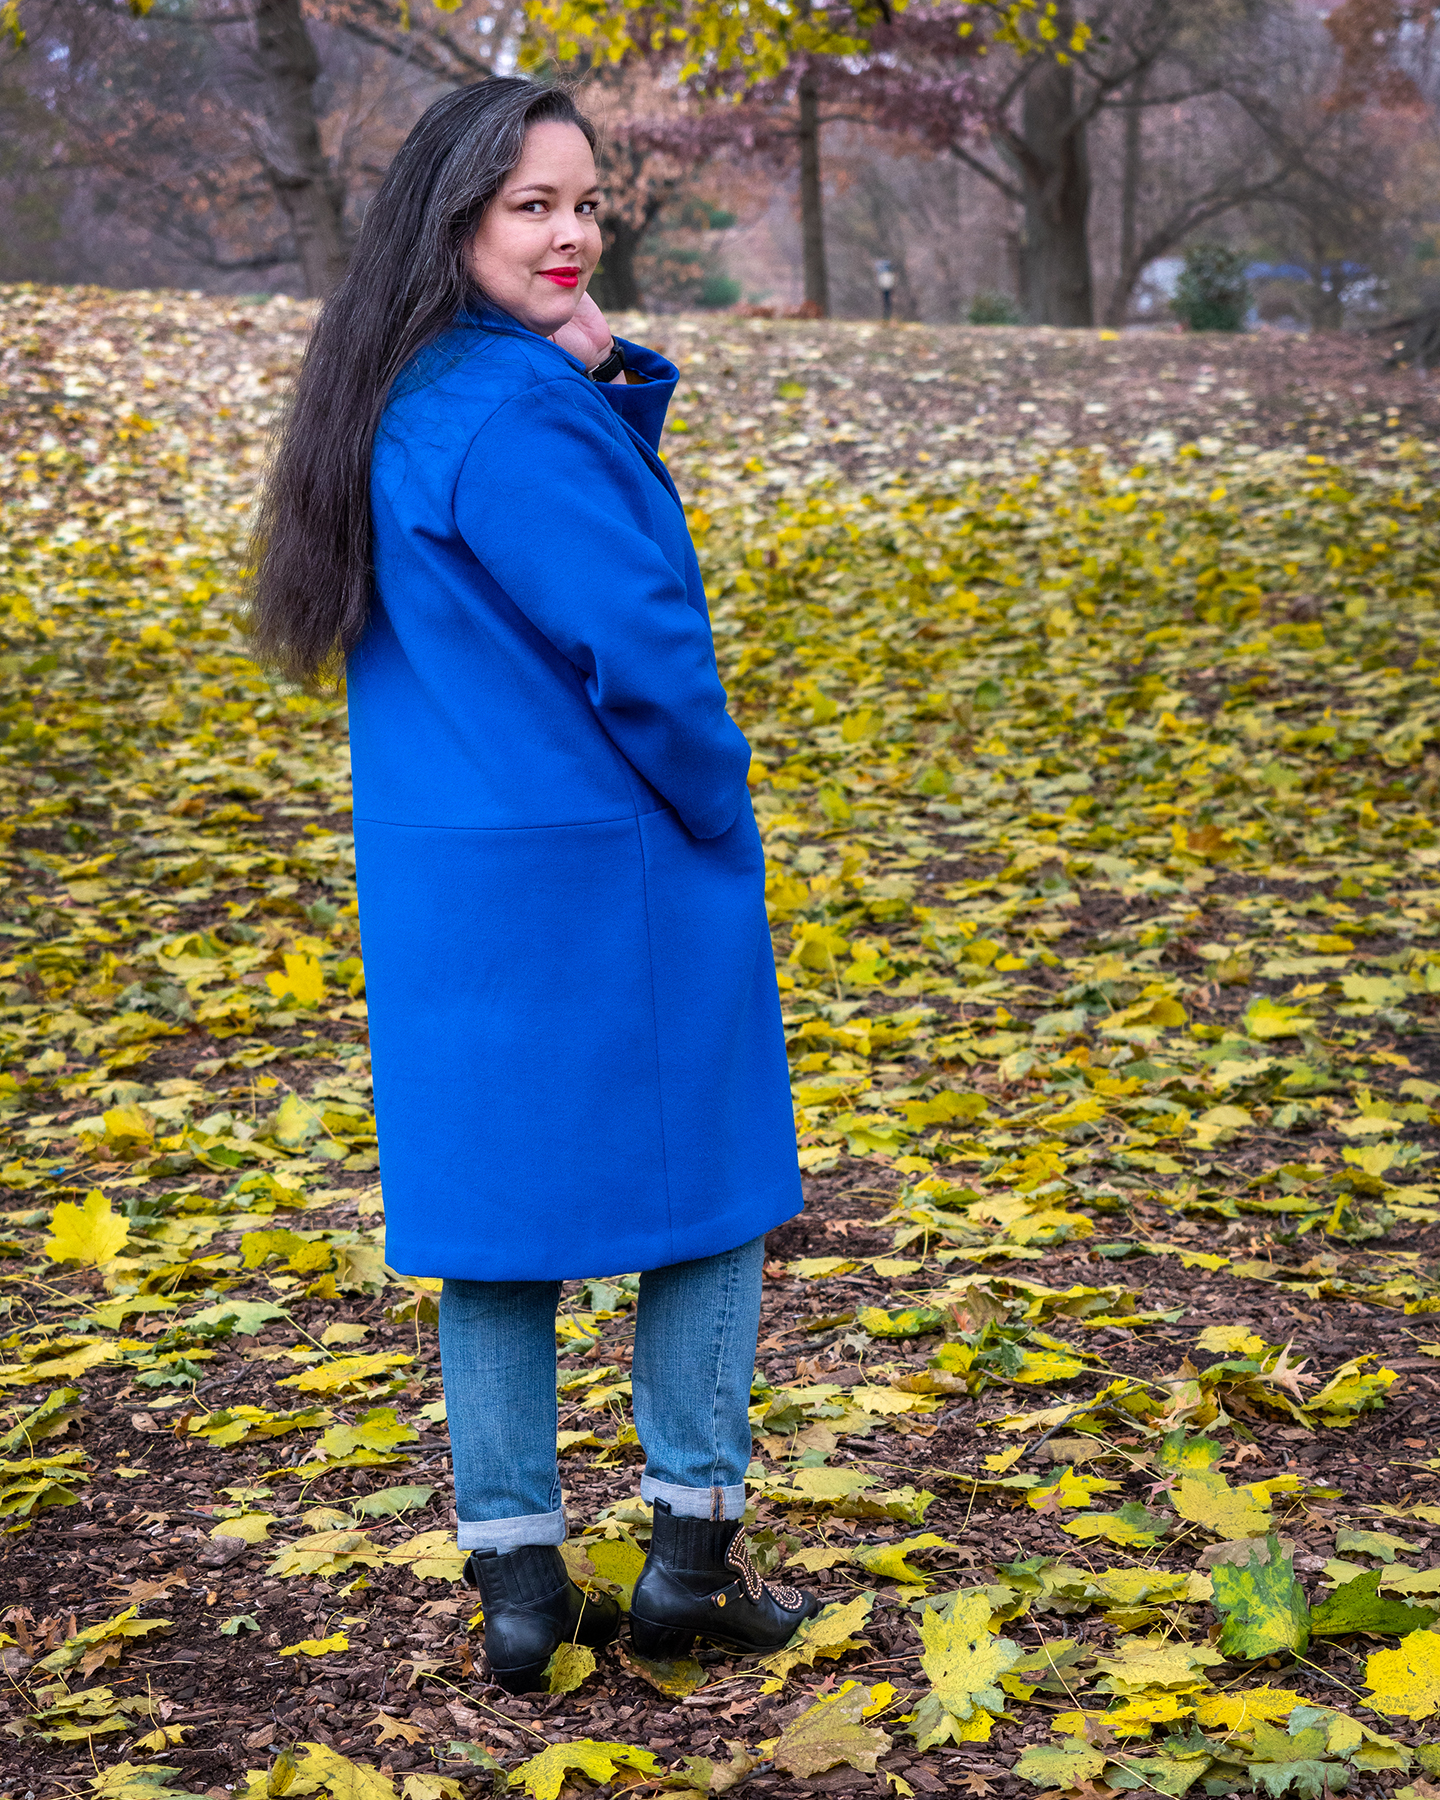
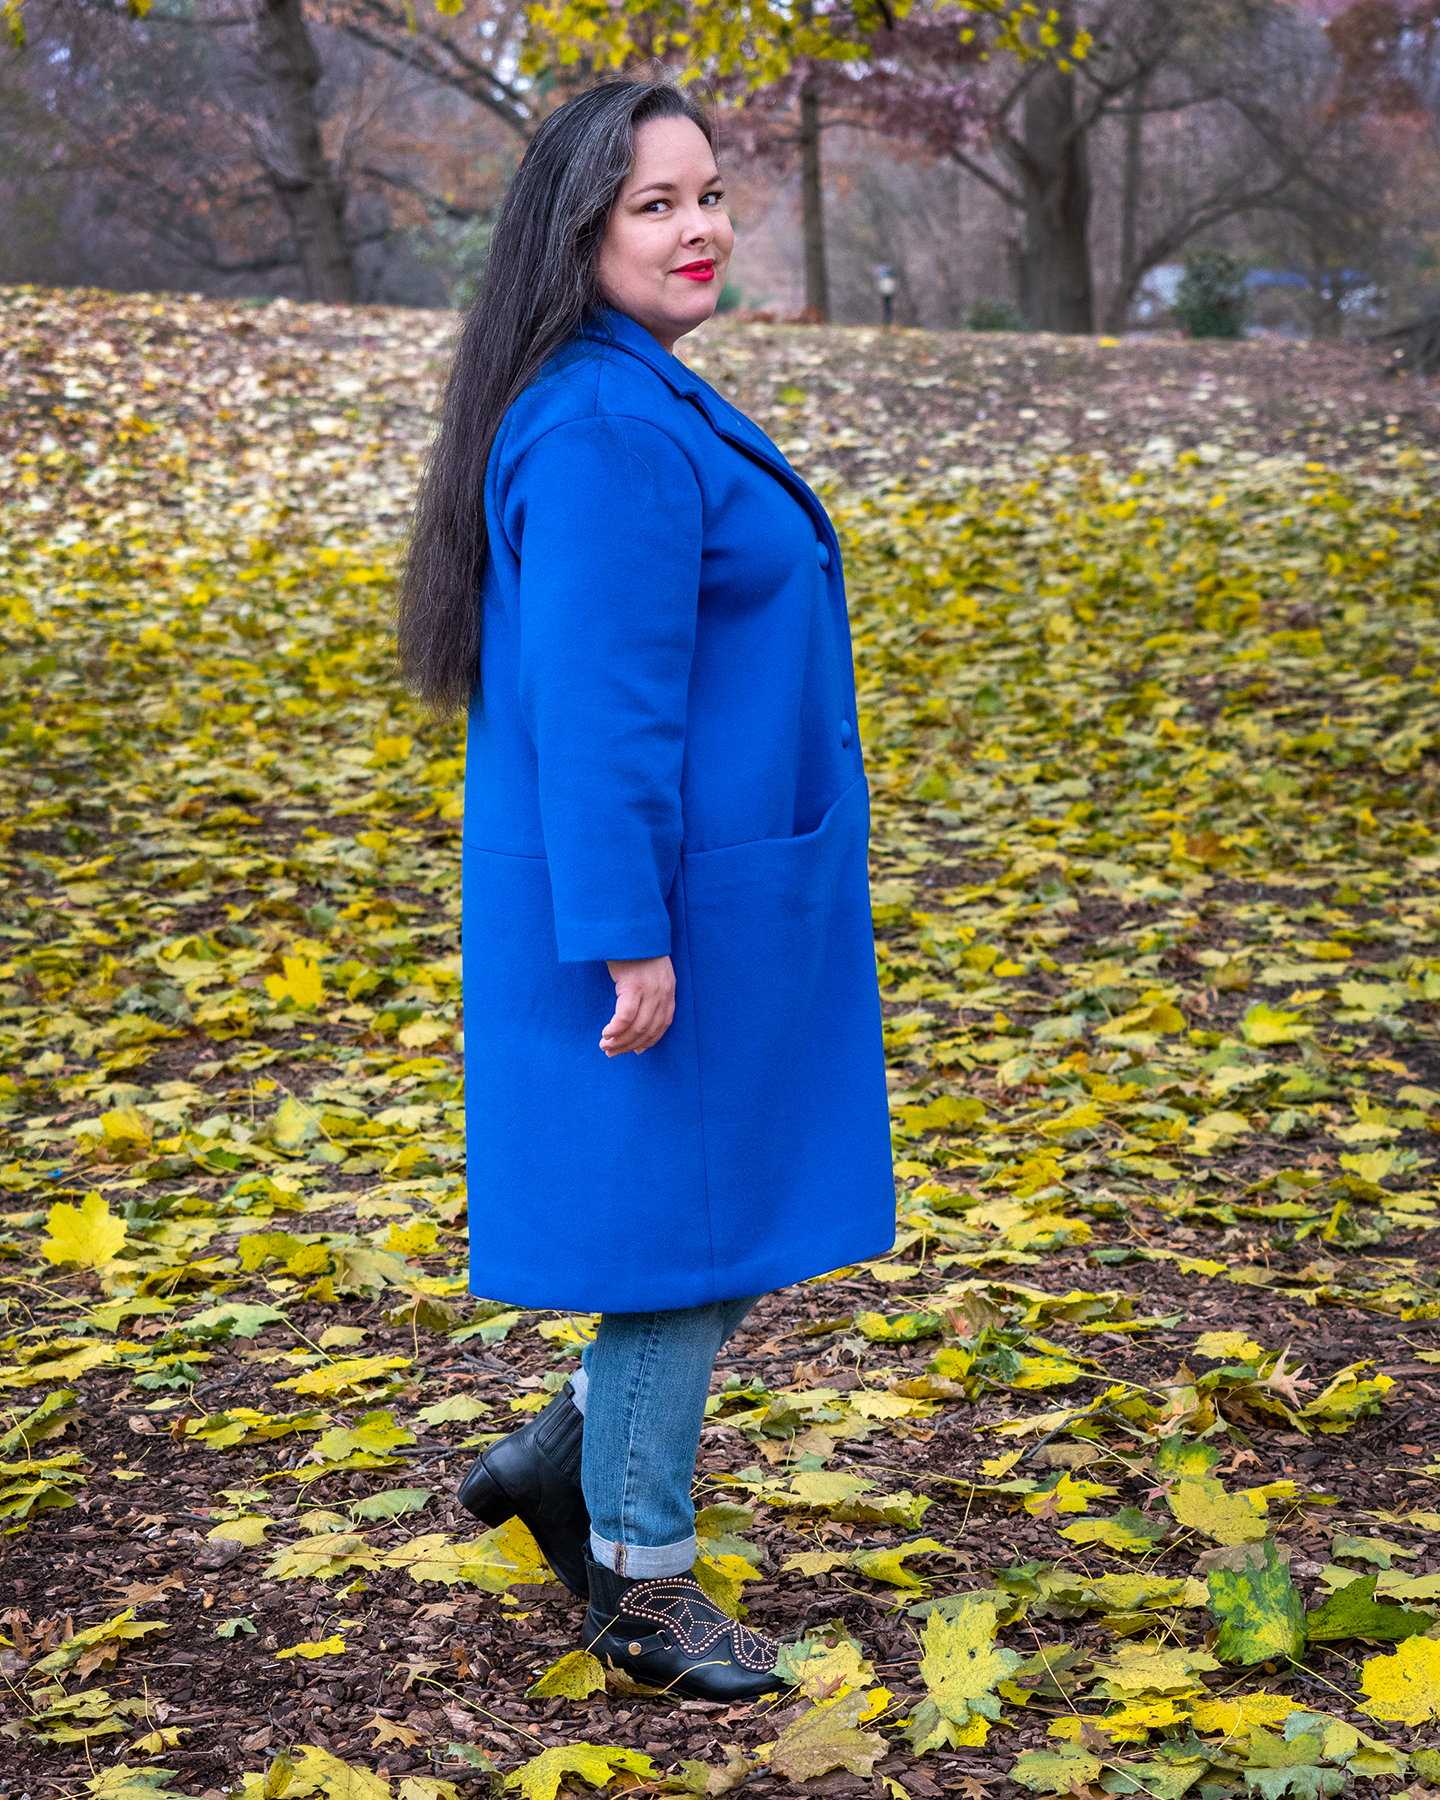
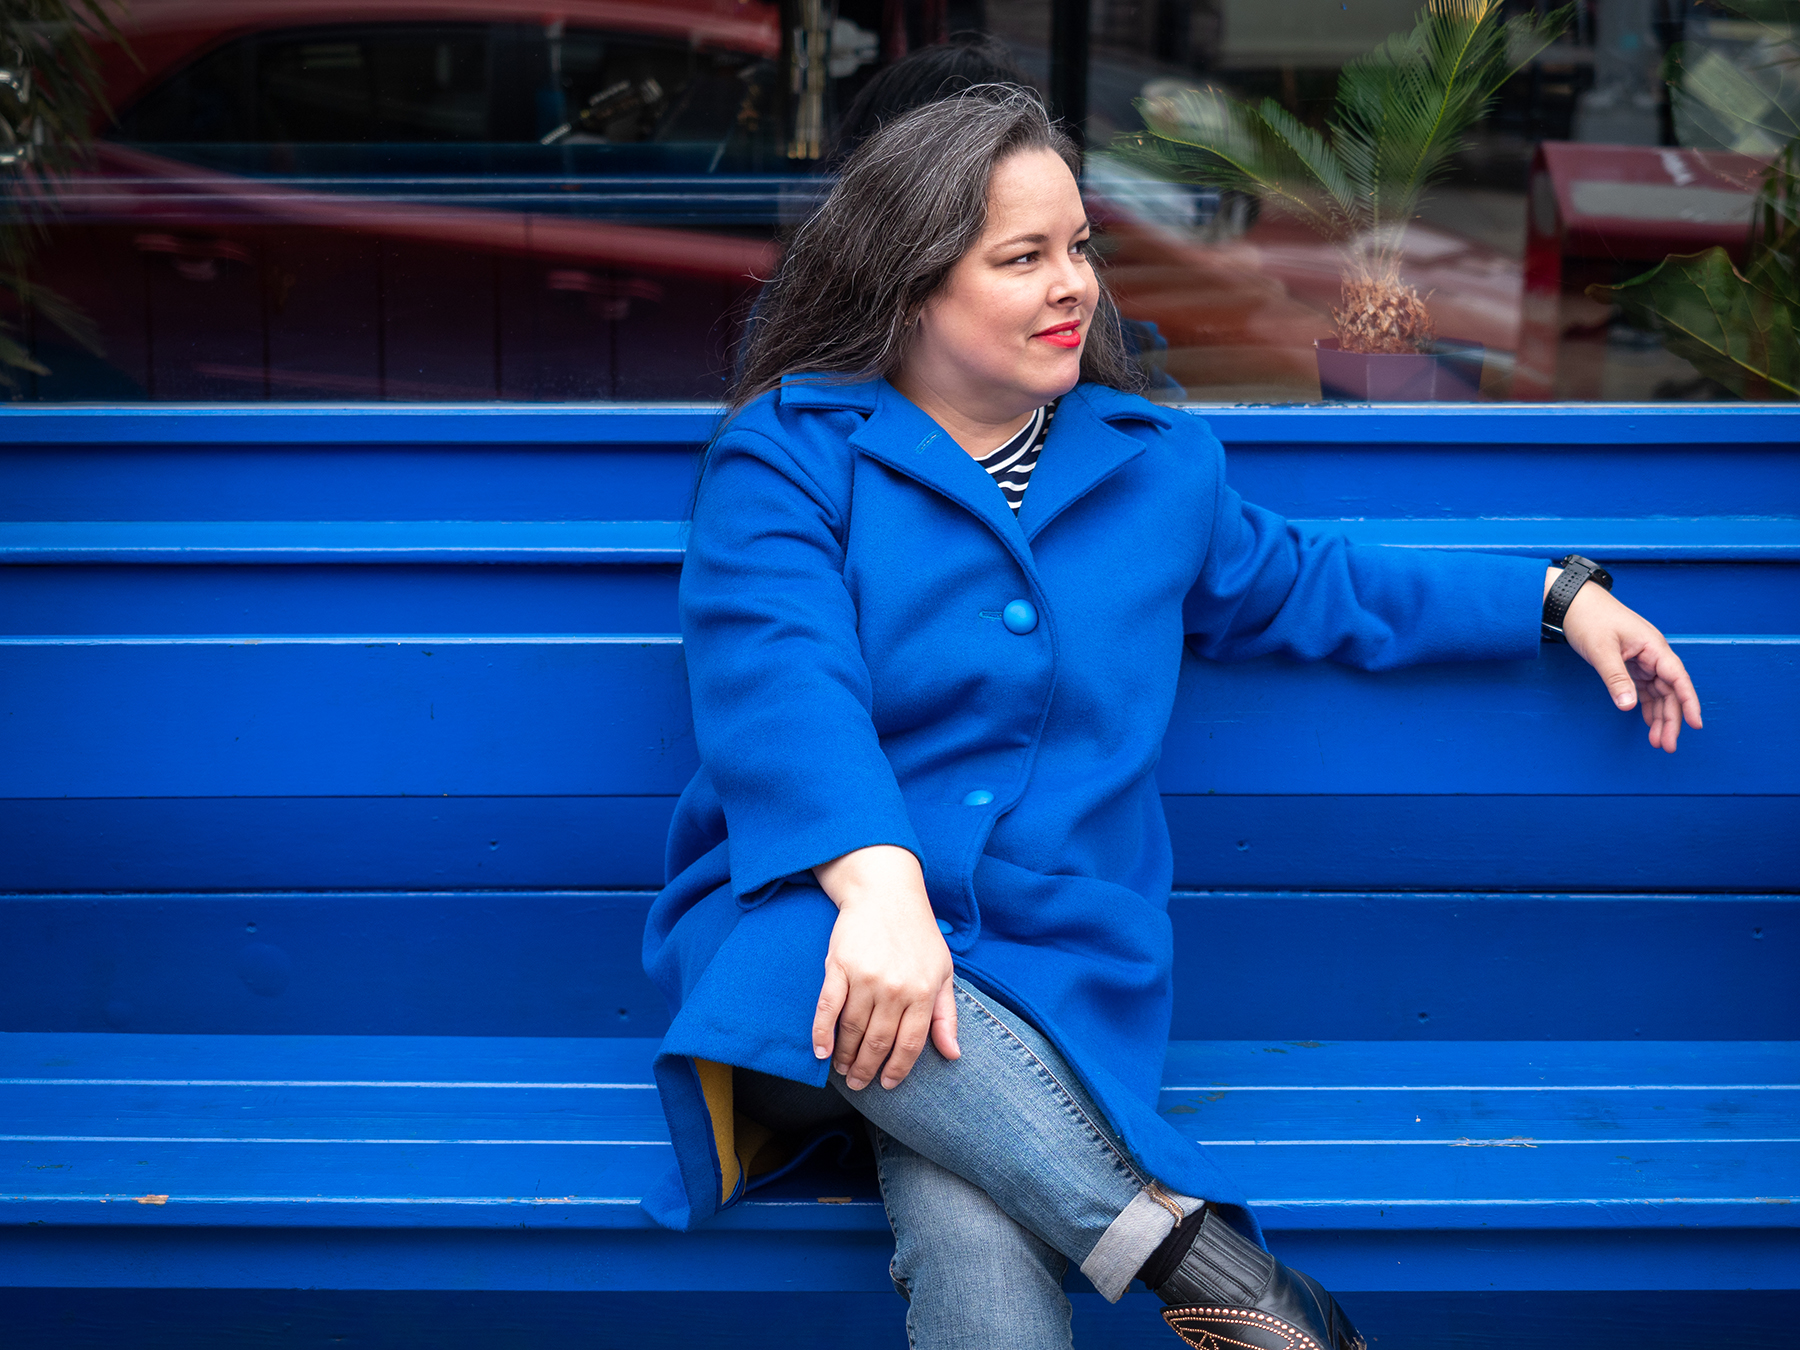
In the end, I am beyond ecstatic about how this coat turned out.
There is nothing about it that I don’t like.
The color is life itself, and the fit is generous without being overwhelming. I can wear a pretty thick sweater underneath and still be fine.
But that, of course, is no thanks to the pattern instructions and all thanks to all the extra work I did to make this coat what it turned out to be.
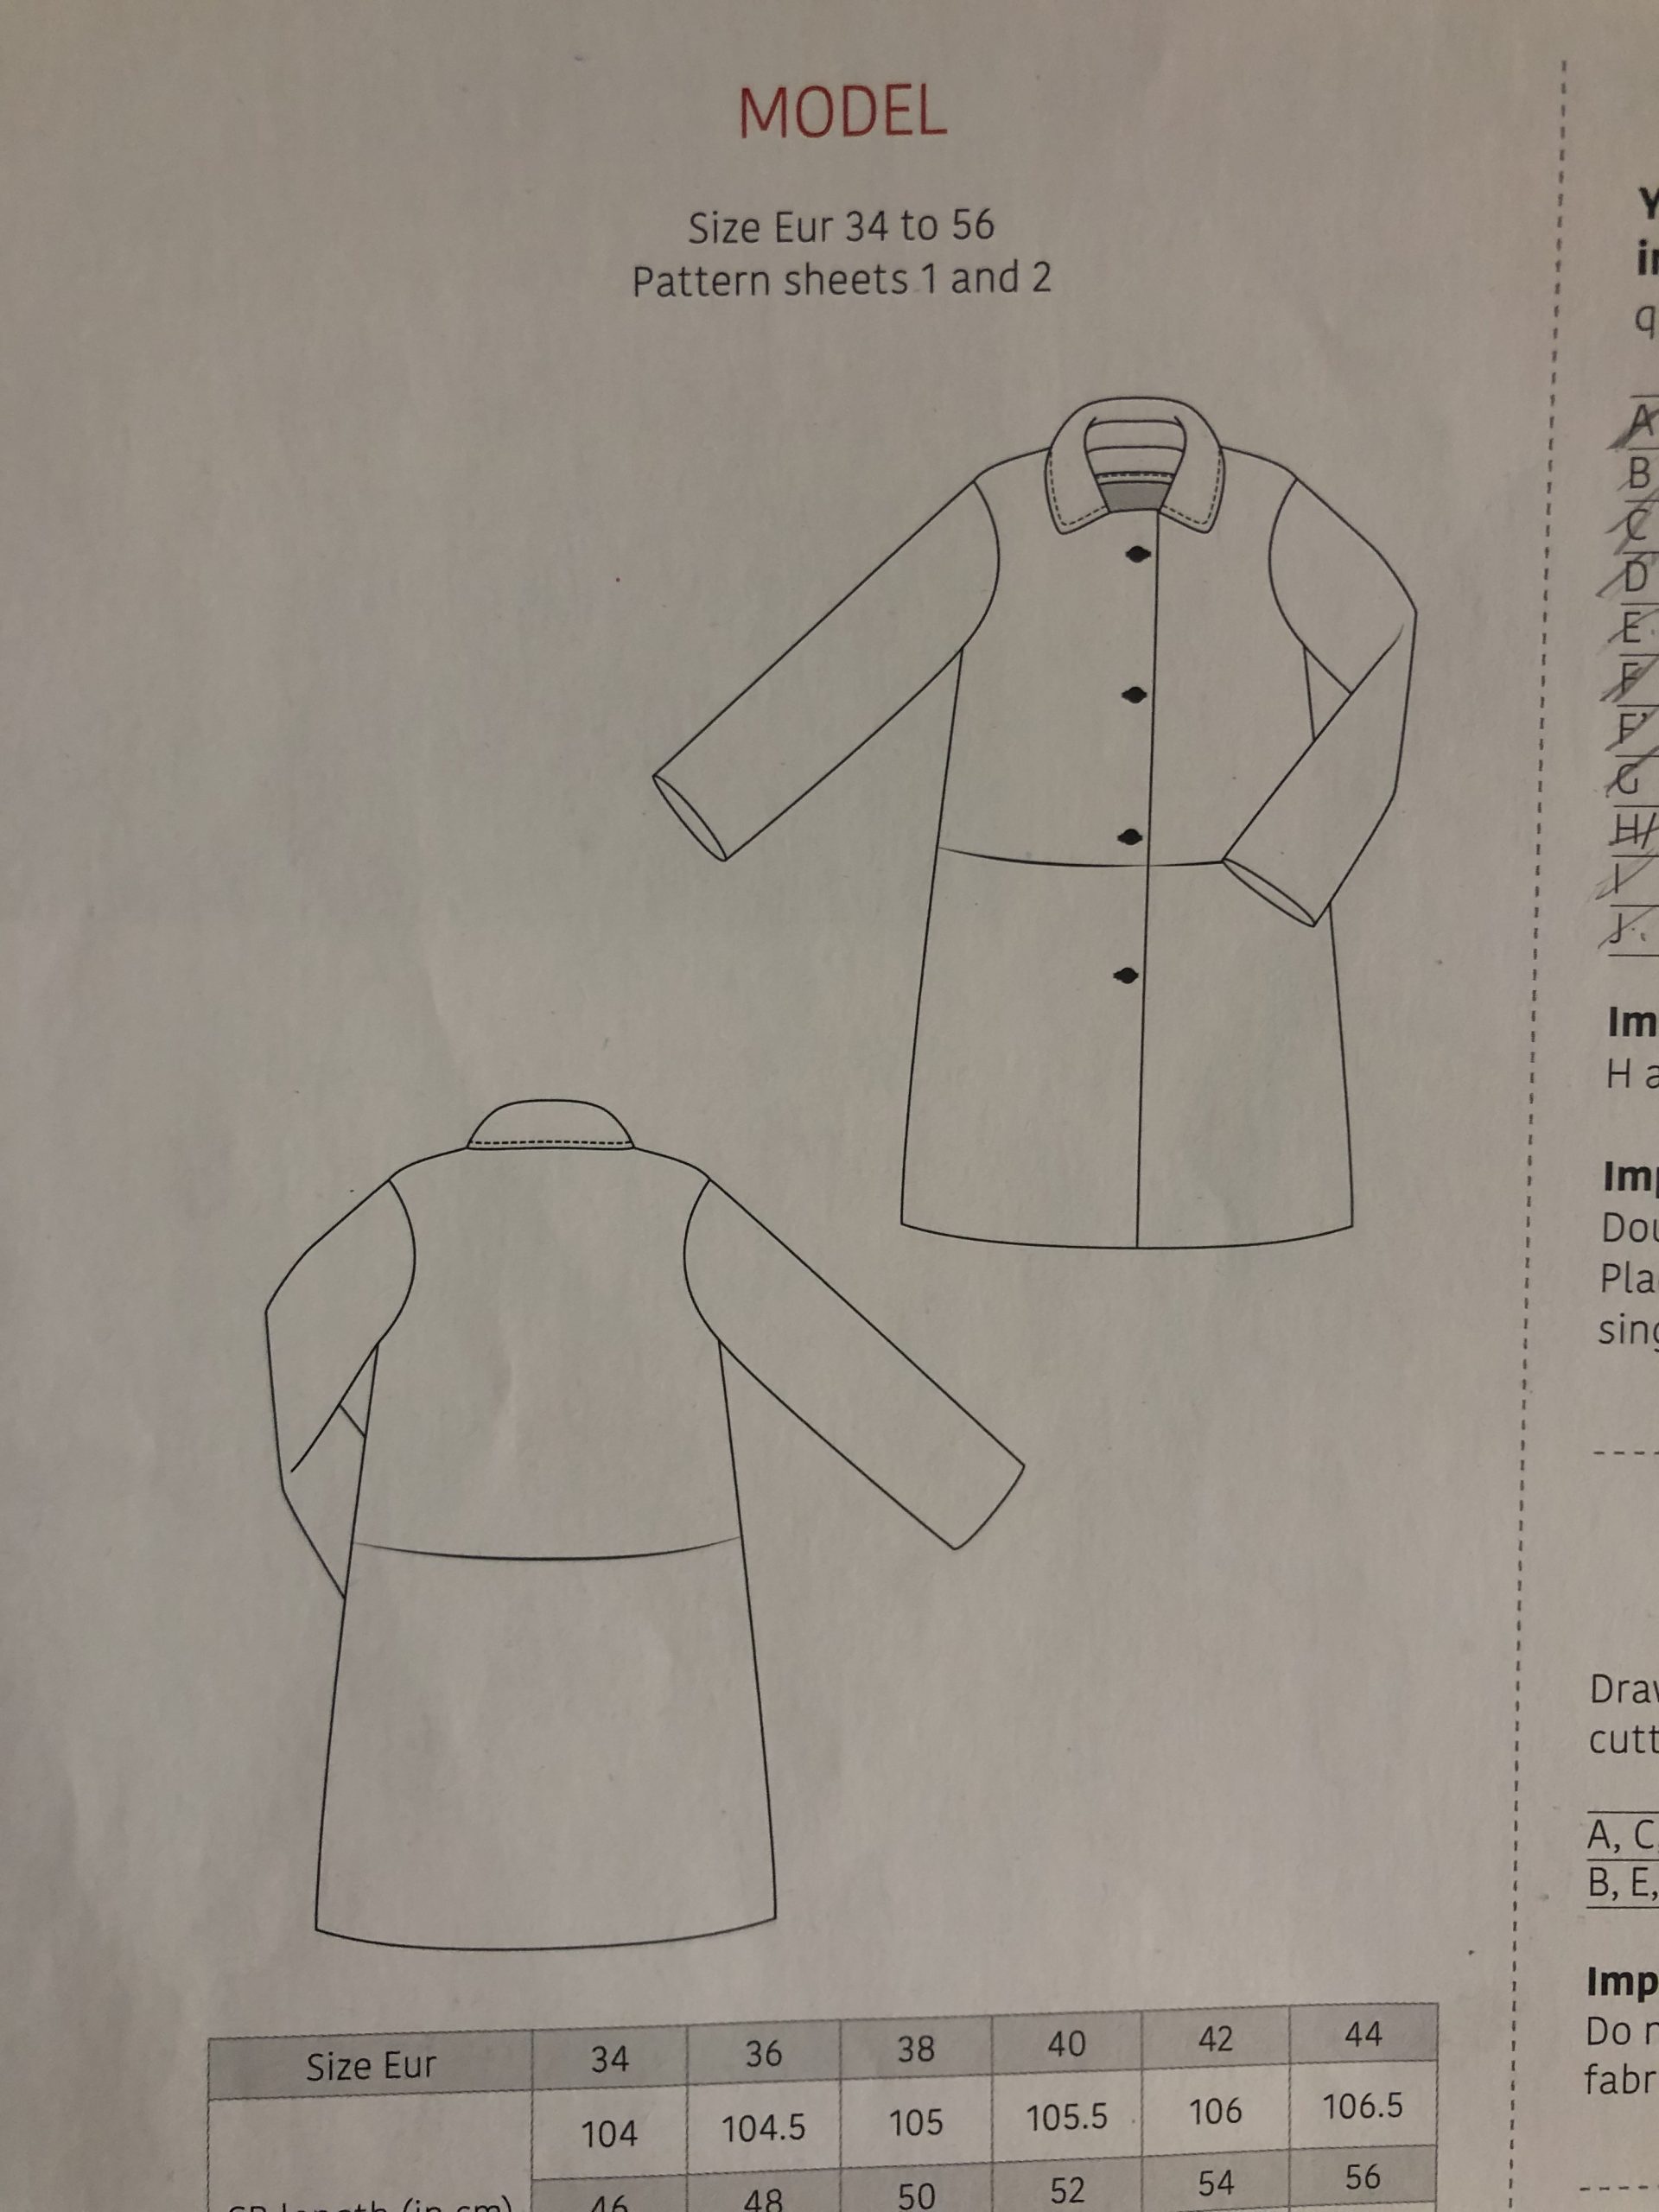
Maybe I’m expecting too much of a magazine, but maybe not. I would absolutely expect instructions like this from BurdaStyle, which has never pretended to have anything but bare minimum – obtuse even – instructions.
But that is not how La Maison Victor markets itself; quite the opposite.
They claim to have step by step instructions, and that is largely true. Their instructions are extensive, for a magazine, and even include schematics, which is why the inadequate nature of the instructions for the Marit surprised me.
I expected more, but I don’t want to come across as NOT recommending the magazine. If you know how to work around iffy instructions, especially for more complicated patterns, I do recommend it.
Plus, how often are you going to sew coats anyway?
PS. Since writing this post I’ve gone back and looked at the instructions. There is one confusing step, after you sew the facing, where they ask you to “Turn the collar inside out and attach the necklines of the facing and garment to each other by sewing the seam allowances together precisely along the previous stitch.” This will hold the neckline together, but the facing will still be loose and will flip to the outside. The rest of the collar will probably also shift. I maintain that this is not sufficient treatment of the facing and collar in this coat.
There is also a correction on La Maison Victor’s website that I forgot to mention earlier. It’s about missing notches for collar placement.




acraftyscrivener
What a fabulous coat and good on you for plugging along….
The Serial Hobbyist Girl
Thank you!