It is not often that I whip up a pattern soon after it comes out. There is really no reason for this other than I have a huge list of patterns I want to sew and so things just make the rounds before I get to them.
No one in the history of ever can accuse me of being a trend setter.
But, when the Sheridan Sweater from Hey June came out, I was ALL OVER IT right away.
I mean, it’s just….great. It checks so many boxes for me.
Drapey neckline: check.
Fabulously full sleeves: check.
Easy to sew and fit: check.
Knit: check.
Multiple design options: check.
While I love a dropped sleeve and the ease of sewing and fitting them, I admit that regular set sleeves with the seam at the top of the shoulder do make for a much more flattering look on most people. At least they do on me.
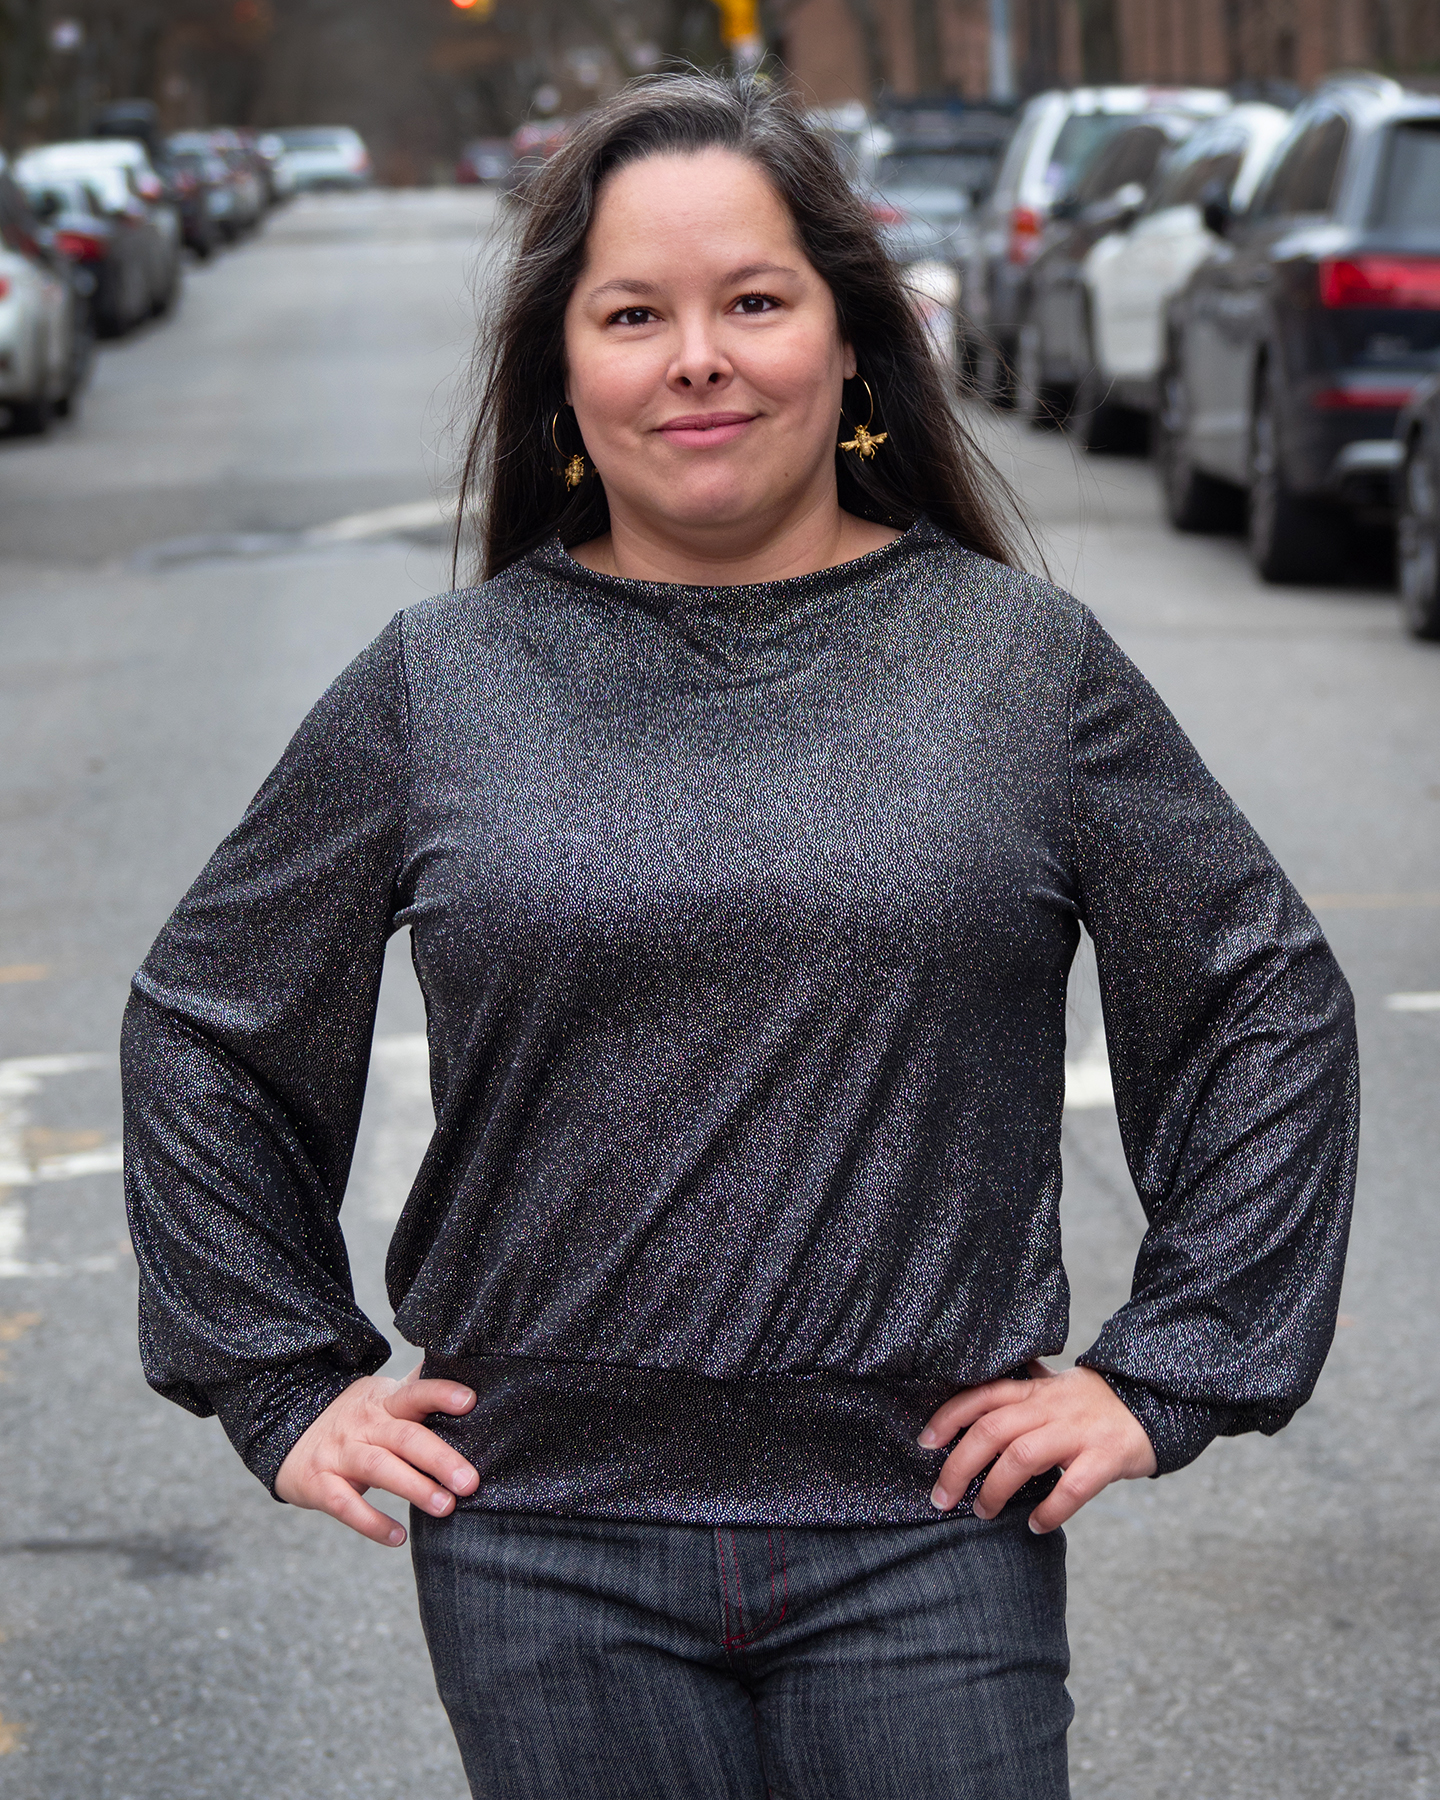
So, yes, I bought the pattern the day it was released and made it just over two weeks later. That is very fast for me!
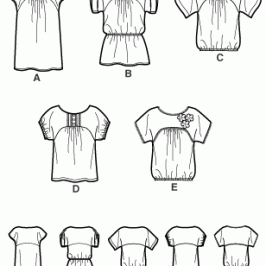
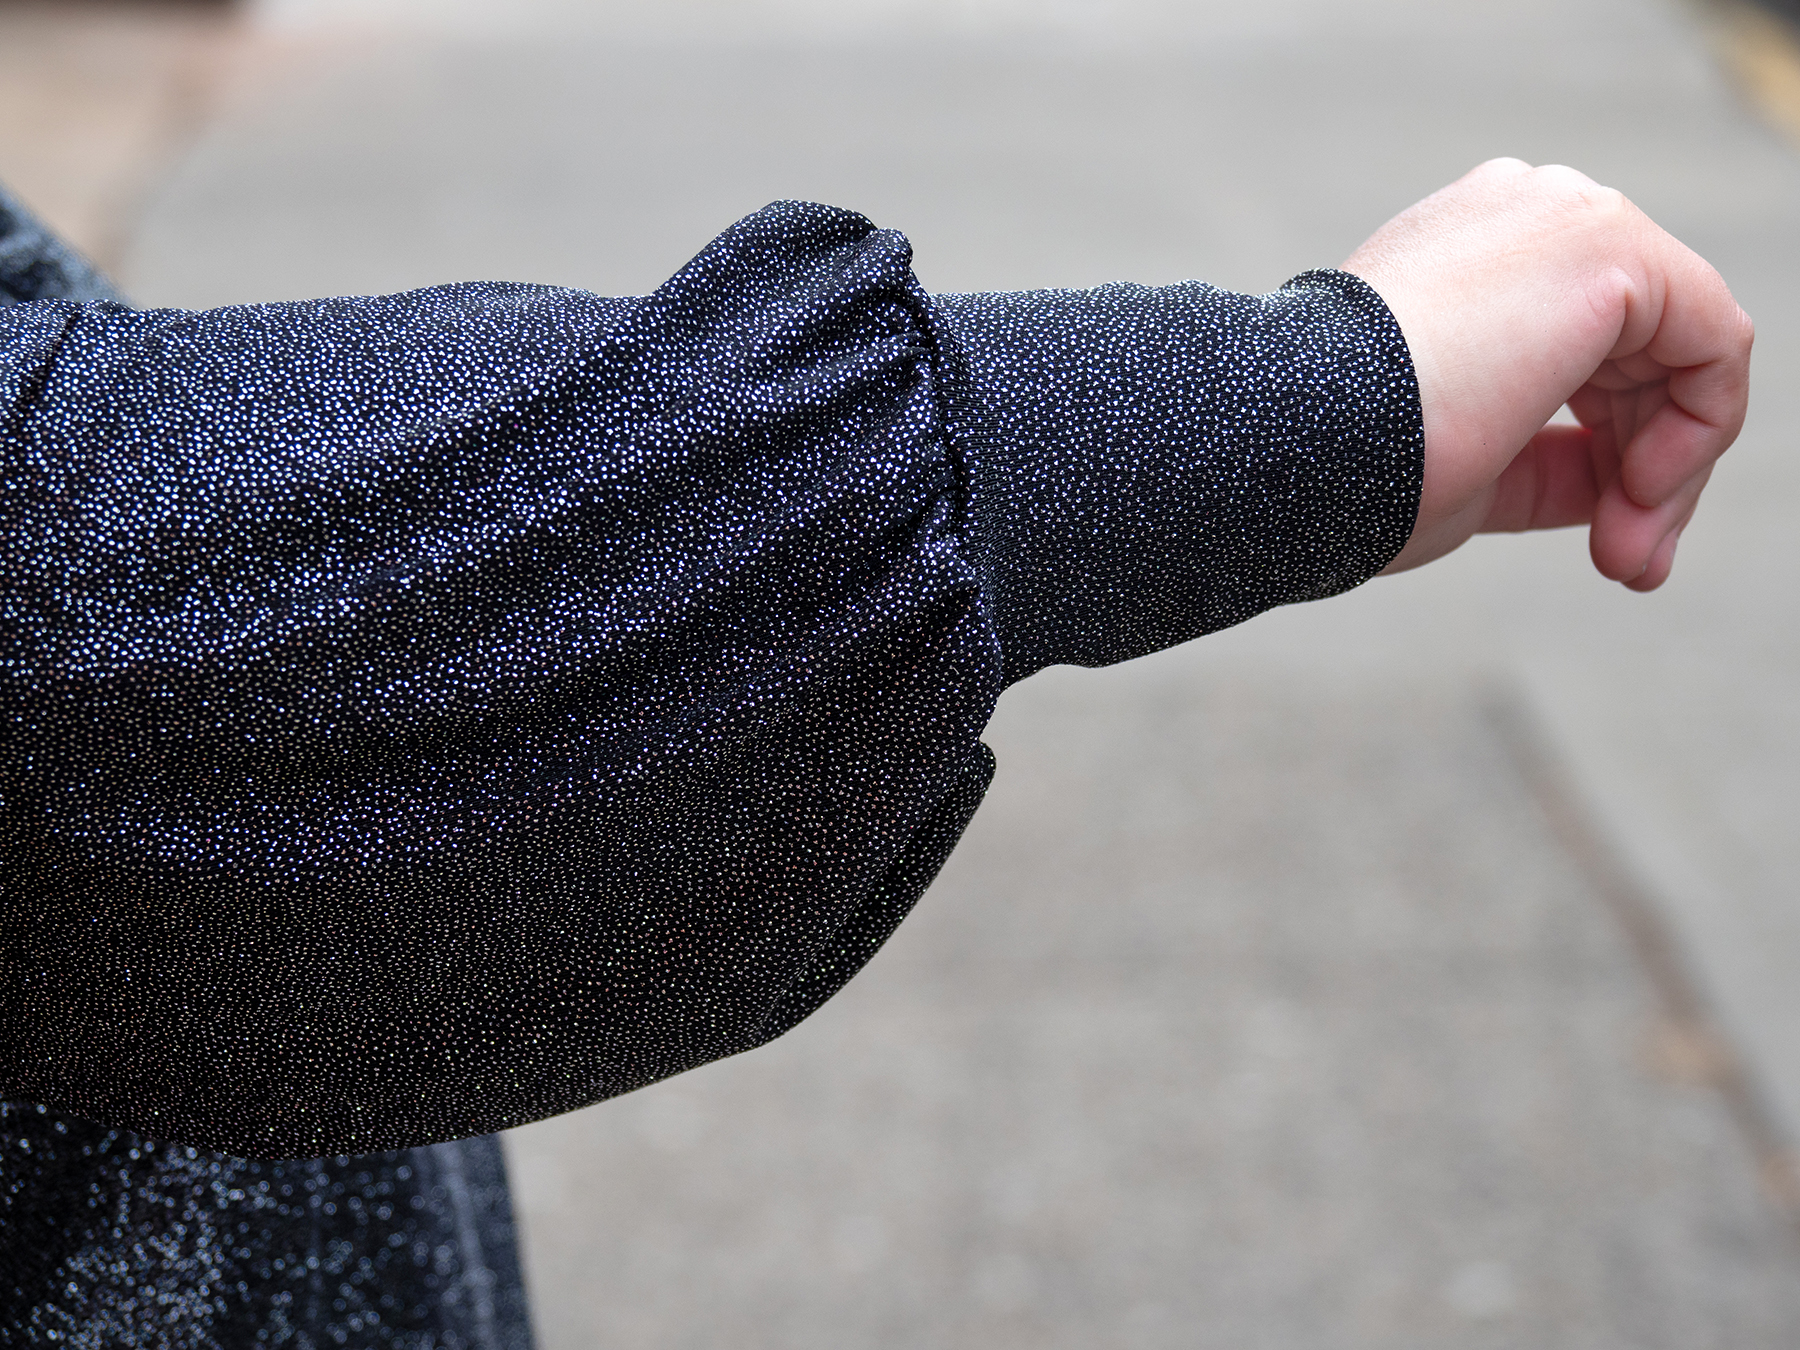
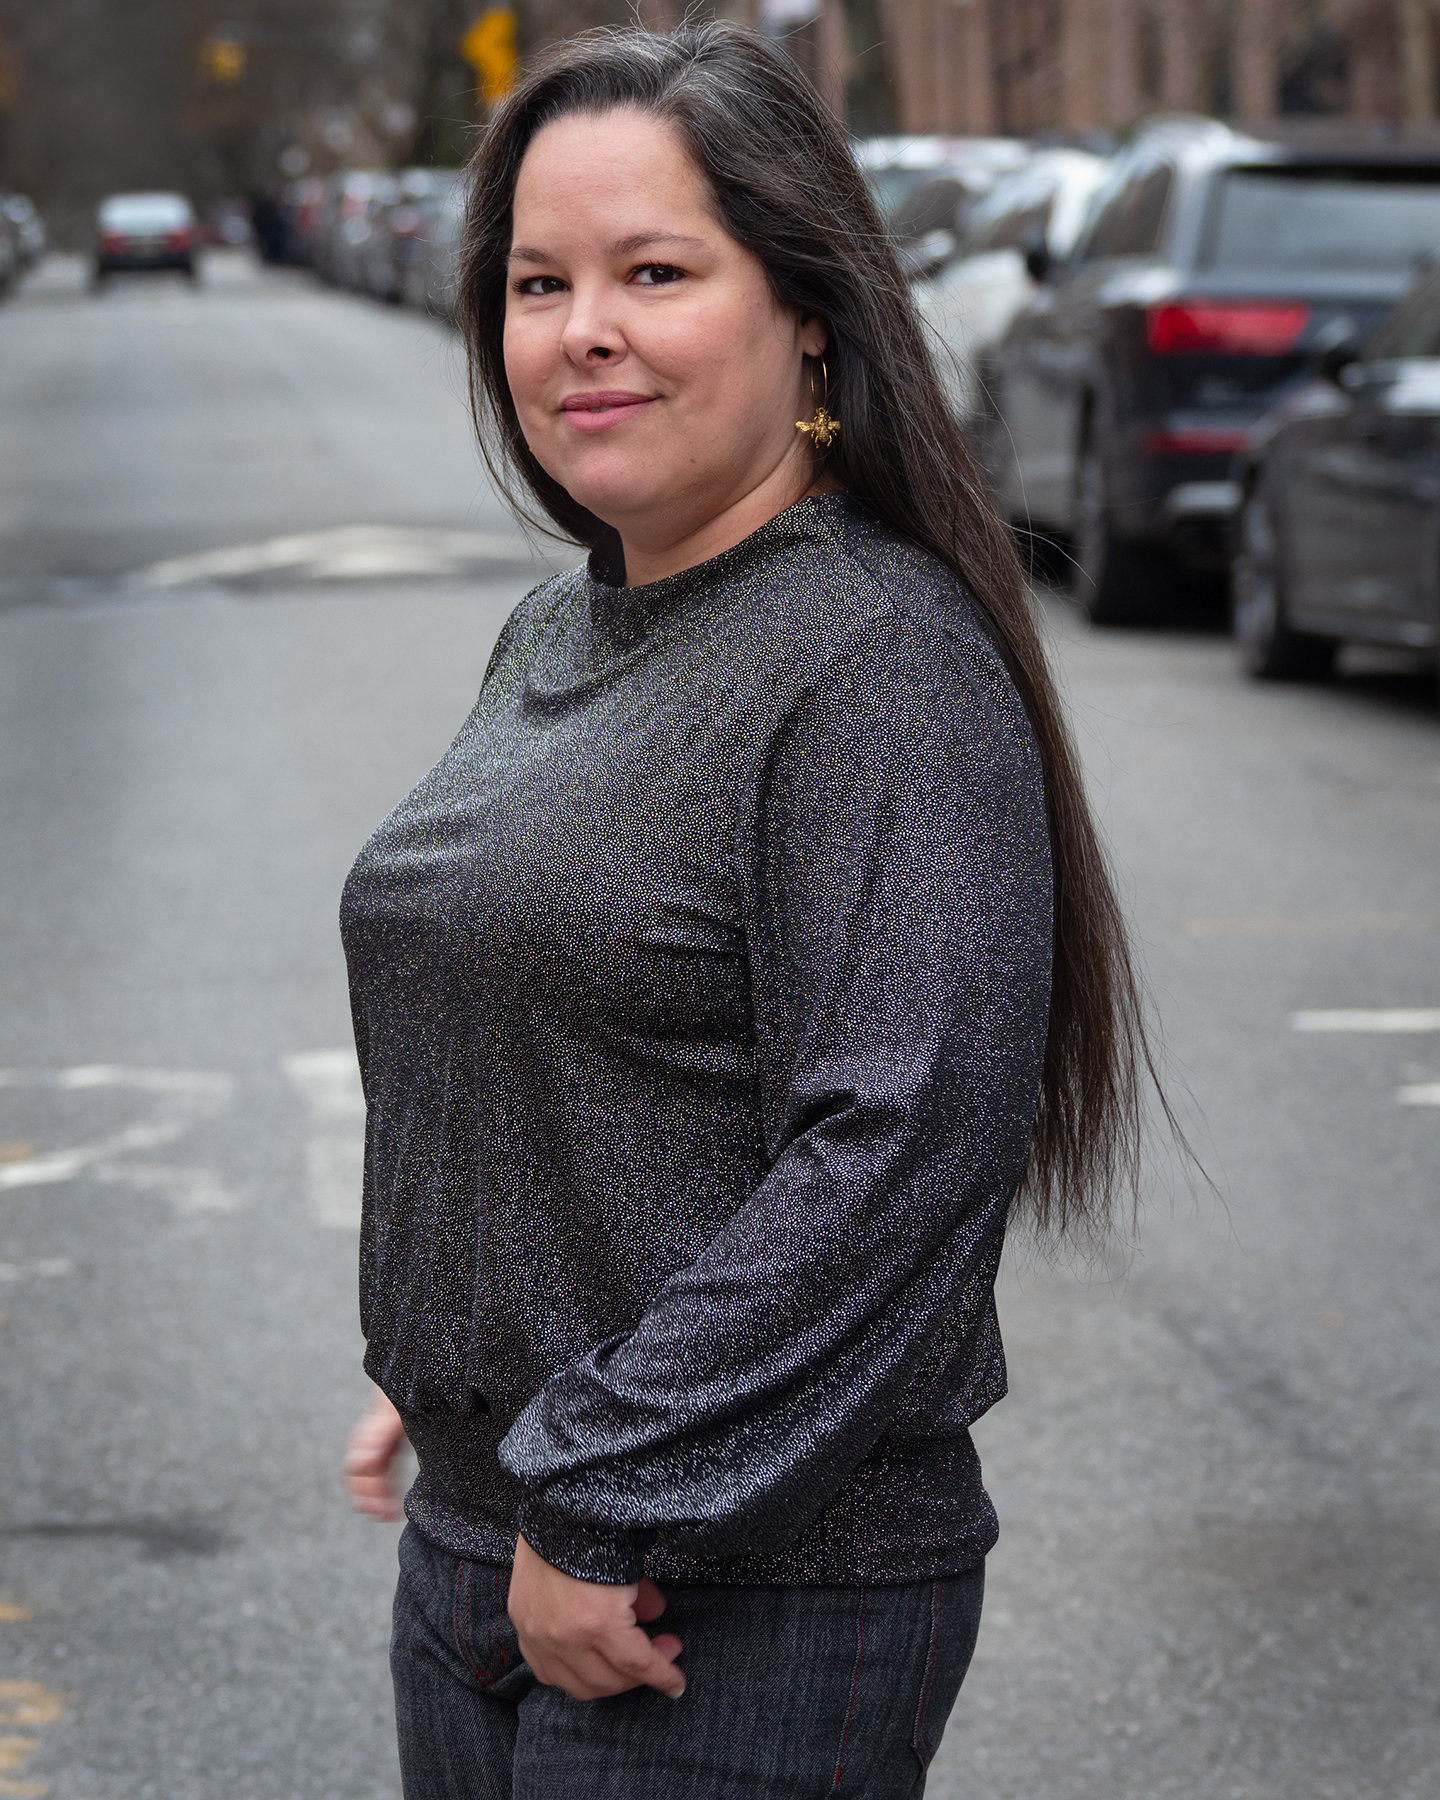
I made view B with what the designer calls a bateau neckline, but I opted for the sleeves of view A, which have a cuff rather than elastic.
I made the cropped version but lengthened the body of the sweater, if you can call it that given my fabric choice, 1 inch.
I did not shorten the sleeves even though I know sleeves in Hey June patterns run long because I wanted them full and drapey. While I don’t regret that choice, if I was to sew this again, and I’ll likely will, I would shorten the sleeves a couple of inches to get more a bubble effect.
Although my measurements put me at a slightly larger size, I made the size 14.
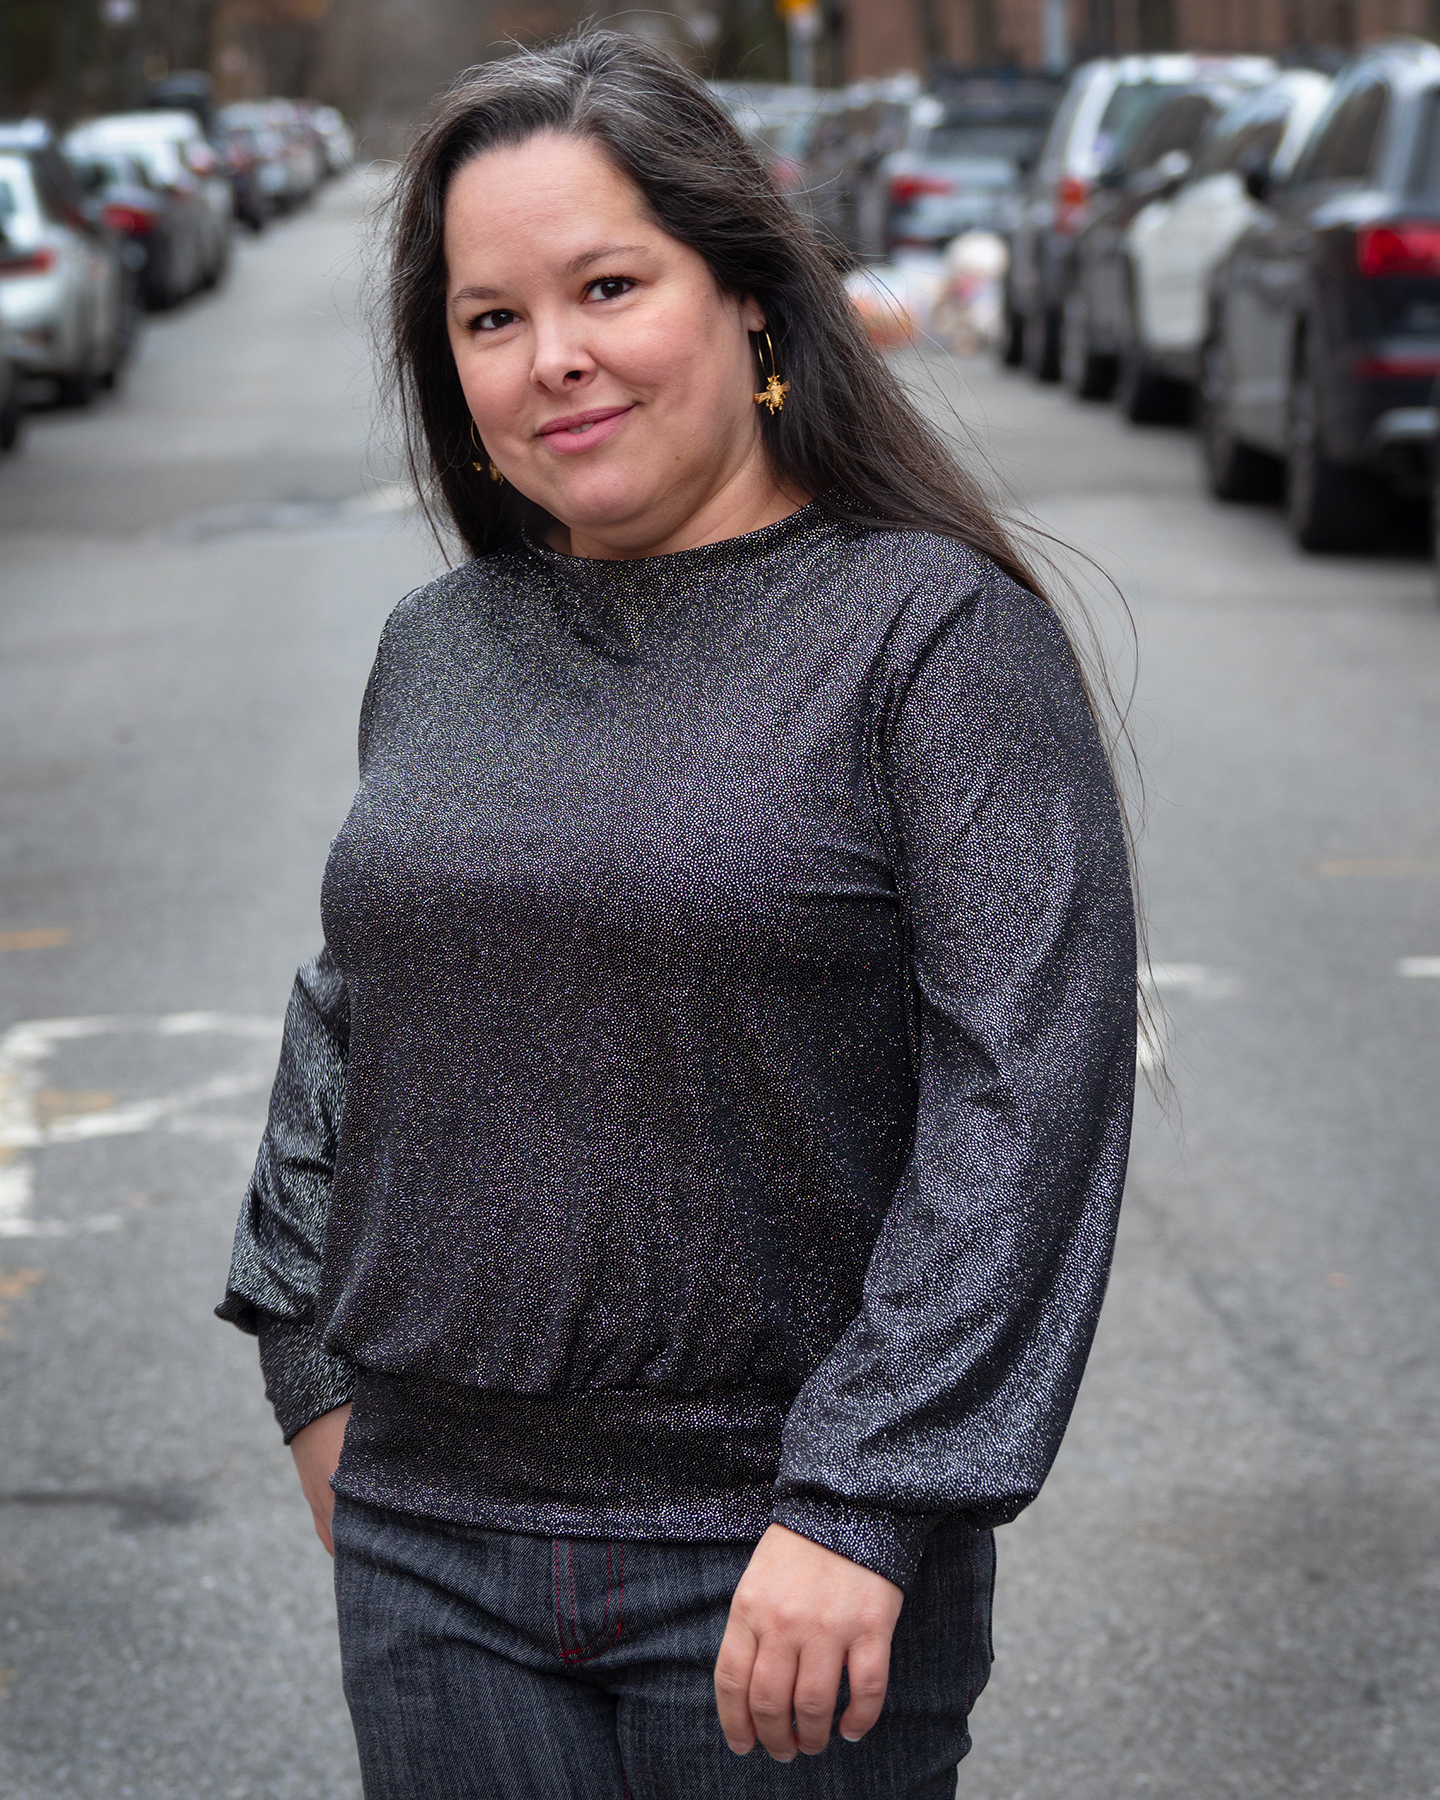
The fabric is a very shinny glitter fabric I got at the Garment District specifically for this pattern. It is soooo fun, and soooo messy!
I’m pretty sure there is still glitter in places around my apartment I have not been able to clean up, and wearing it leaves me looking like the floor of the Christmas decor aisle at a craft store.
Overall this is a great pattern and the instructions are great.
The only thing that I wish had been drafted and done differently is the neckline.
For the bateau neckline, there is a separate facing that gets sewn to the body of the sweater and turned to the inside. I don’t love facings on the best of days and here I think they can be problematic.
Even with under-stitching and ungodly amounts of pressing, plus tacking the facing down at the shoulder seam, it still flips to the outside on occasion.
A more efficient and clean way to have done this, I think, is to have the facing built onto the body of the pattern and then sewing the shoulder seams in such a way that they catch the facing. Then, when the garment is turned right side out, the facing is folded to the inside, tacked, and ready.
This also eliminates the bulk of a seam at the neckline.
If that doesn’t make sense, I get it, it didn’t make sense to me either when I first encountered this technique while making the Simplicity version of the Toaster Sweater over a year ago now.
Aside from that, I really like this pattern and I can’t wait to sew other version in other fabrics, maybe something more wearable than a glitter party fabric!
I filmed some of the process of making this sweater during Vlogmas, you can see the video here. You can also see the drape and shine of the fabric on the video.
Just a quick aside, I broke my serger while sewing this.
When I was sewing the last sleeve cuff, which was the last thing left to do, the right needle broke in three pieces. The top piece stayed screwed into the serger, the bottom piece stayed attached to the thread by the eye, and the middle piece, readers, flew off the machine and hit me on the forehead, right between my eyes.
It was pretty scary. I had never had a needle do that before even though I’ve had my fair share of broken needles.
But I, and the serger, lived to tell the tale.
I recovered from the scare and the serger took a little vacation at the repair shop. We are both as good as new now.

